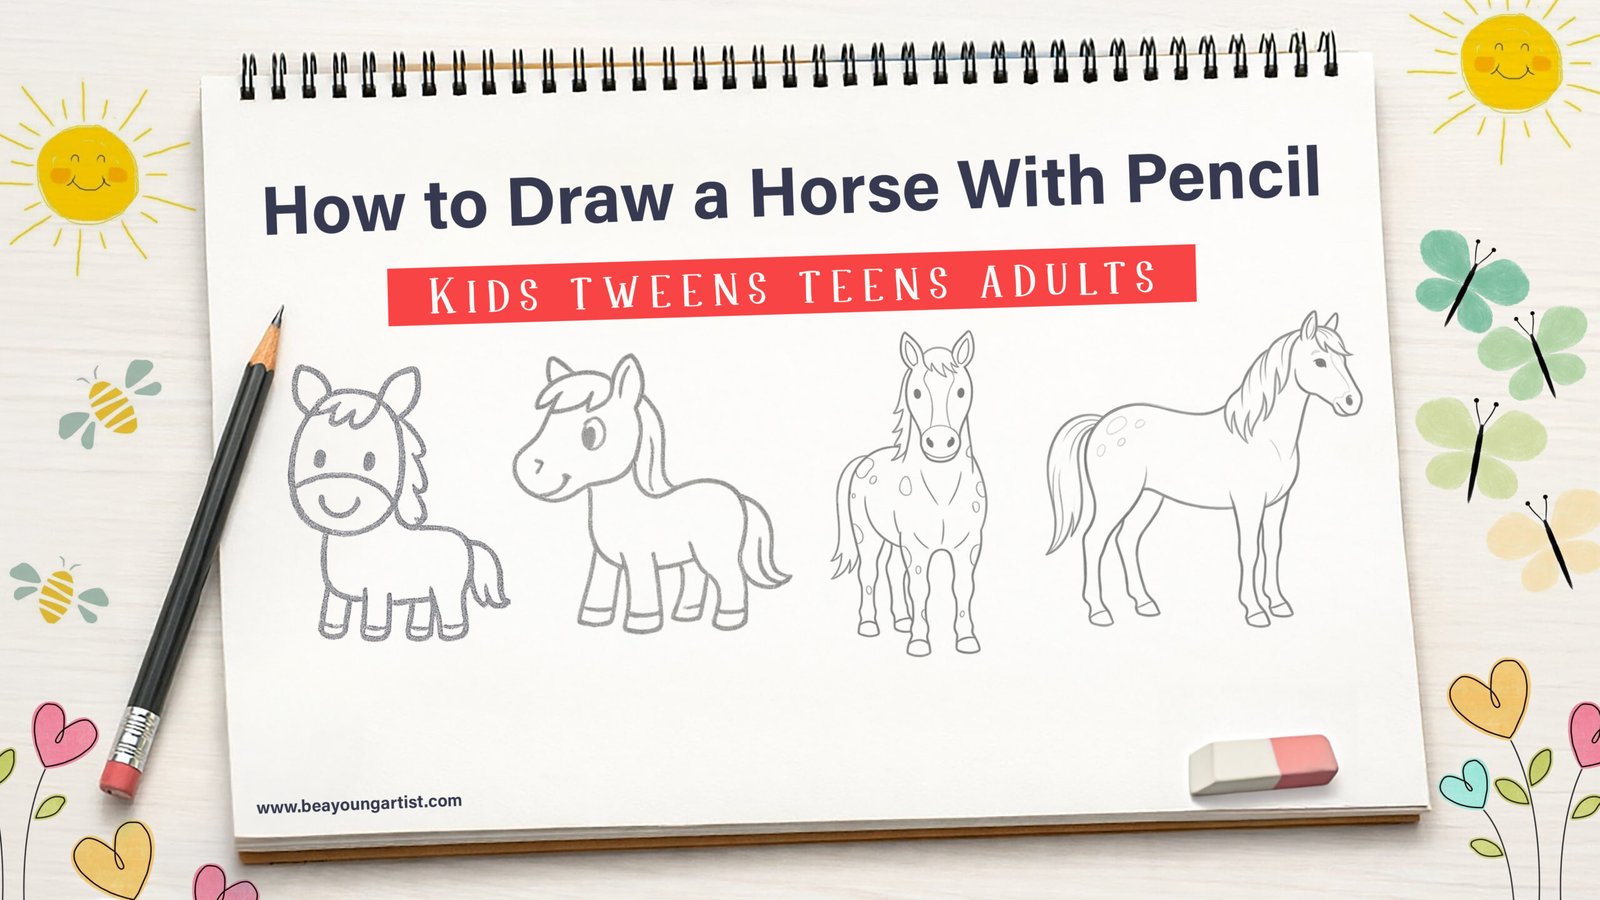
Learning how to draw a horse feels easier when you follow each part in a clear, step-by-step way. This guide helps kids, tweens, teens, and adults practice horse pencil drawing with simple shapes, soft lines, and fun details. Start with the head, build the body, add the mane, legs, tail, and hooves, then finish your horse with small marks that make it look complete.
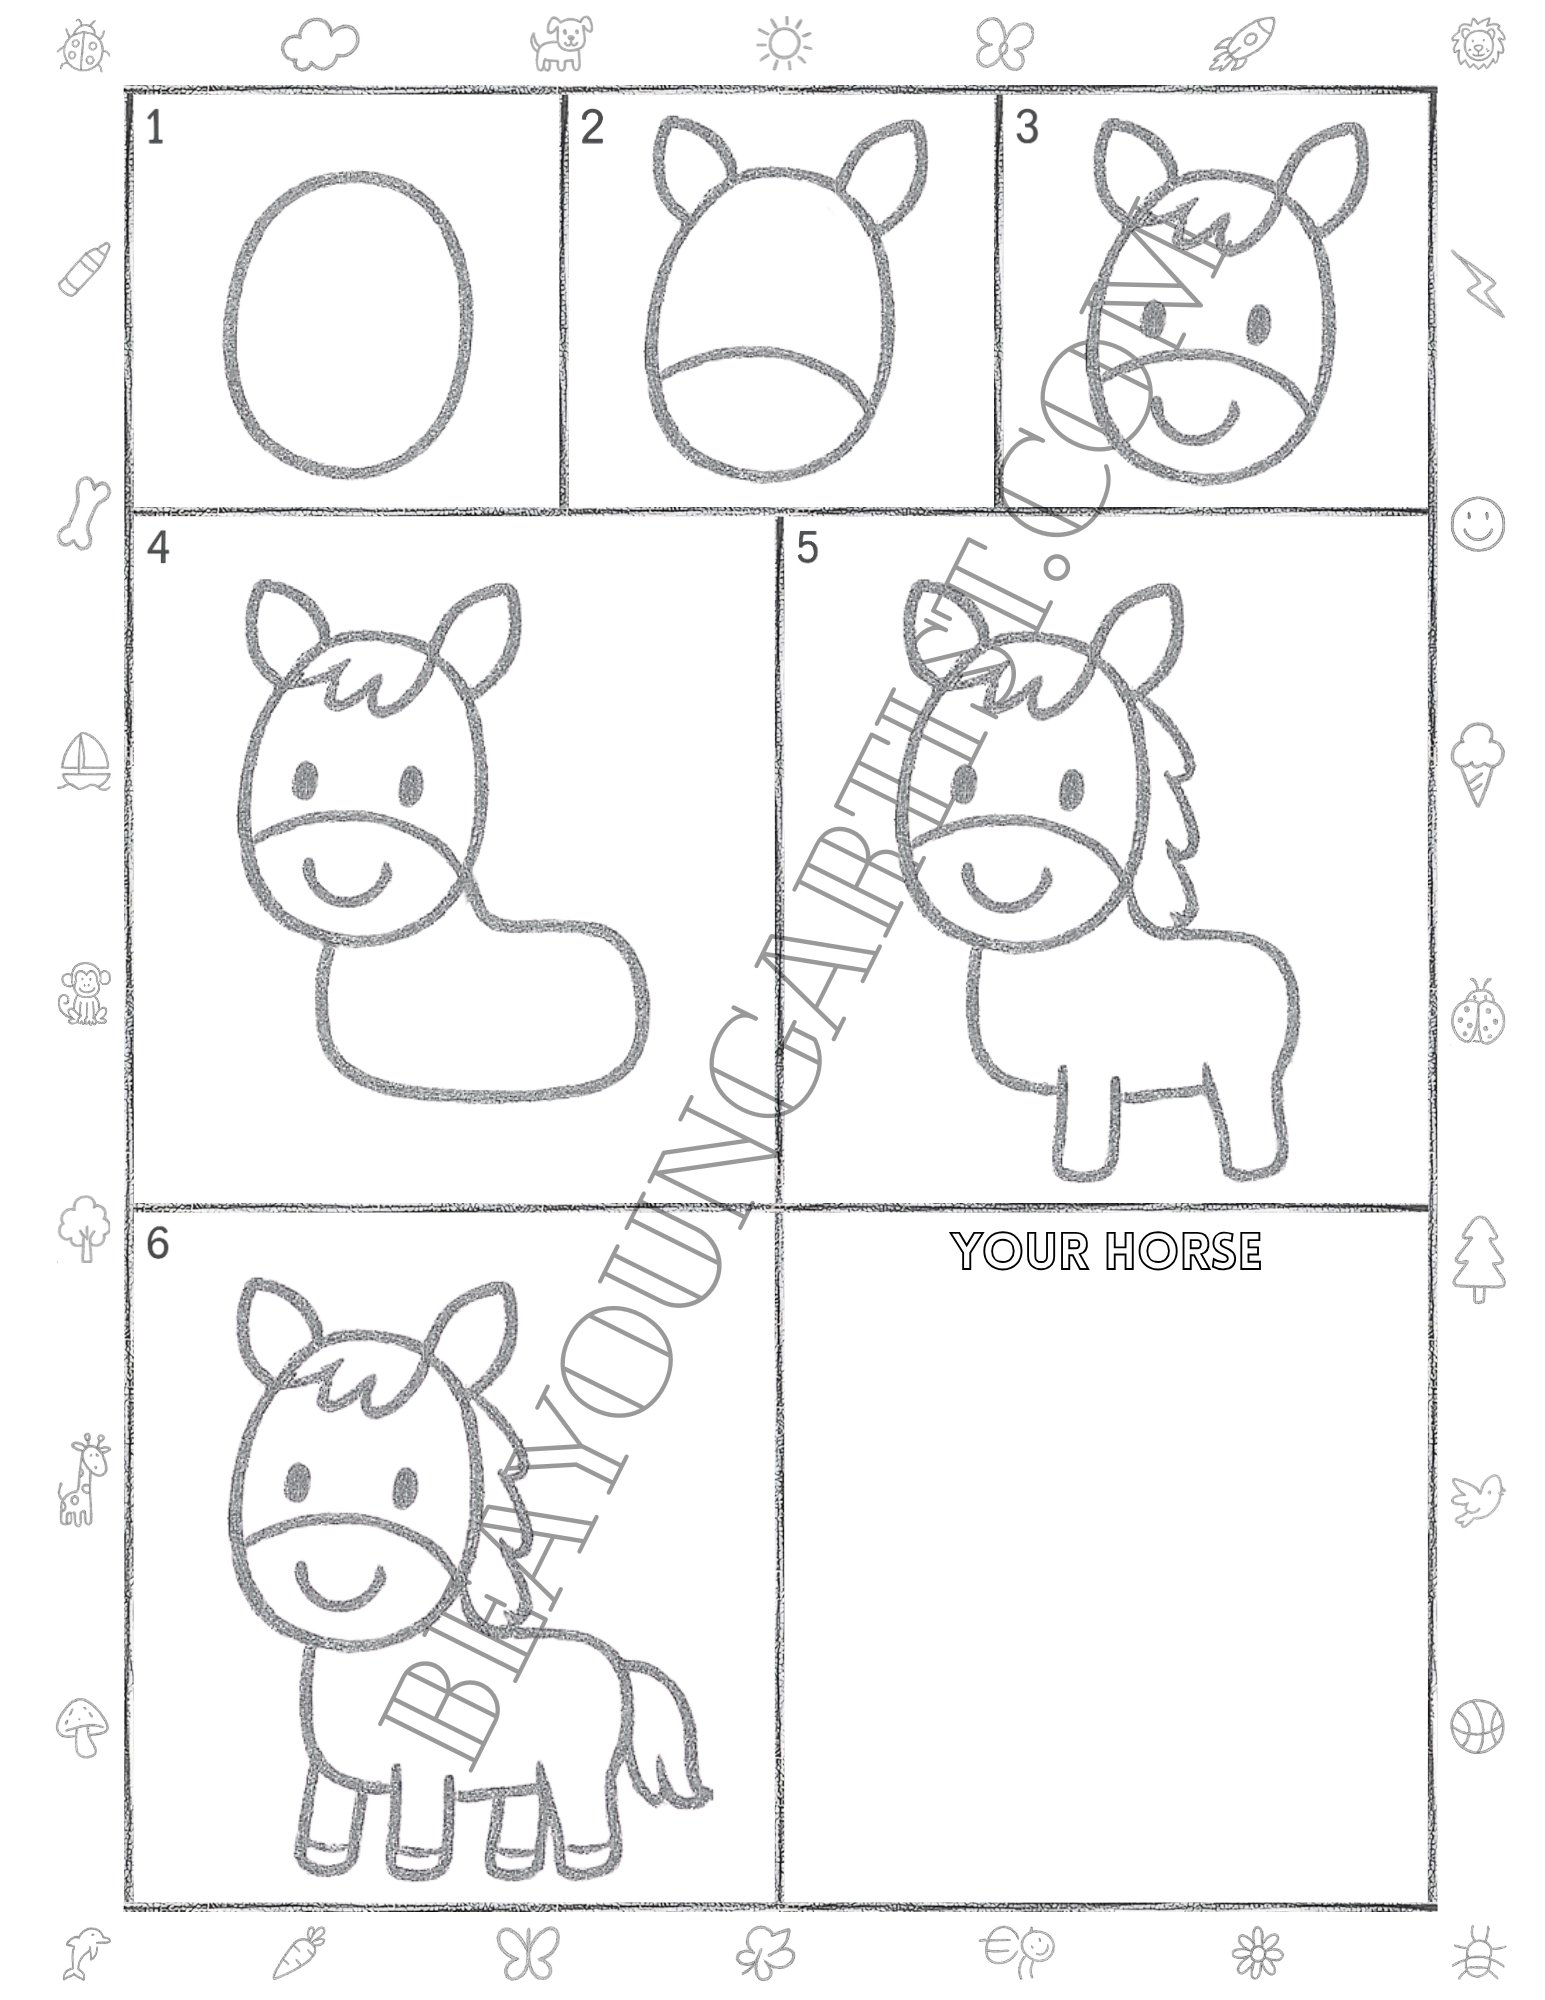
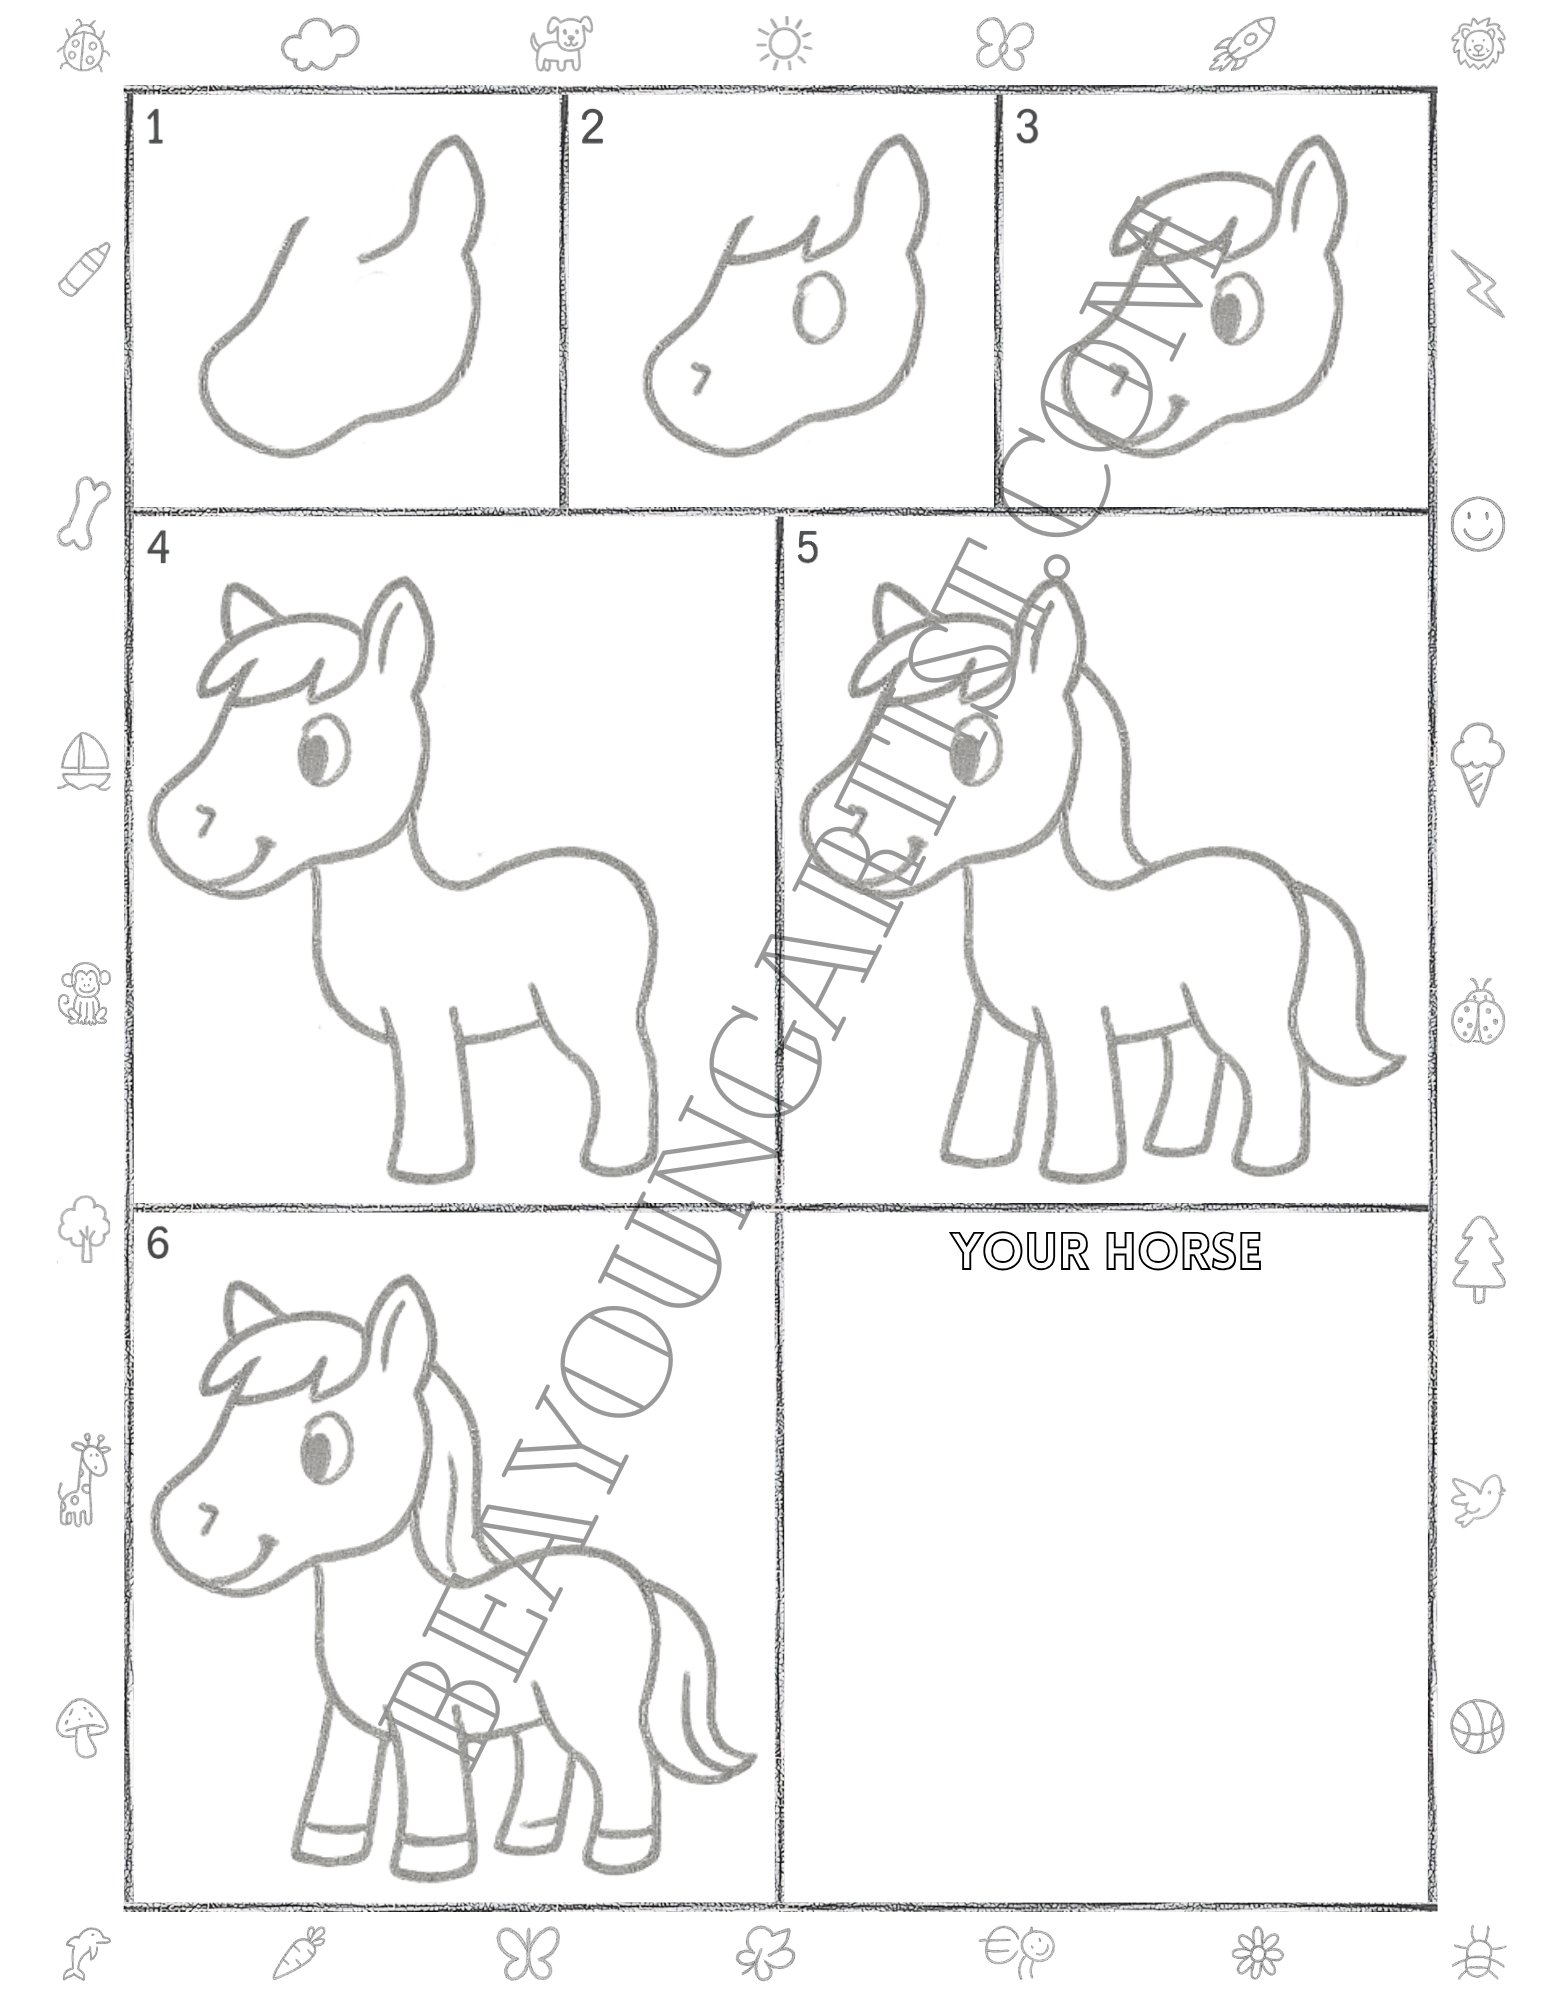
Cute Horse Drawing Tutorial in Pencil for Kids Ages 3 to 8 with 6 Steps
Learn how to draw a cute horse in pencil with six easy steps for kids and toddlers. This fun guide keeps every line simple, clear, and friendly for young artists who love practicing animal drawing.
Kids Step 01: Draw a Big Oval Horse Head Shape
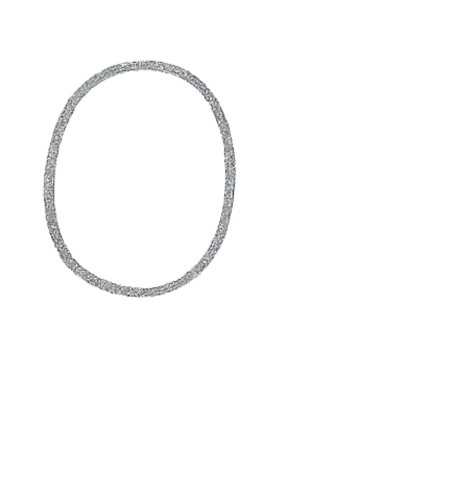
Start this cute horse drawing with one soft oval. Keep it tall, round, and simple so little kids can copy too.
Kids Step 02: Add Two Cute Ears and Face Curve
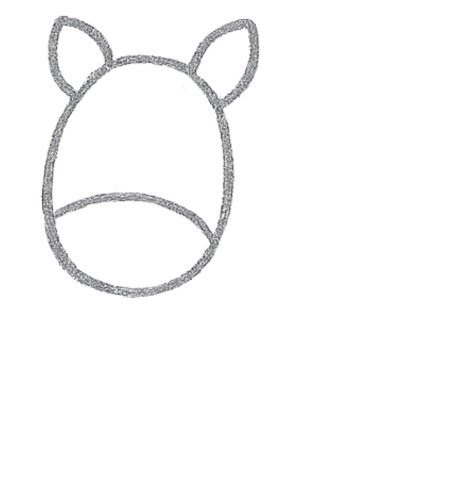
Add two pointed ears on top, then draw a soft curve near the bottom to make the sweet horse face area in pencil.
Kids Step 03: Add Cute Hair, Eyes, Nose, and Smile
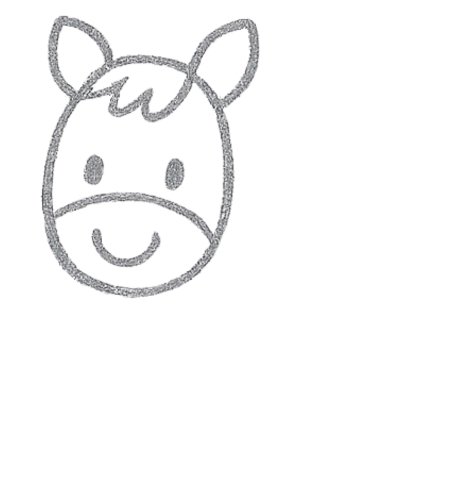
Draw a tiny mane, two kind eyes, a small nose, and a happy smile. Now the horse face feels friendly and fun too.
Kids Step 04: Draw the Neck and Rounded Body Shape
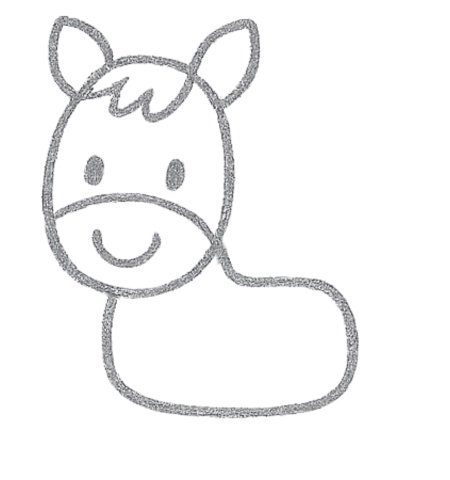
Bring a smooth neck down from the head, then add a rounded body behind it for a simple pony shape kids can draw.
Kids Step 05: Add Legs, Back, and Mane Detail
Add four short legs under the body, then draw the horse’s back and mane so it looks steady and cute for toddlers.
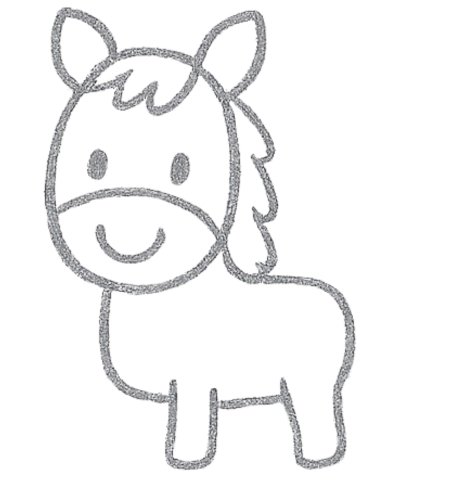
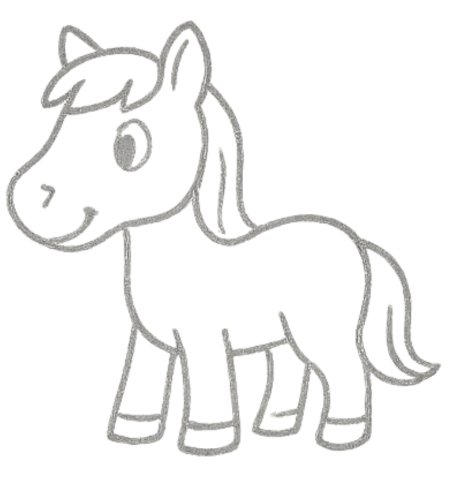
Kids Step 06: Finish the Tail, Hooves, and Lines
Finish the tail, hooves, and small lines. Your easy horse drawing now looks ready for coloring fun and practice.
Great work, young artist. You will find the Easy Steps Full Page With 6 Easy Steps here, ready to download, print, and practice this cute horse drawing again whenever you want with confidence.
Kids' Horse Printable Drawing Page With Easy 6 Steps Download, Print, and Practice
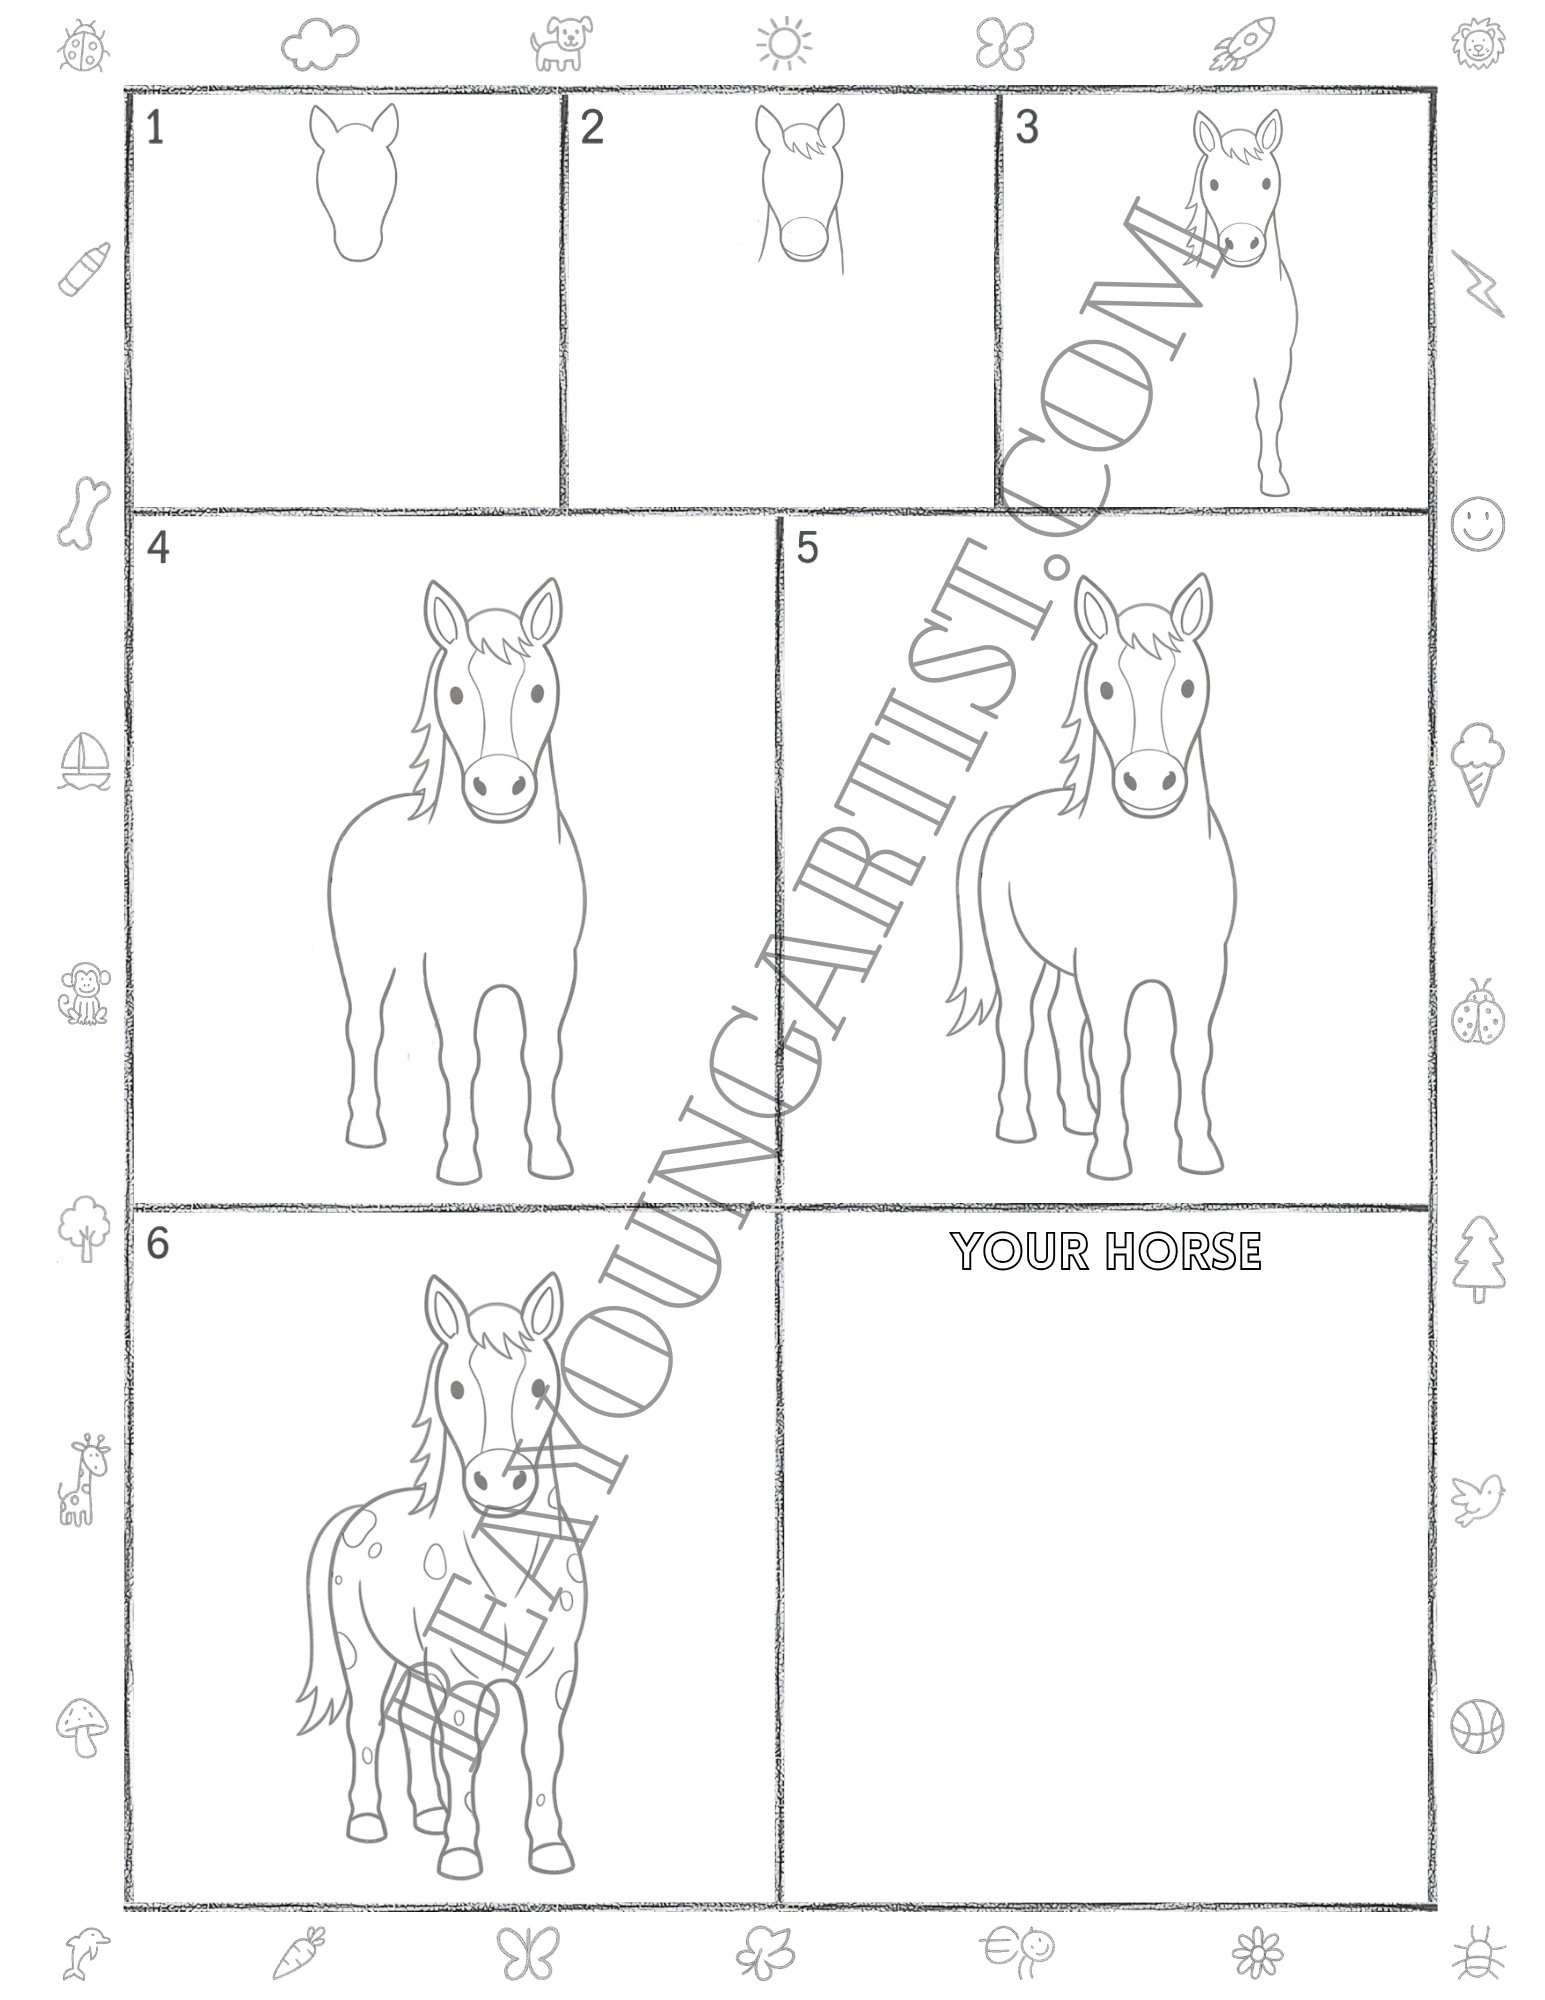
Simple Horse Pencil Drawing Tutorial for Tween Artists Ages 9 to 12 in Clear 6 Steps
Learn how to draw a horse in pencil with six clear steps for tweens. This fun guide builds the face, mane, body, legs, tail, and hooves with easy lines for confident drawing practice at home.
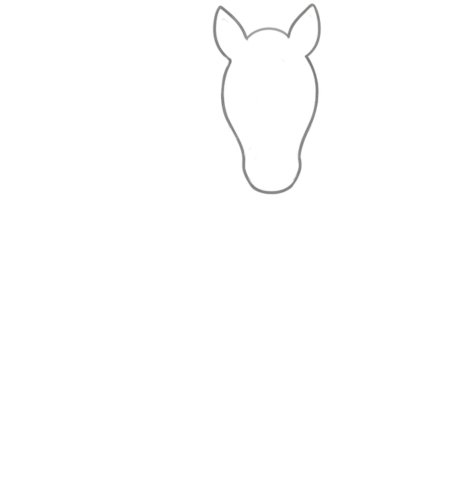
Tweens Step 01: Sketch the Basic Horse Head Outline
Begin with a smooth horse head outline. Keep the nose rounded and the ear tall so the shape feels easy to follow.
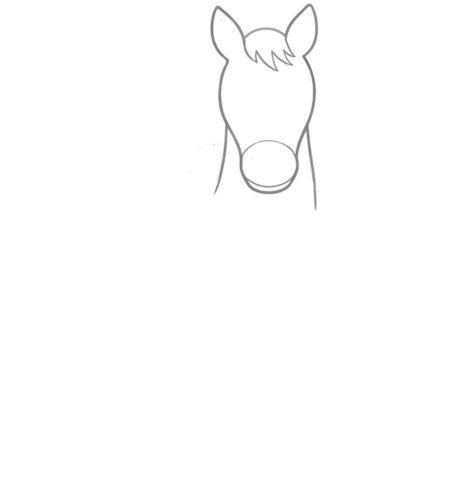
Tweens Step 02: Add Short Mane, Eye, Nose, and Ear
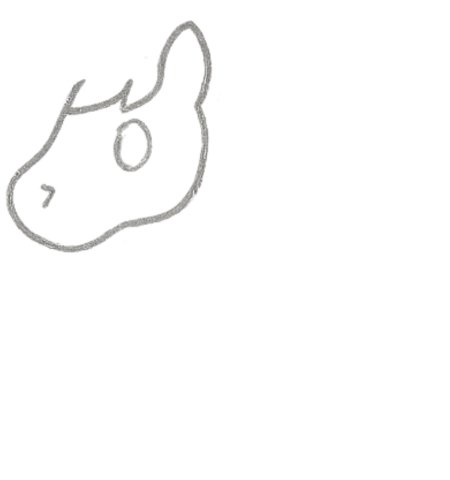
Add a small mane, bright eye, nose dot, and ear detail. These simple marks bring the horse face to life today.
Tweens Step 03: Shape the Face and Soft Mane Line
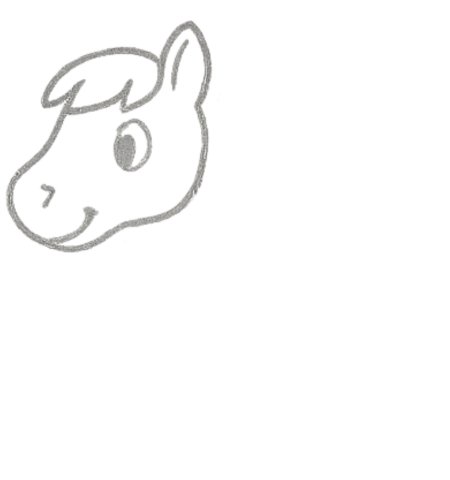
Draw more soft mane lines, then shape the mouth and cheek. The sketch of your tween horse now looks friendly and clear.
Tweens Step 04: Draw Neck, Body, and Front Legs
Bring the neck down, then add a rounded body and two front legs. Keep the pencil line light, smooth, and neat.
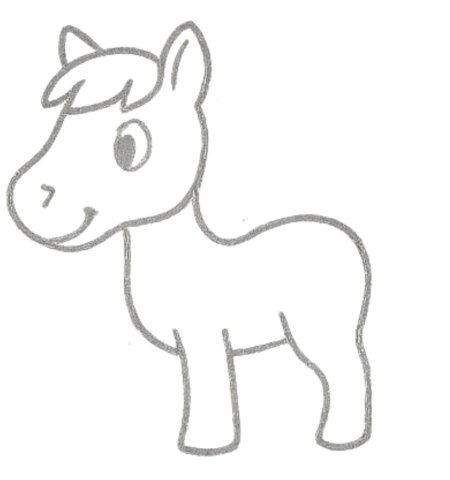
Tweens Step 05: Add Back Legs, Tail, and Neck Mane
Add the back legs, flowing tail, and longer neck mane. The horse now has a balanced standing pose and a cute style.
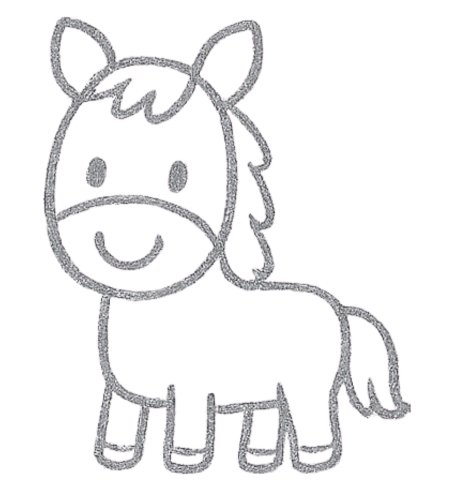
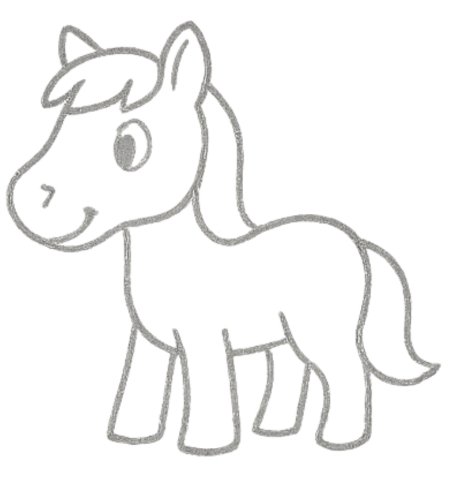
Tweens Step 06: Finish Hooves and Clean Final Lines
Finish the hooves, belly lines, and tail shape. Clean small pencil marks to make the horse drawing look complete.
Well done, tween artist. You will find the Easy Steps Full Page With 6 Easy Steps here, ready to download, print, and practice, so your horse drawing can grow cleaner each time with confidence.
Tweens Horse Step by Step Printable With 6 Beginner Steps Download and Practice
How to Draw a Horse for Teens Ages 13 to 18 in 6 Steps
Learn how to draw a horse in pencil with six clear steps for teens. This easy horse drawing tutorial builds the head, mane, body, legs, tail, hooves, and spots with simple lines for fun practice.
Teens Step 01: Sketch the Front Horse Head Shape
Start with a front horse head shape. Add two ears at the top and keep the face long, smooth, and easy to trace.
Teens Step 02: Add Mane, Muzzle, and Ear Lines
Add the neck lines, a short mane, and a rounded muzzle. These simple pencil lines clearly guide the horse’s face.
Teens Step 03: Draw Nose, Mouth, Eyes, and Face
Draw the eyes, nose, and mouth with gentle marks. The horse now shows a calm, friendly look today.
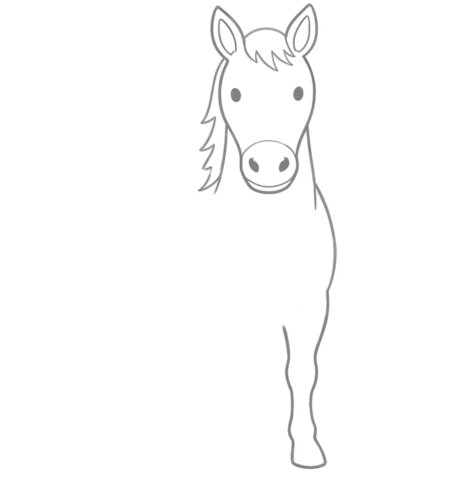
Teens Step 04: Build the Chest and Front Legs

Build the chest and front legs under the head. Keep both sides even so the horse’s body feels strong and clear now.
Teens Step 05: Add Tail, Back, and Rear Leg Shape
Add the back, tail, and rear legs. Smooth lines help the teen horse drawing stand tall with a natural pose today.
Teens Step 06: Finish Spots, Hooves, and Lines
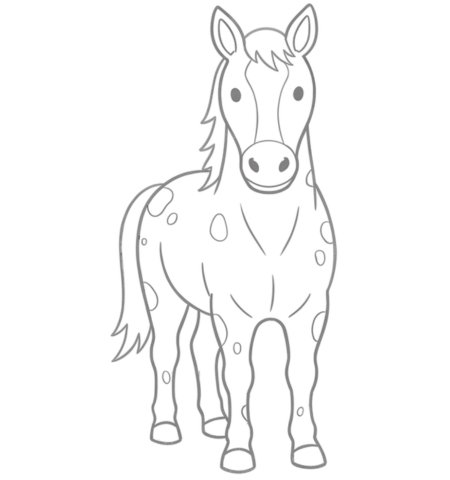
Finish the hooves, spots, and small body lines. Clean the sketch so your horse drawing looks complete and neat.
Nice work, teen artist. You will find the Easy Steps Full Page With 6 Easy Steps here, ready to download, print, and practice, so your horse drawing can look cleaner and stronger every time.
Creative Teens Horse Printable Page With 6 Easy Steps Download, Print, and Practice
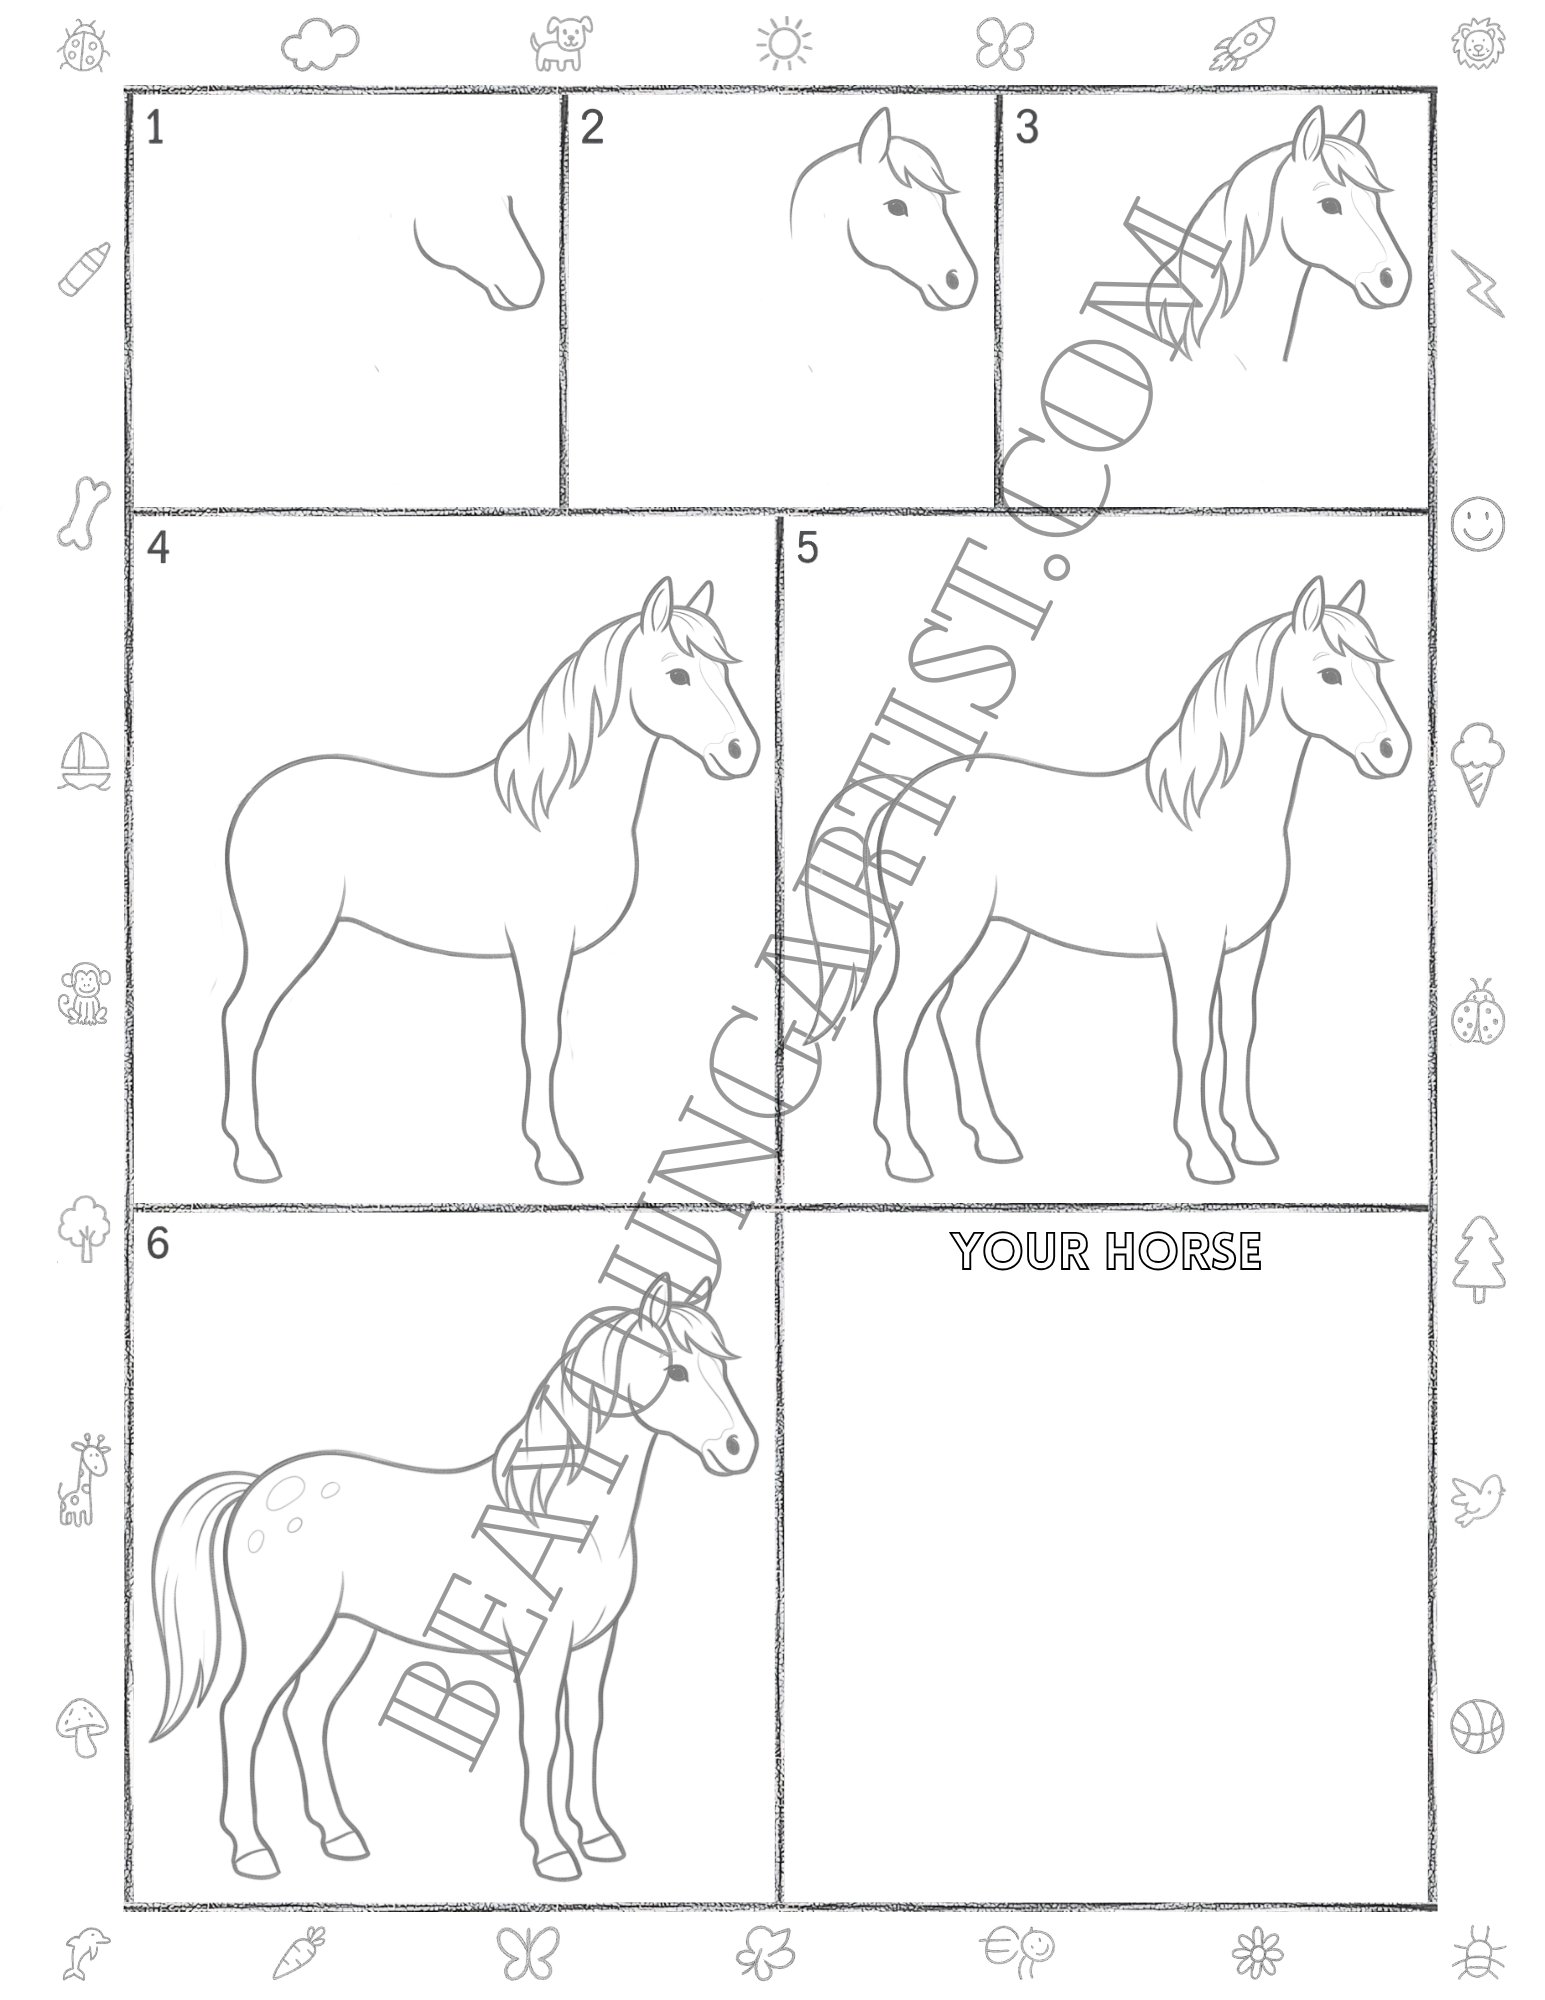
Horse Drawing Tutorial for Adults Ages 18 and Up in 6 Steps
Learn how to draw a horse in pencil with six simple steps for adults. This easy drawing guide builds the head, mane, body, legs, tail, and markings with clean lines and steady practice today.
Adults Step 01: Sketch the Nose and Mouth Curve
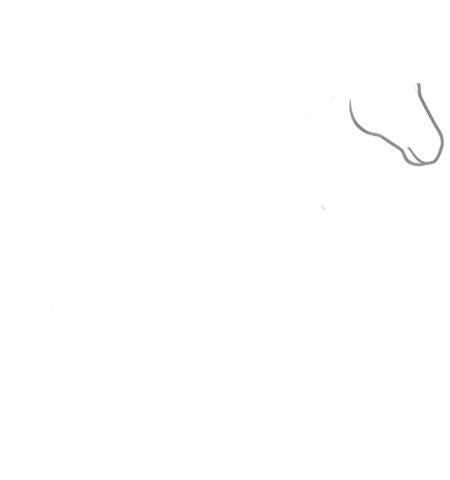
Start with a light nose and mouth curve. Keep the pencil line smooth, so the horse shape feels clean and easy now.
Adults Step 02: Draw the Full Horse Head Shape
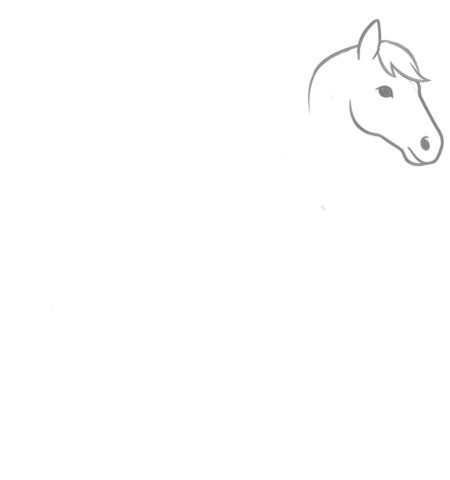
Draw the full head around the nose, then add the ear and eye. This step gives your adult horse a neat face shape.
Adults Step 03: Add Flowing, Mane and Neck Lines
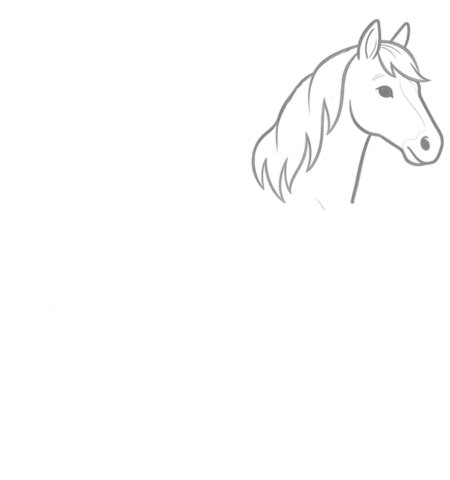
Add a flowing mane and neck lines beside the head. These soft strokes help your horse’s drawing look graceful now.
Adults Step 04: Draw the Full Horse Body with Front Legs
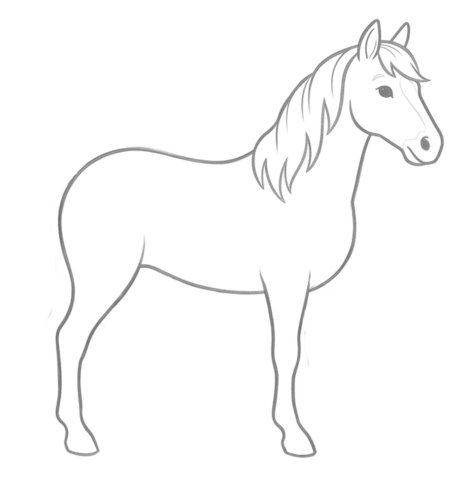
Build the body with one smooth back line, chest, and front legs. Keep the outline balanced and clean for adults.
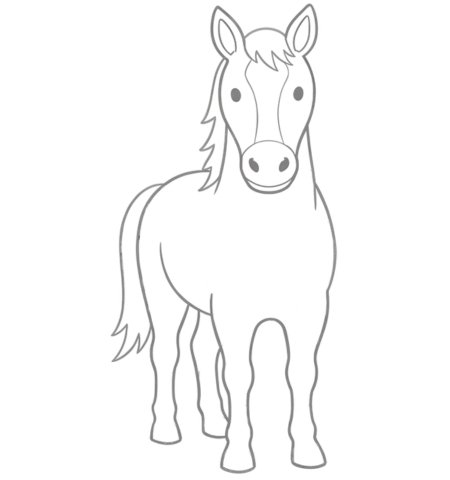
Adults Step 05: Add Tail and the Remaining Legs
Add the tail and the remaining legs to complete the standing pose. The horse now looks steady and complete today.
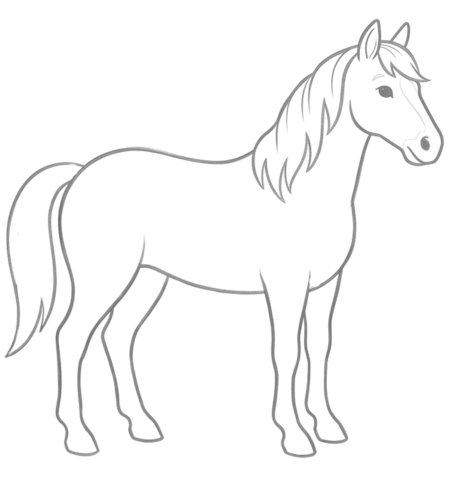
Adults Step 06: Finish Spots and Final Details
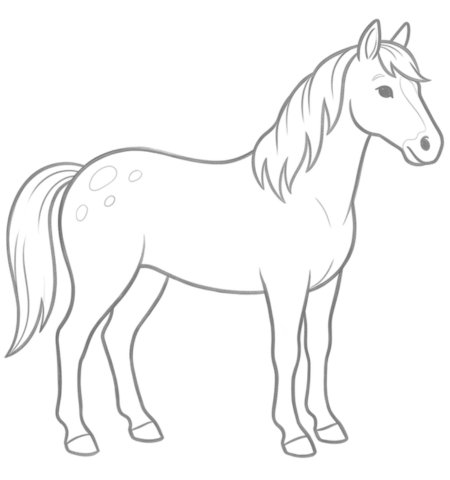
Finish the spots and small details on the body. Clean extra marks so your final horse drawing looks neat today.
Wonderful effort, artist. You will find the Easy Steps Full Page With 6 Easy Steps here, ready to download, print, and practice, so you can return anytime and make your horse drawing even better.
Simple Adults Horse Printable Page With 6 Simple Steps Download, Print, and Practice
Well done, artist. You have practiced horse drawing in a fun and simple way, from the first outline to the final details. You can download, print, and practice the full step page again whenever you want. Each new try will help your pencil lines look cleaner, smoother, and more confident.
What is the easiest way to start a horse drawing?
The easiest way is to begin with simple shapes like an oval head, a soft neckline, and a rounded body. After that, you can add the ears, mane, legs, tail, and hooves step by step.
Can beginners use this horse drawing tutorial?
Yes, beginners can use this horse drawing tutorial. Each step uses clear pencil lines, so young artists and new learners can follow along without feeling confused.
Should I draw lightly at the beginning?
Yes, drawing lightly is best. Soft pencil lines are easier to fix, and they help you clean up the horse shape before adding the final details.
How can I make my horse drawing look better?
Practice the same steps a few times. Focus on smooth lines, even legs, a clear face, and a flowing mane. Small improvements will make the drawing look better each time.