Learning to draw a rose with a pencil feels easier when we break it down into small, clear steps. In this lesson, you will find rose drawing guides for different age groups, from simple flower shapes for young kids to more detailed pencil rose sketches for older learners. Every drawing tutorial has 6 clear steps, so artists can follow along, practice with confidence, and enjoy building a pretty rose from the first curve to the final leaf.
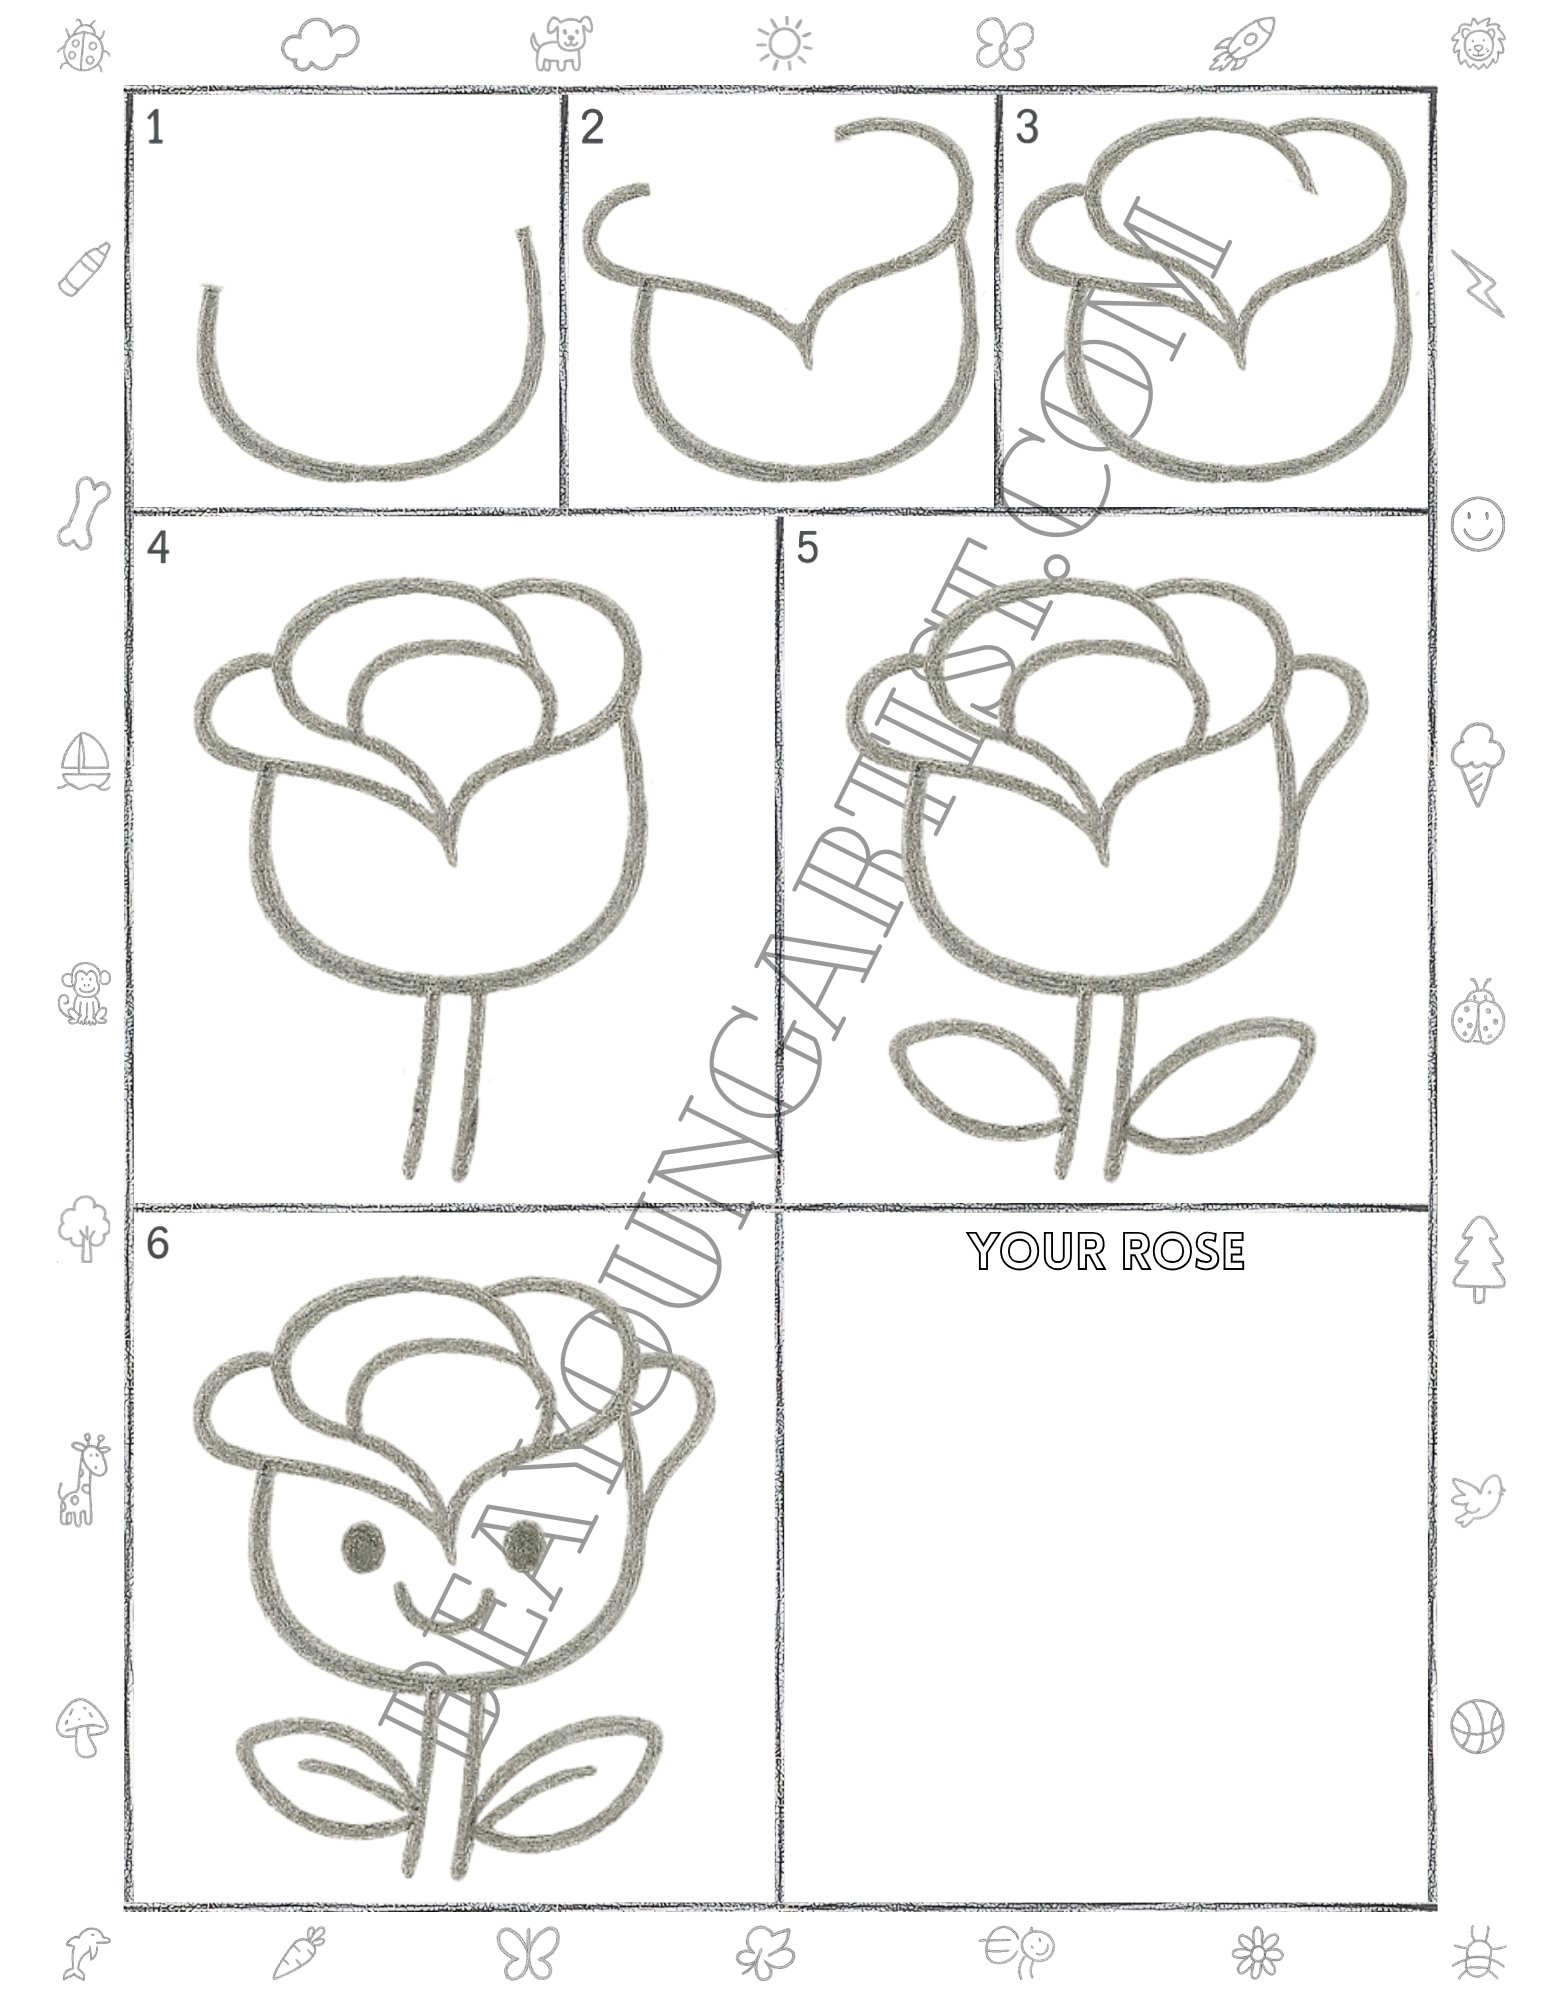
Rose Drawing With Pencil for Beginners for Ages 3 to 8 Little Kids with Clear 6 Steps
This fun rose drawing guide helps kids and toddlers learn a cute flower with a pencil in 6 easy steps.
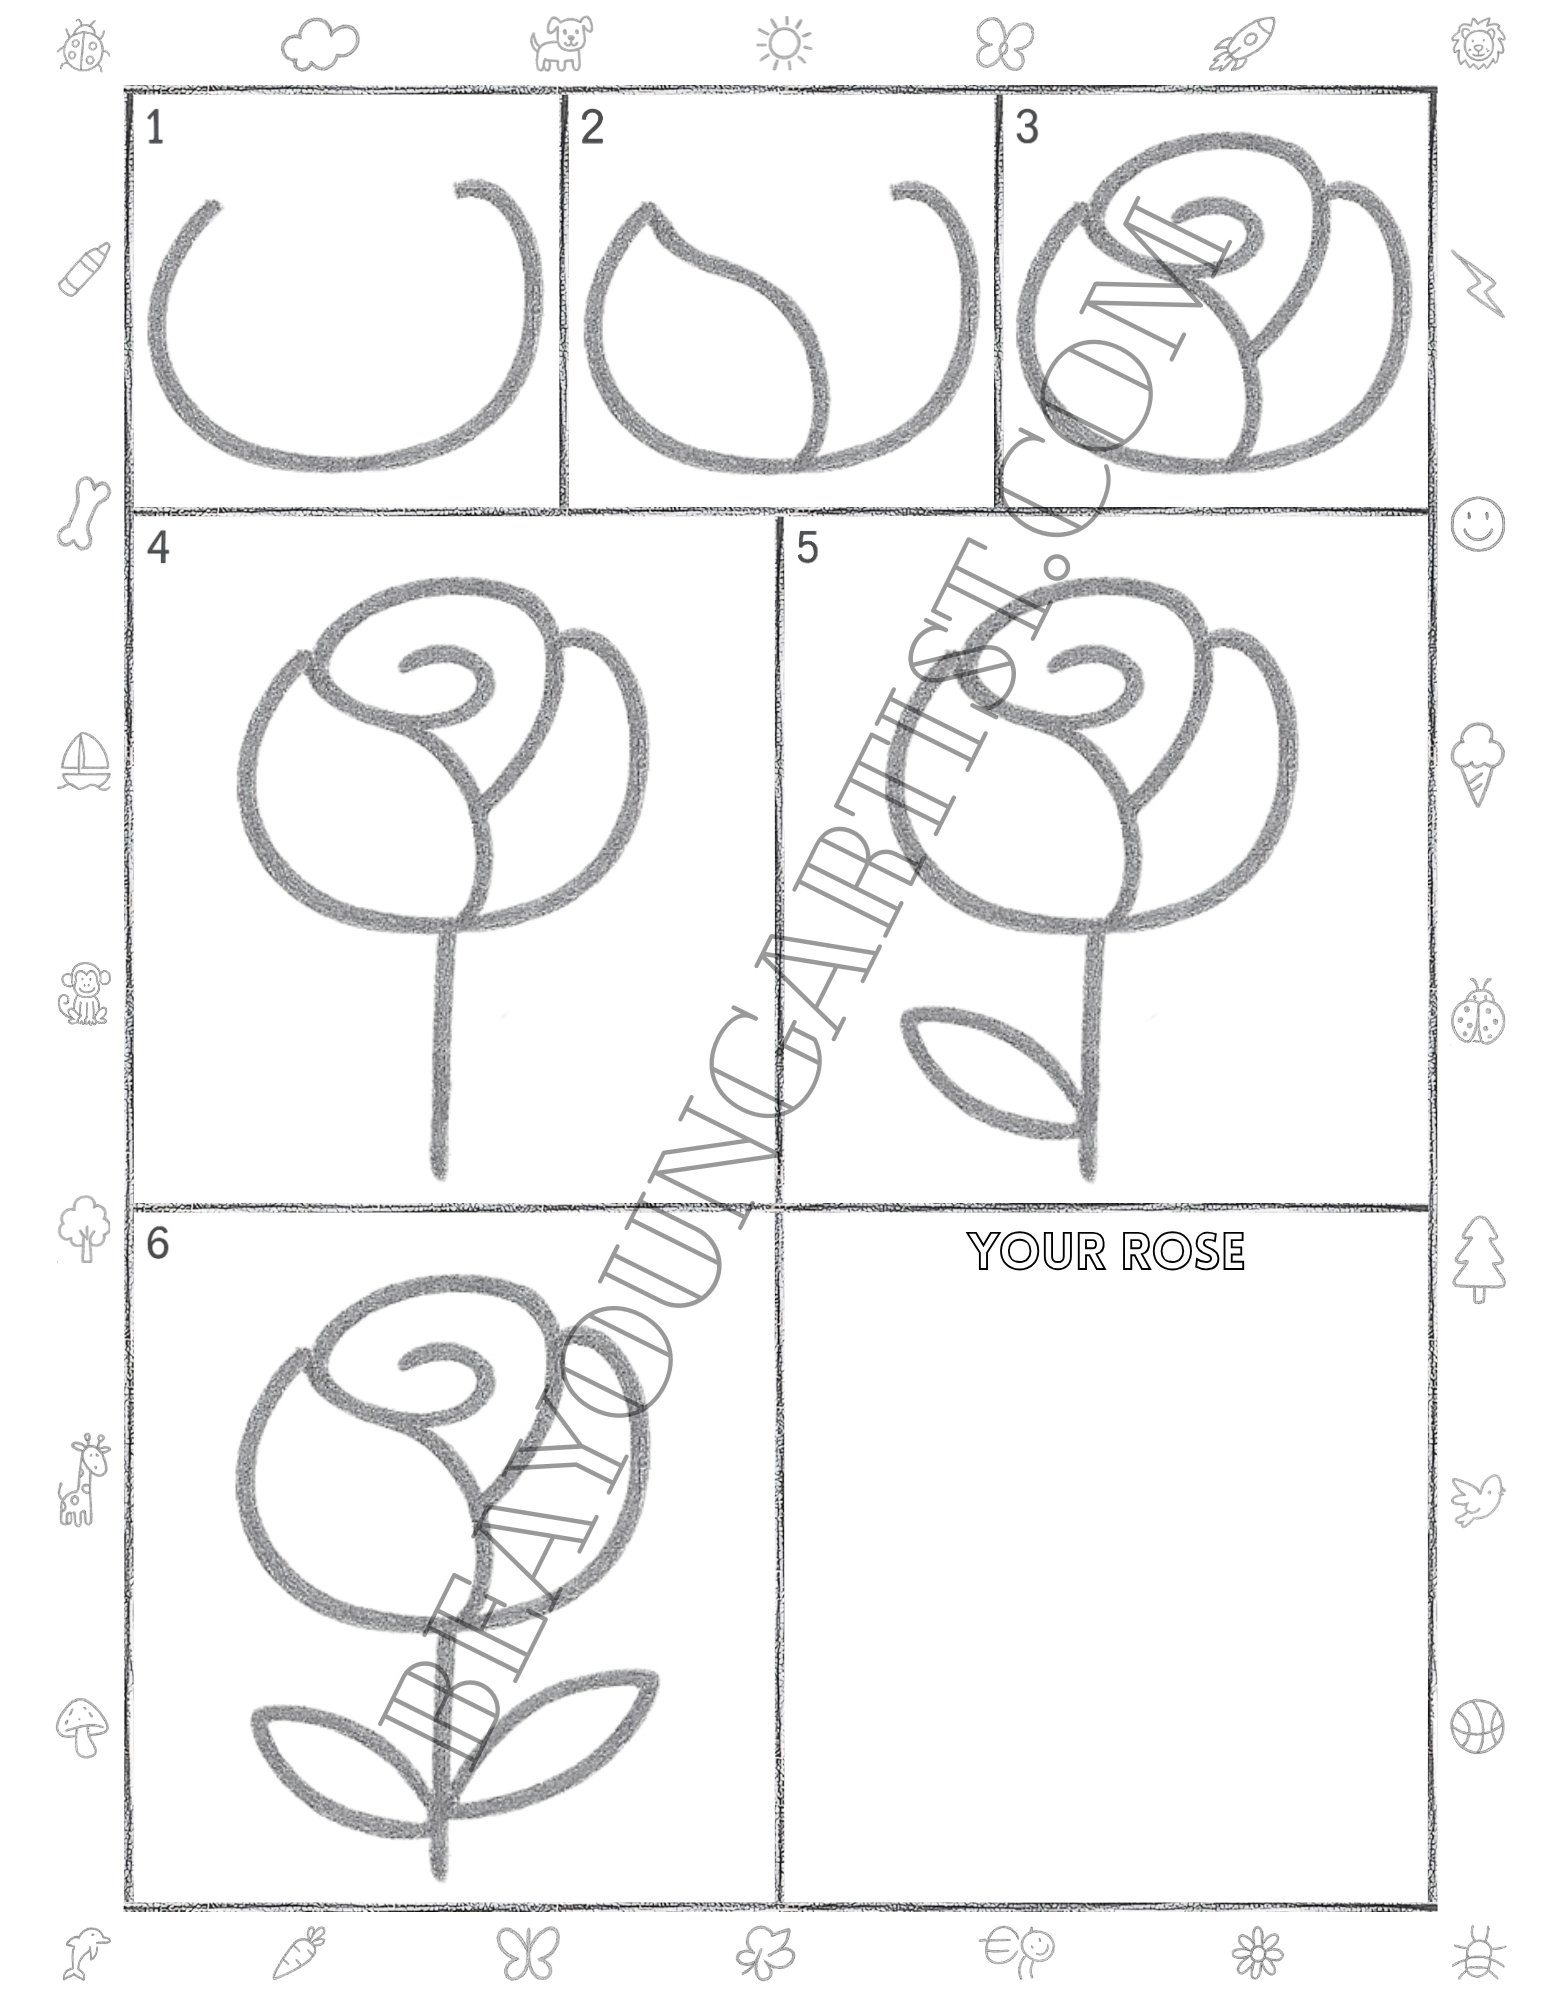
Kids Step 01: Draw a wide round cup for the bud

Start your rose drawing with a big curved cup shape. Keep the top open so the flower can grow in the next step.
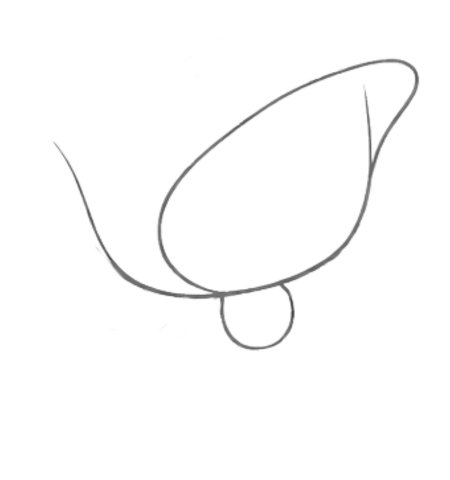
Kids Step 02: Add one soft petal inside the bud
Now add a soft petal inside the cup shape. This easy line begins the rose bud and makes the flower look sweet.
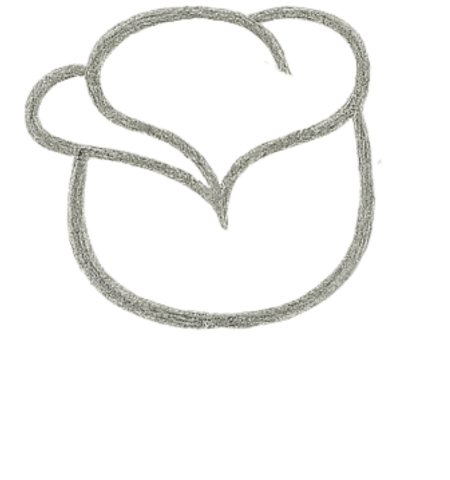
Kids Step 03: Sketch the rose swirl in the top bud area

Draw a small swirl at the top and connect it down. The new line turns the bud into a pretty rose for every little artist.
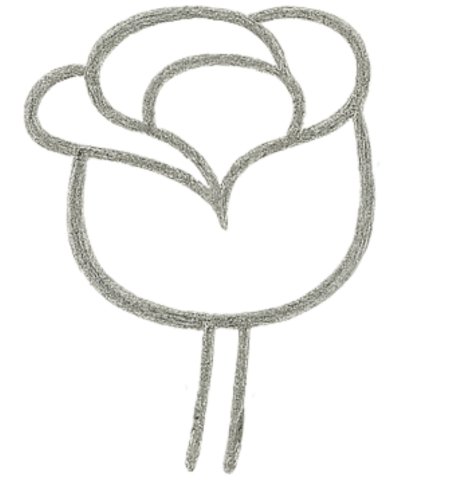
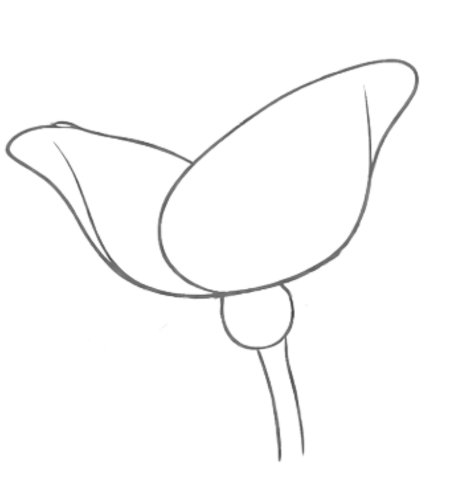
Kids Step 04: Draw a straight stem under the rose
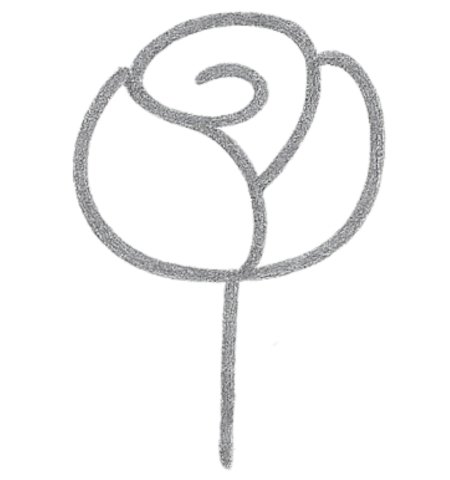
Pull one straight line down from the flower to make the stem. A clean stem helps your pencil rose look tidy now.
Kids Step 05: Add one simple leaf on the left

Add one easy leaf on the left side of the stem. This little shape makes your flower drawing look fresh and full.
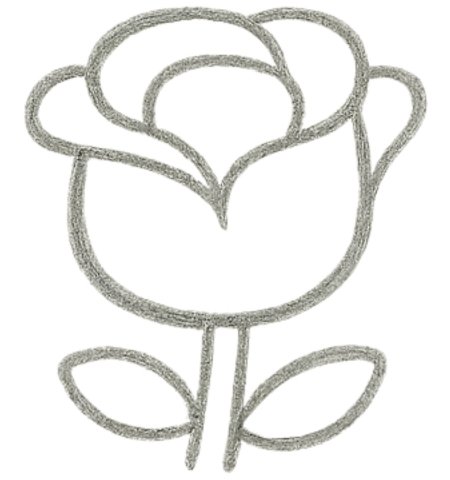
Kids Step 06: Finish with a leaf on the right
Draw the last leaf on the right side to complete the rose. Your toddler-friendly sketch is now balanced and cute.
Great job, little artist. Your rose is ready to bloom. Enjoy the Easy Steps Full Page With 6 Easy Steps to download, print, and practice whenever you want more fun flower drawing time at home.
Daily Practice Rose Printable for Kids With Clear 6 Steps for Creative Practice
Tweens Friendly Rose Pencil Drawing Lesson for Beginner Tweens Ages 9 to 12 with 6 Steps
This tween rose drawing lesson makes flower sketching simple and fun with 6 clear pencil steps.
Tweens Step 01: Draw the open rose base shape

Begin your rose sketch with a wide cup shape. Keep the top open and smooth so the flower can grow nicely for you.
Tweens Step 02: Add the first top petal curve
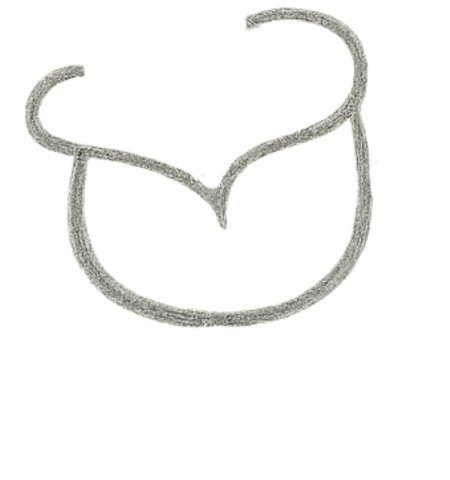
Add a soft top petal that bends across the rose. Let the line dip in the middle to start the bloom shape neatly.
Tweens Step 03: Shape the center of the rose bud
Now draw the center petal and the right outer curve. These lines build a fuller rose bud with a pretty look now.
Tweens Step 04: Finish the bloom and the stem
Finish the top petal and draw two stem lines below. Your flower sketch now looks clean, tall, and well-balanced.
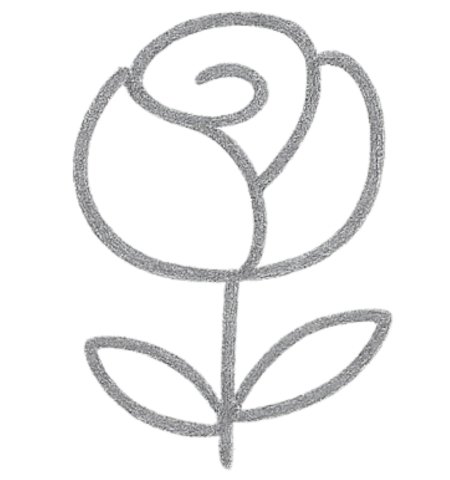
Tweens Step 05: Add two simple leaves below now
Add two leaf shapes beside the stem. These simple leaves make your easy rose drawing look fresh and bright now.
Tweens Step 06: Draw a cute face on the rose bud
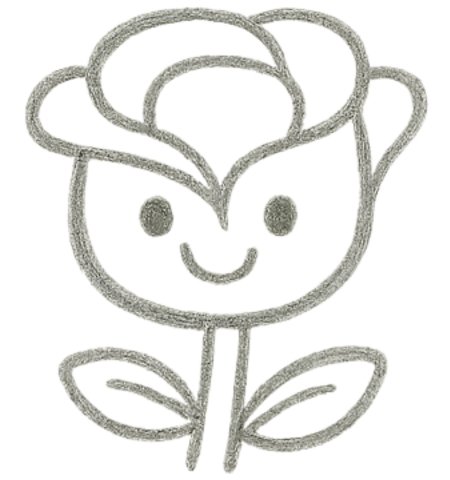
Draw two eyes and a smile on the rose. This cute finish gives your flower art a happy and friendly style now.
Awesome work, artist. Your rose looks bright and fun. Enjoy the Easy Steps Full Page With 6 Easy Steps to download, print, and practice anytime you want more happy flower drawing fun at home.
Trace Rose Printable for Tweens With 6 Clear Steps for Tweens Art Practice
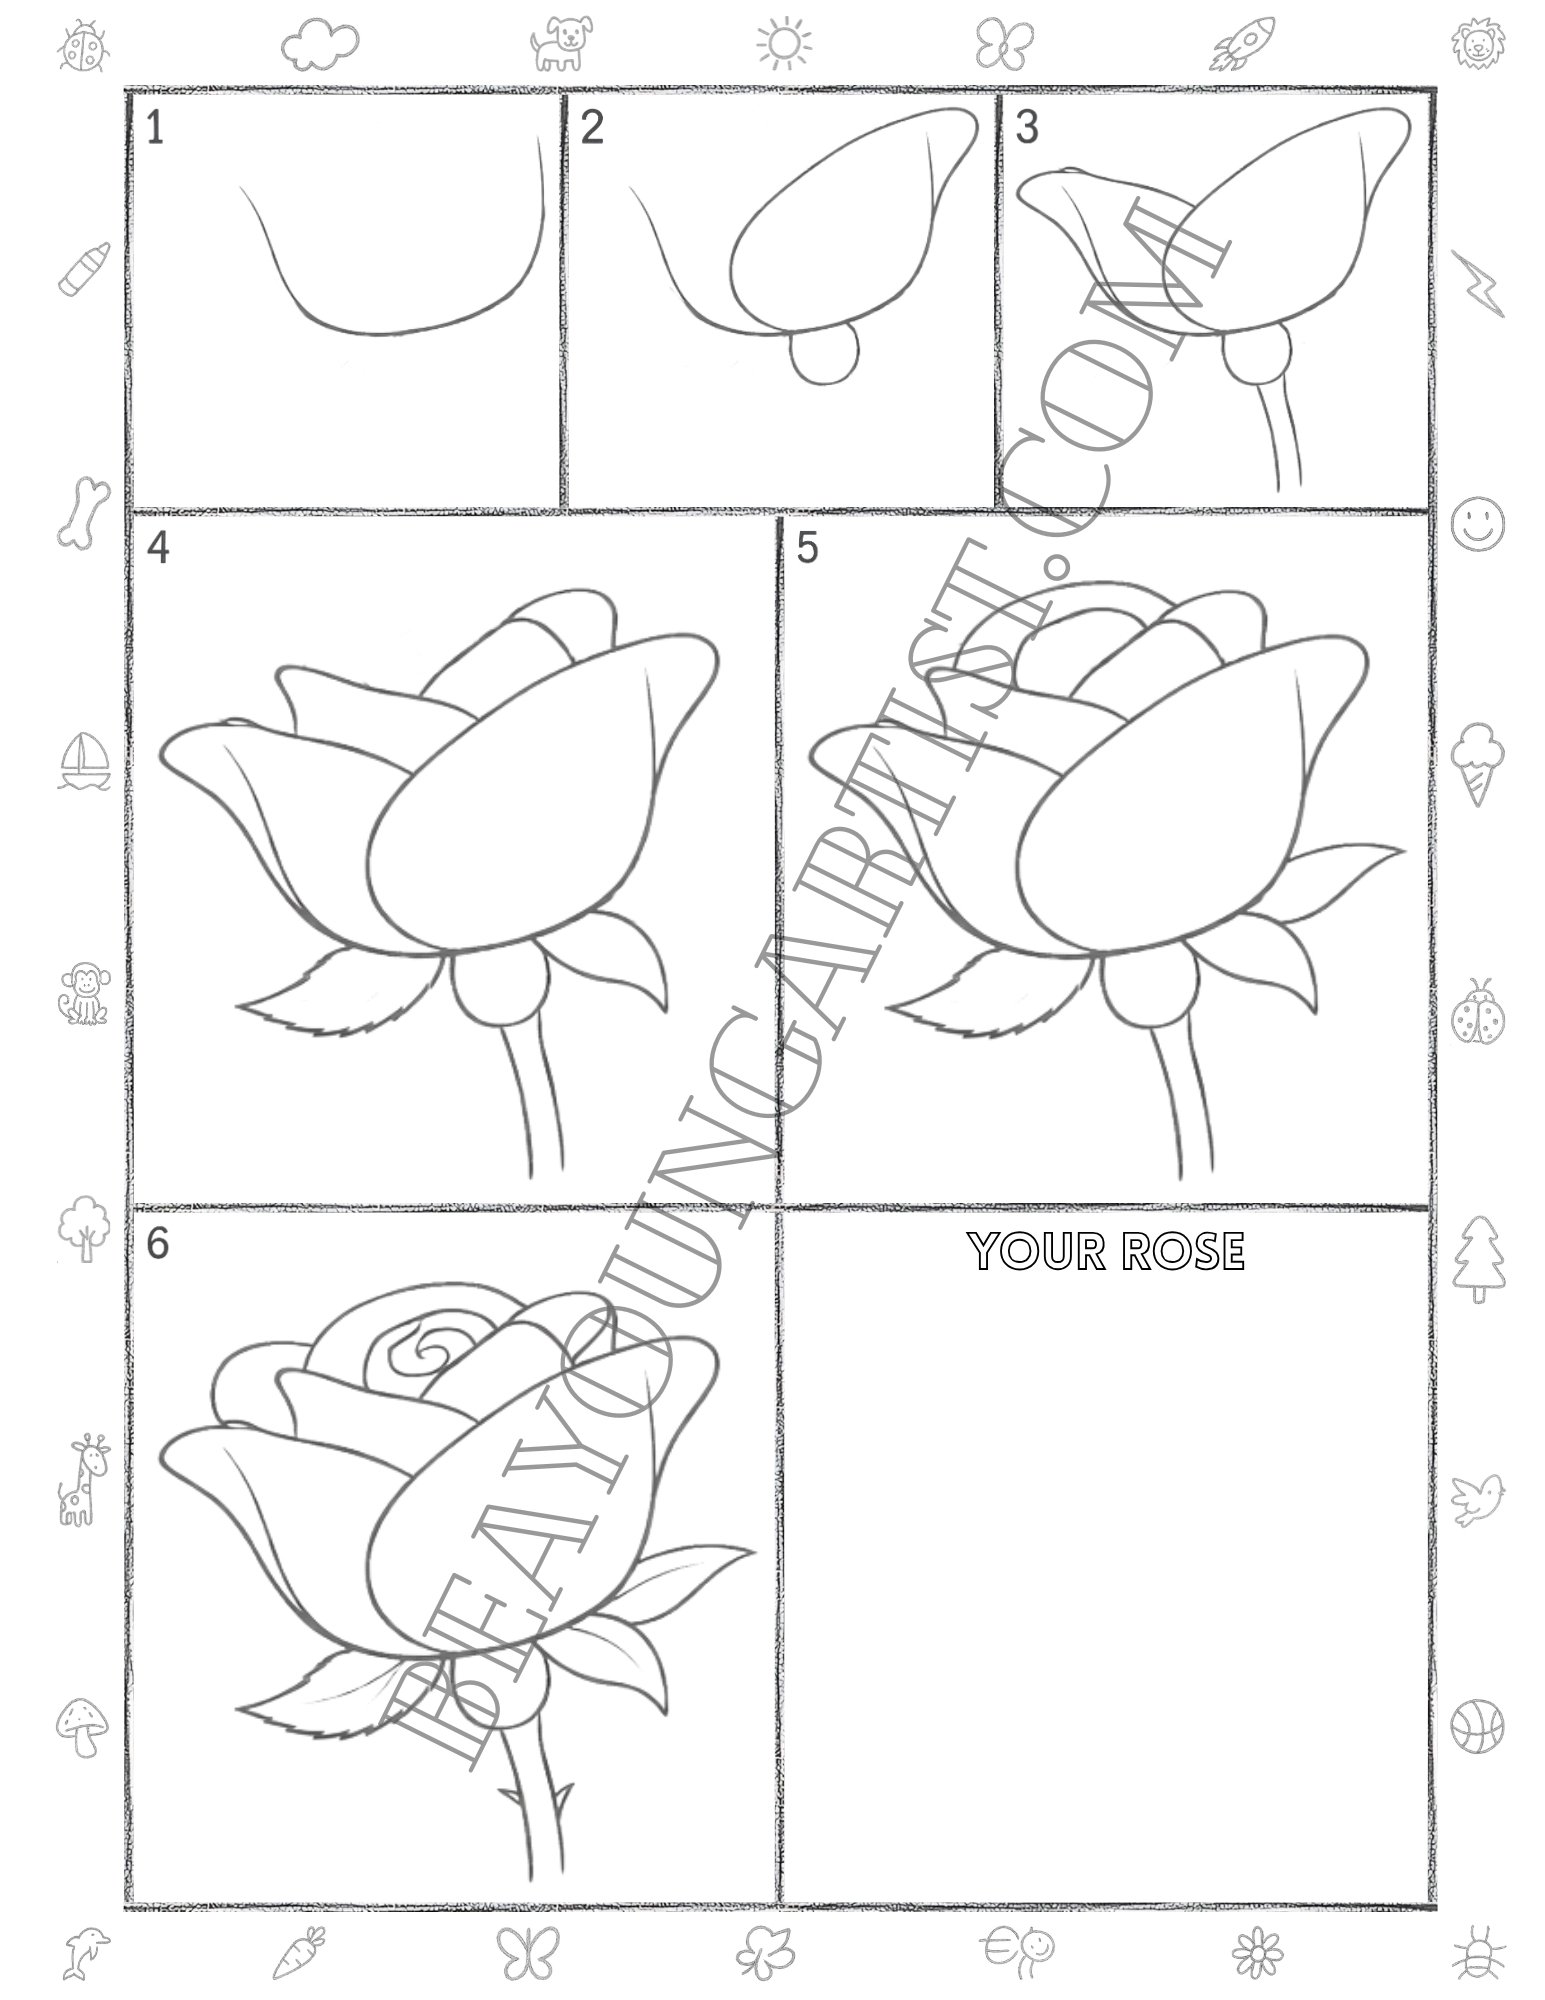
Rose Pencil Drawing Lesson for Teen Ages 13 to 18 with Easy 6 Steps
Learn how to draw a rose with a pencil in 6 easy steps, made fun for teens who enjoy flower art.
Teens Step 01: Draw the open base of the rose

Start the rose pencil drawing with a soft open curve. Keep the line smooth so the flower base looks neat today.
Teens Step 02: Add a large front rose petal now
Add a large front petal above the base, then place a small oval under it. The rose bud begins to look full now.
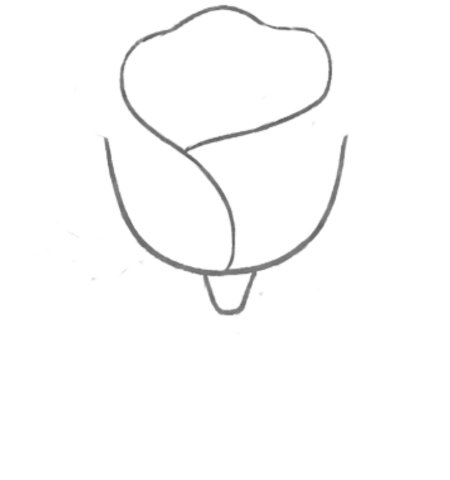
Teens Step 03: Draw side petal and slim stem lines now
Draw one side petal behind the front petal, then add two slim stem lines. The flower now has a graceful shape.
Teens Step 04: Add pointed leaves under bloom

Add pointed leaves around the lower bloom. These little leaves make the step-by-step rose drawing look natural.
Teens Step 05: Sketch top petals inside the rose

Sketch curved petals across the top of the flower. The new layers make the rose pencil drawing look richer now.
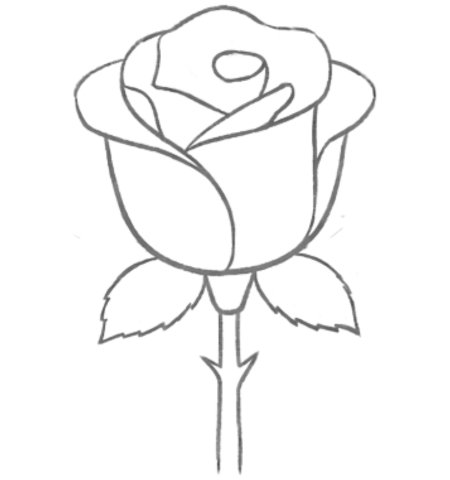
Teens Step 06: Finish the rose with center swirl

Add a small center swirl, finish the stem, and clean the shape. Your easy rose drawing is now complete.
Well done, teen artist. Your rose has a lovely bloom. We will add the Easy Steps Full Page With 6 Easy Steps so you can download, print, and practice the pencil flower again with confidence.
Teens' Rose Print and Practice Page With Simple 6 Steps for Step-by-Step Learning
Rose Pencil Drawing Lesson for Adults 18 and Up with Clear 6 Steps
This adult rose drawing lesson shows how to sketch a lovely rose with a pencil in 6 clear, simple steps.
Adults Step 01: Draw the open base of the rose

Begin with a soft open cup shape for the rose base. Keep the curve smooth and even to start your flower neatly.
Adults Step 02: Add the front petal and small base
Add a large front petal and a small base below it. These simple lines shape the bud and keep the rose balanced.
Adults Step 03: Draw side petals and stem lines

Draw side petals around the bud, then sketch two stem lines below. The rose begins to look graceful and tall now.
Adults Step 04: Add the center swirl and leaves
Add the center swirl and two leaves near the bloom. These details give your flower drawing a fuller, softer look.
Adults Step 05: Add more leaves around the bloom

Build more leaves around the stem and refine the petals. Each new line makes your pencil rose look rich and neat.
Adults Step 06: Finish the rose with details now

Finish the rose by cleaning the shape and final stem. Your complete flower sketch looks polished and elegant.
Beautiful work, artist. Your rose drawing is complete. Enjoy the Easy Steps Full Page With 6 Easy Steps that you can download, print, and practice whenever you want to sharpen your flower skills.
Adults Rose Print and Practice Page With 6 Clean Steps for Creative Practice

Great work, artist. You have now explored several rose drawing lessons made for different skill levels and ages. Each guide shows how a pencil rose can grow from simple shapes into a complete flower with petals, stems, leaves, and final details. You can also use the Easy Steps Full Page With 6 Easy Steps to download, print, and practice again. Keep drawing slowly, enjoy each line, and let every rose sketch help your flower art become cleaner and more confident.
What is the easiest way to start a rose drawing?
Start with a soft cup shape or curved base. The soft base gives the rose a clear beginning before you add petals, stems, and leaves.
Can beginners follow these rose drawing steps?
Yes. Each rose tutorial uses simple pencil lines and clear 6-step guidance so that beginners can draw at a comfortable pace.
Which rose lesson is best for younger kids?
The section for kids is best for ages 3 to 8 because it uses large shapes, fewer details, and easy flower lines.
Can tweens and teens use the printable pages?
Yes. The printable pages help with tracing, repeating the steps, and improving pencil control through regular practice.