A bow is a sweet, simple drawing subject that fits many ages and skill levels. This lesson shows how to draw a bow with a pencil through clear 6-step drawing tutorials for kids, tweens, teens, and adults.
Each bow drawing starts with easy shapes and grows into a neat ribbon design. Young artists can enjoy a cute and simple bow, while older learners can practice smoother loops, ribbon tails, fold lines, and clean finishing details. Every drawing tutorial is completed with 6 steps, so the process stays easy from the first pencil line to the final bow.
Easy Bow Drawing Tutorial in Pencil for Ages 3 to 8 Little Kids with 6 Steps
Draw a cute bow with a pencil in 6 easy steps. This fun kid lesson makes toddler art simple and happy.
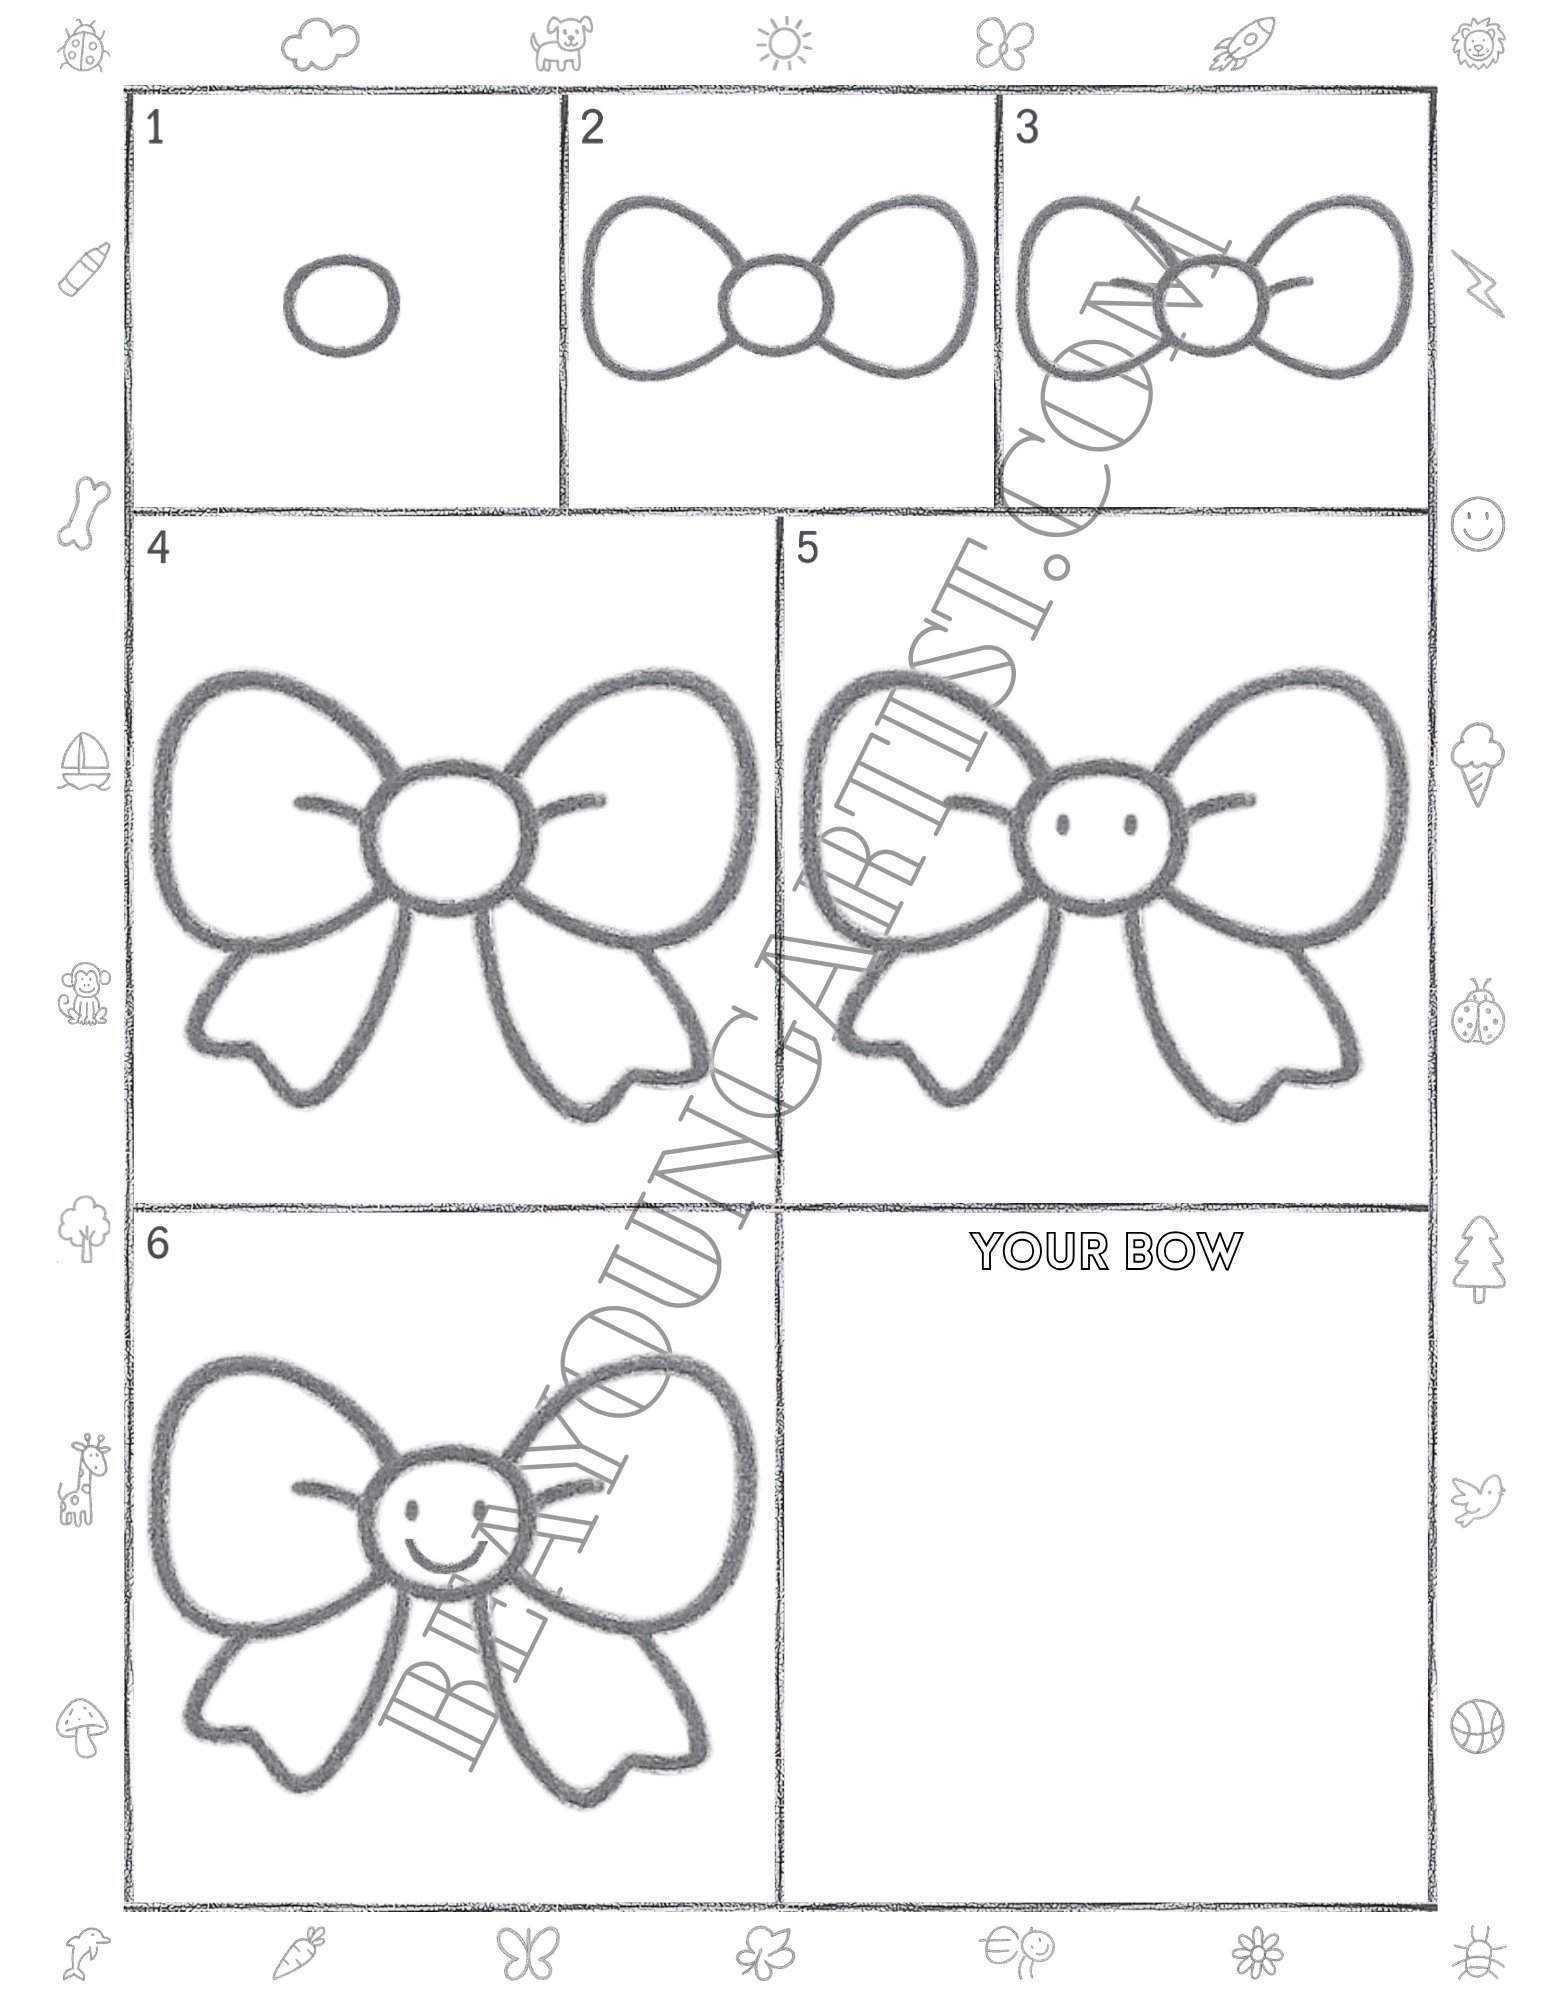
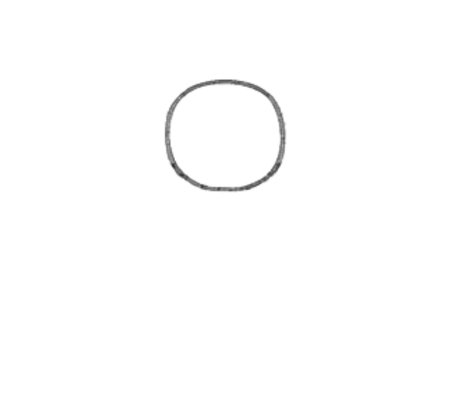
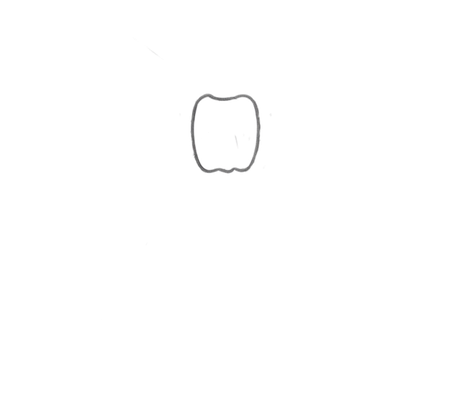
Kids Step 01: Draw a Small Circle for the Center
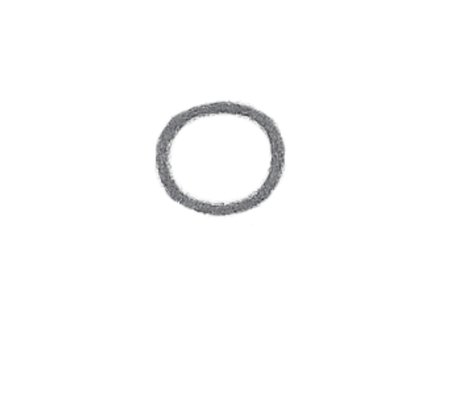
Start the bow drawing by making a neat, small circle in the middle. This simple shape will guide the rest well.
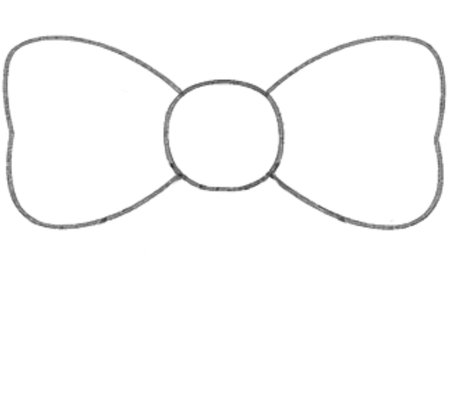
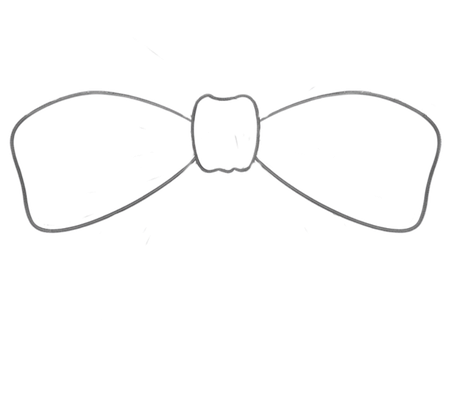
Kids Step 02: Add Two Big Bow Loops with Care
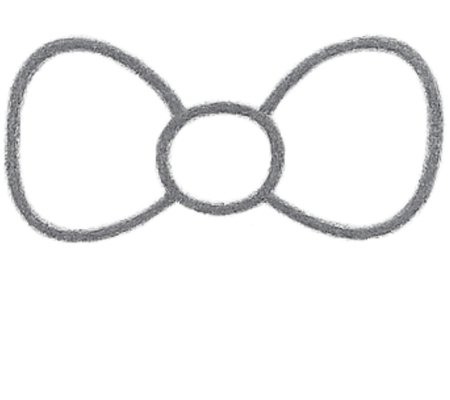
Now draw one rounded loop on each side of the circle. Keep both sides large, soft, and easy to follow today, too.
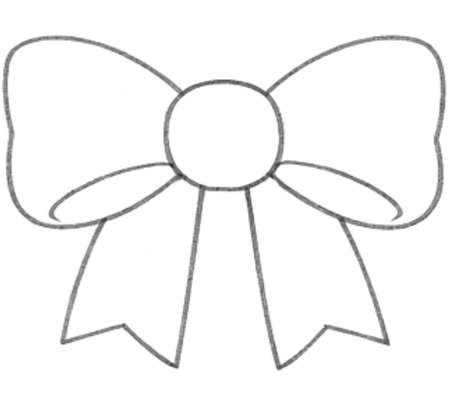
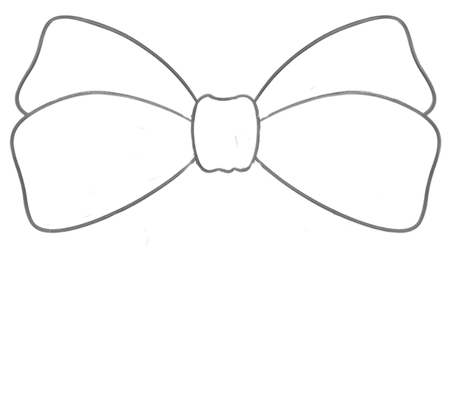
Kids Step 03: Sketch the Inner Fold Lines Gently
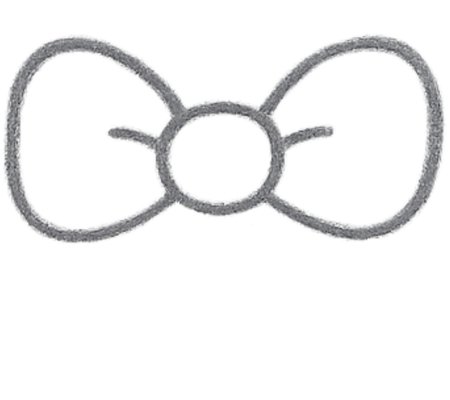
Add a short curved line inside each loop. These tiny lines help the pencil bow look fuller and cuter, too.
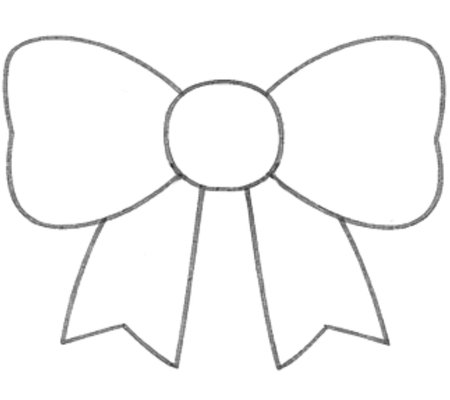
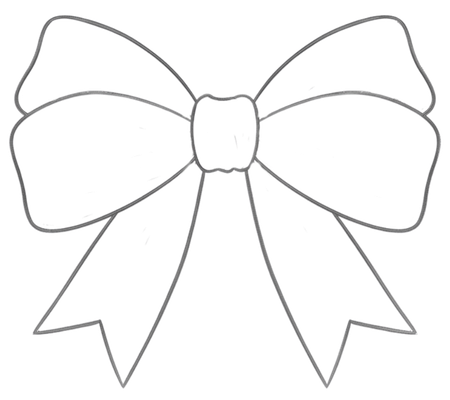
Kids Step 04: Add Ribbon Tails Below
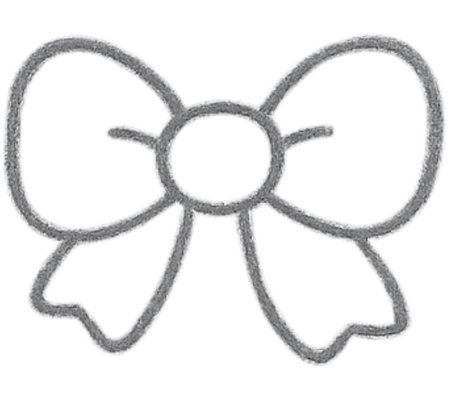
Under the center, draw two ribbon tails with soft curves. Let each tail hang down to build an easy bow now, too.
Kids Step 05: Add a Cute Happy Face in the Center
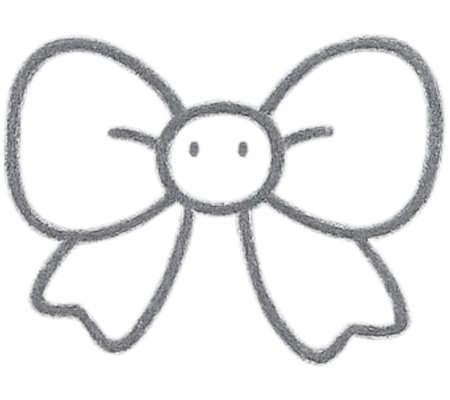
Give the center circle two tiny eyes and a sweet smile. This fun step makes the kids’ bow drawing look happy now.
Kids Step 06: Finish the Bow with Clean Lines
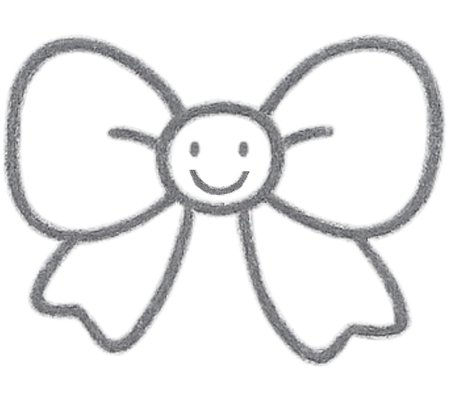
Trace the full bow neatly and enjoy the final picture. The simple pencil bow now looks clear, cute, and done.
Great work, little artist. The bow drawing is complete. Download, print, and practice with the Easy Steps Full Page with 6 Easy Steps for more happy drawing fun.
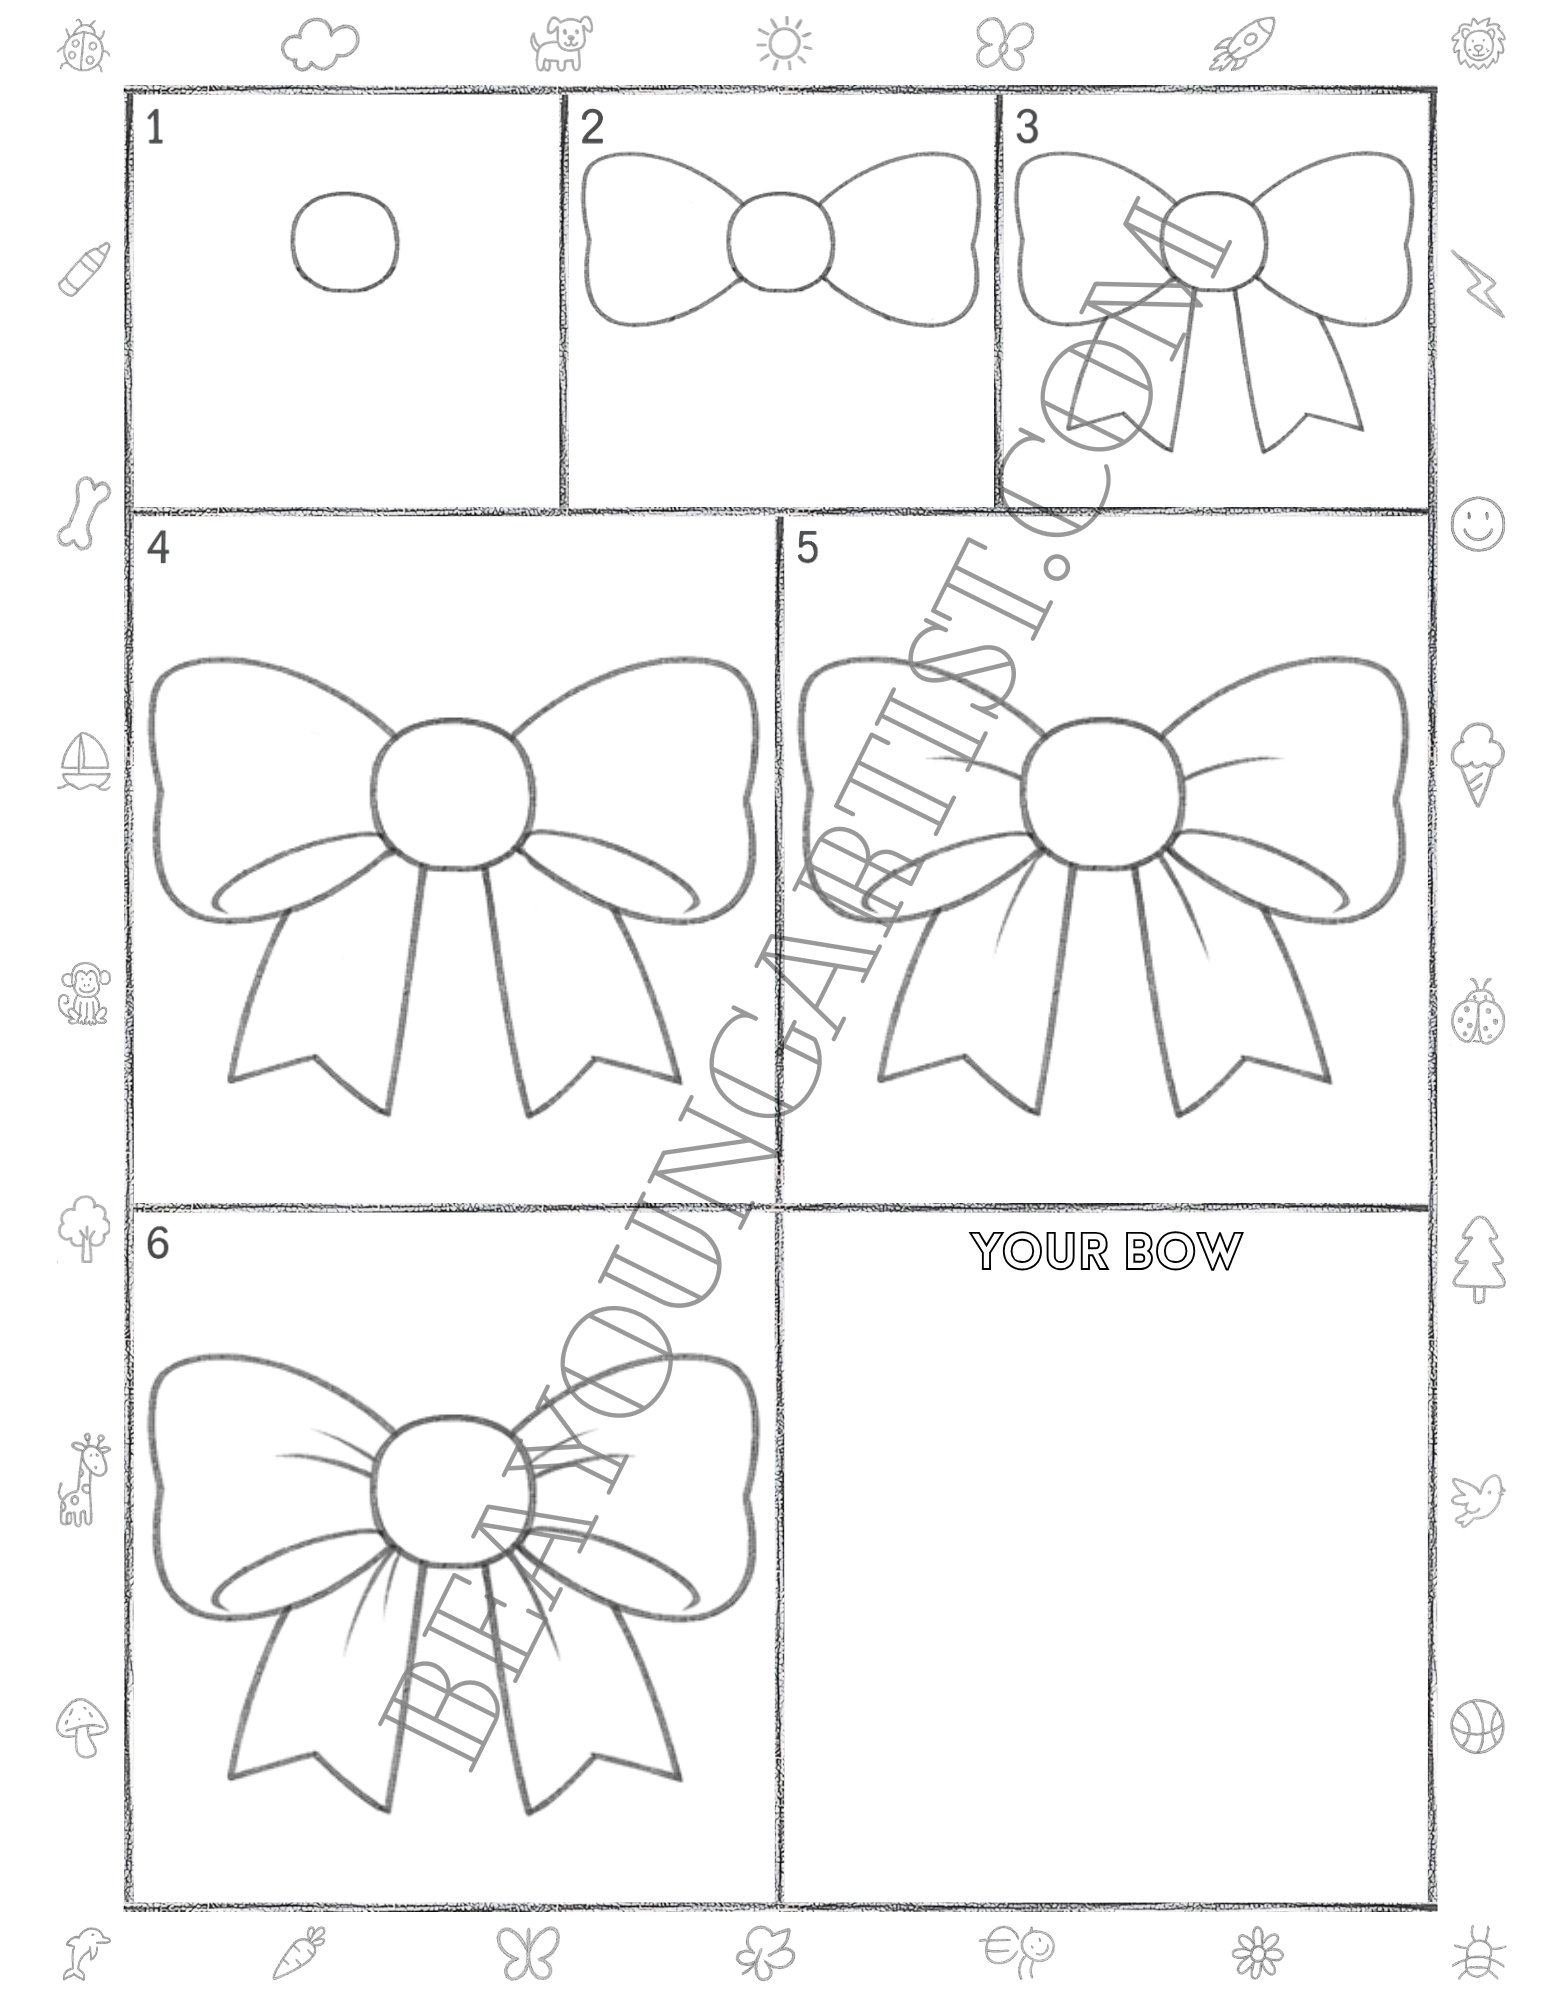
Kids Bow Printable Full Page With Beginner 6 Steps Download Print and Draw
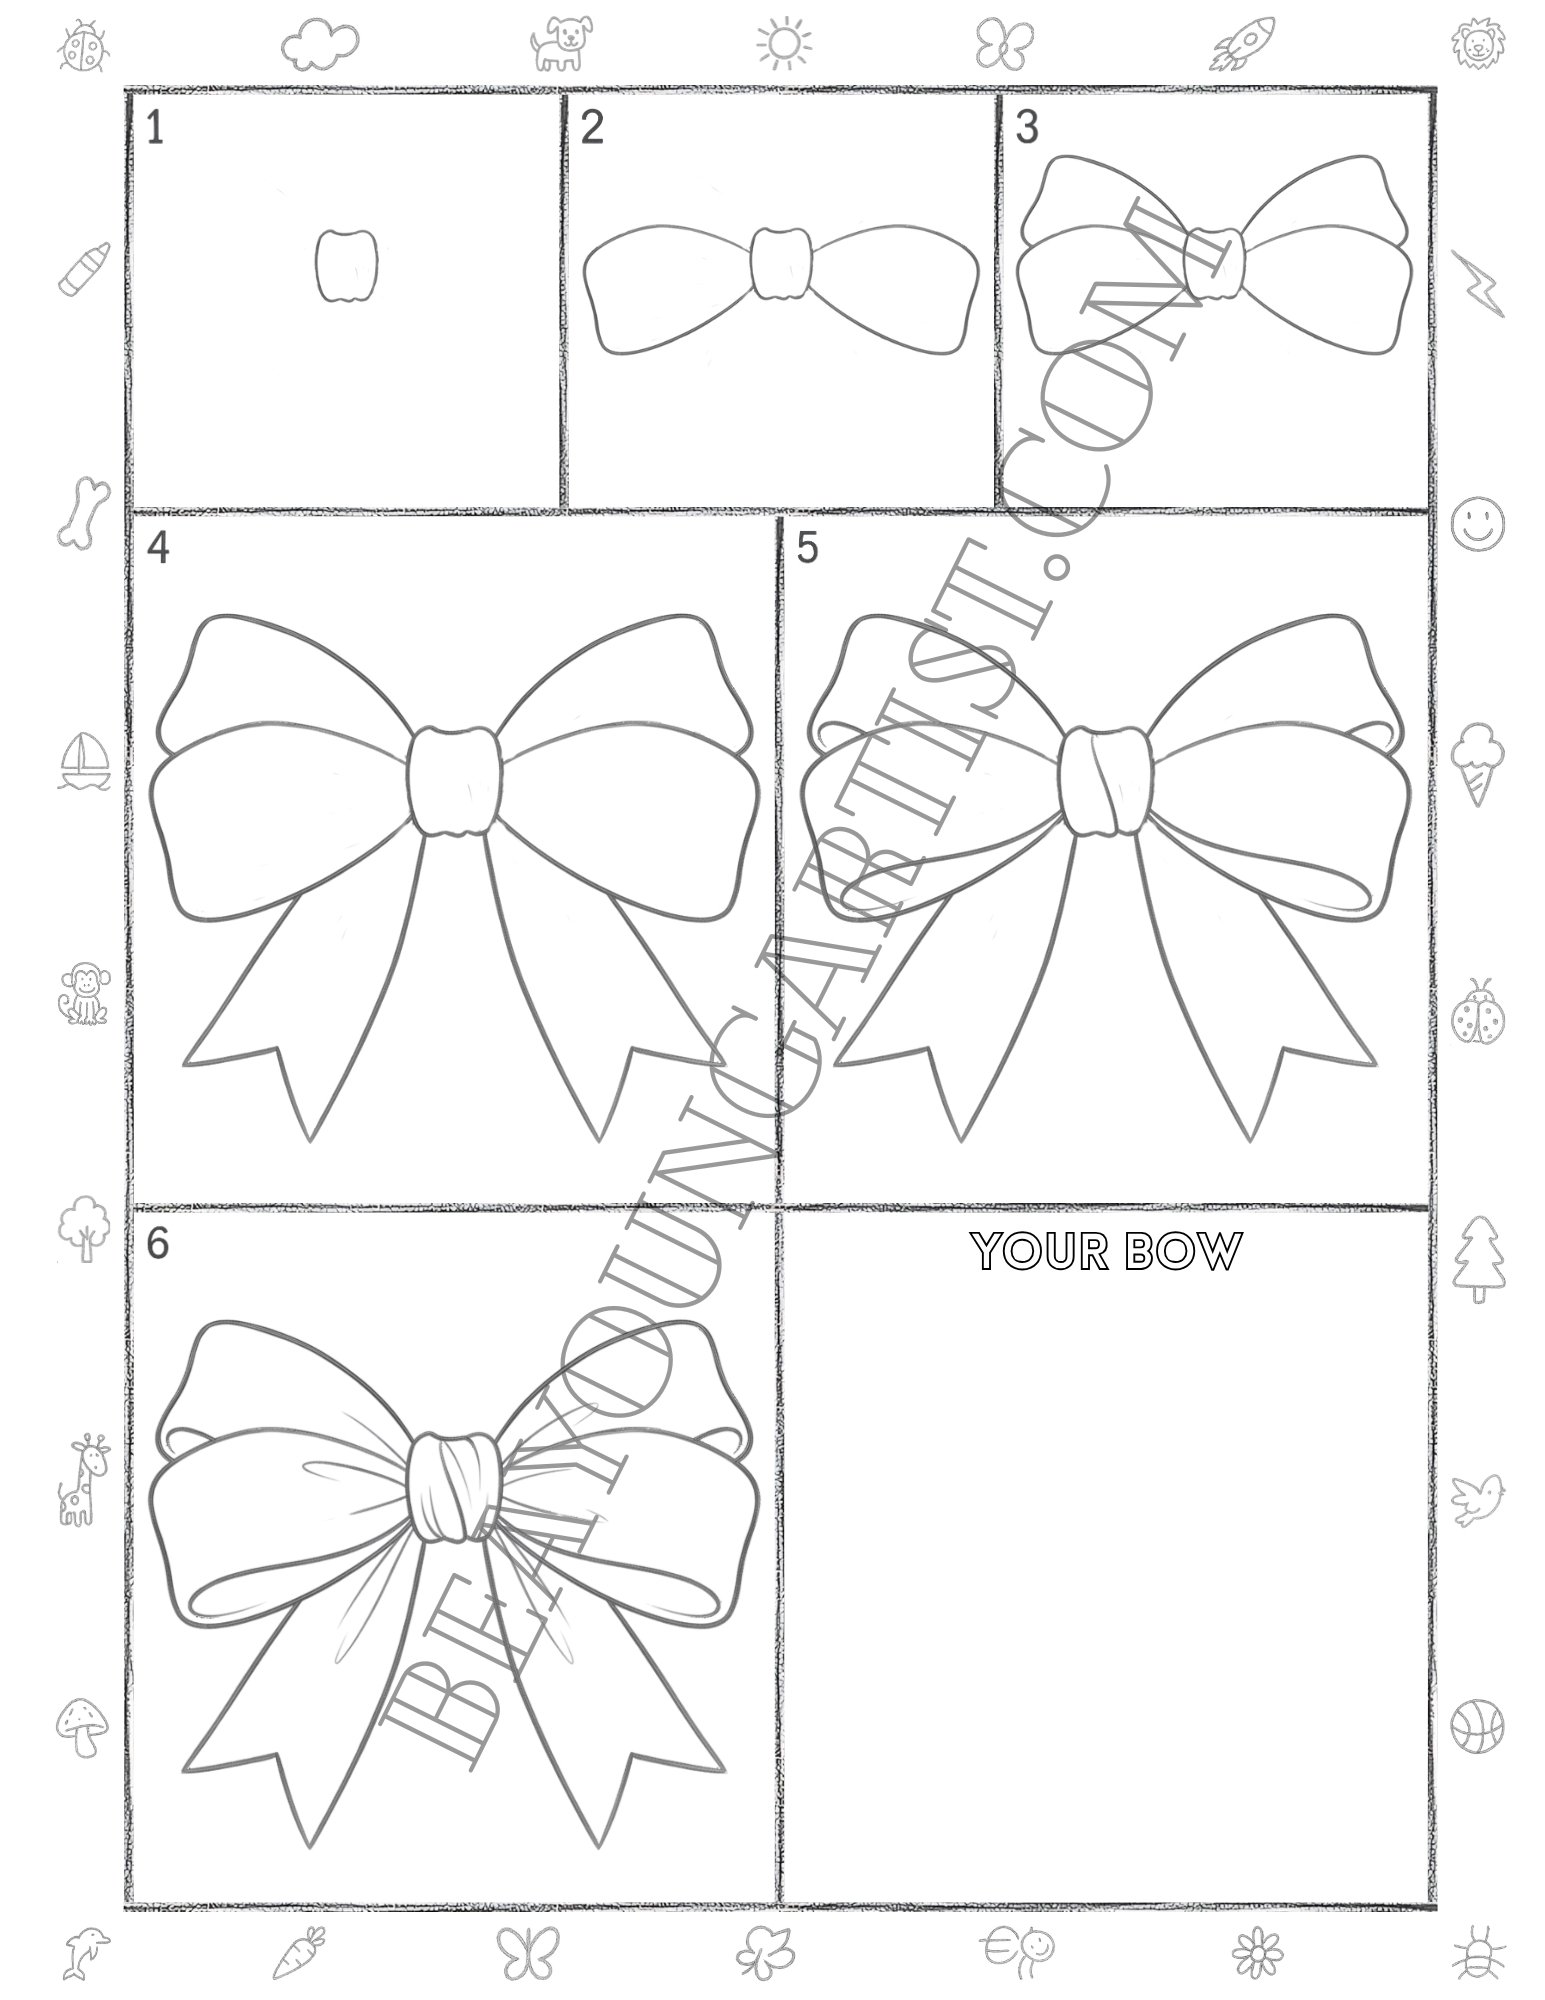
Fun Bow Drawing Tutorial for Tweens Ages 9 to 12 in 6 Steps
Learn to draw a bow with a pencil in 6 easy steps. This fun tween guide makes art simple and creative.
Tweens Step 01: Draw a Round Circle in the Center
Begin the bow drawing by sketching one neat circle in the middle. This center shape starts the easy bow.
Tweens Step 02: Add Two Large Bow Loops on Sides
Draw one large loop on each side of the circle. Keep both loops smooth and even for a pretty bow in today’s drawing.
Tweens Step 03: Sketch the Ribbon Tails Below
Add two long ribbon tails below the center circle. Let each tail point down to shape a pretty pencil bow well.
Tweens Step 04: Draw Inner Loop Curves Neatly
Sketch curved ribbon lines under each top loop. These soft inner shapes make the pencil bow look fuller today.
Tweens Step 05: Add the Fold Lines with Extra Care
Draw light fold lines from the center into the bow parts. These details give the easy bow drawing more style.
Tweens Step 06: Finish the Bow with Final Details
Complete the last fold lines and clean the full shape. The bow drawing now looks polished and pretty at last.
Nice job, creative artist. Download, print, and practice with the Easy Steps Full Page With 6 Easy Steps to keep bow-drawing skills growing with joy.
Tweens Bow Printable Practice Page With 6 Easy Steps Print and Draw
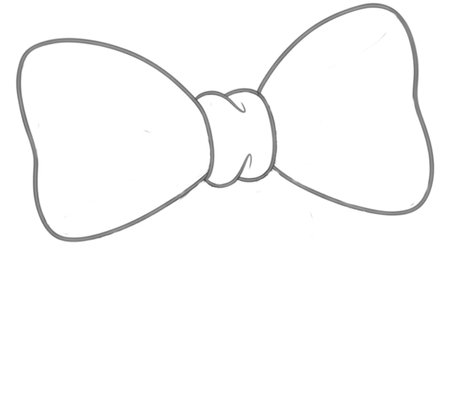
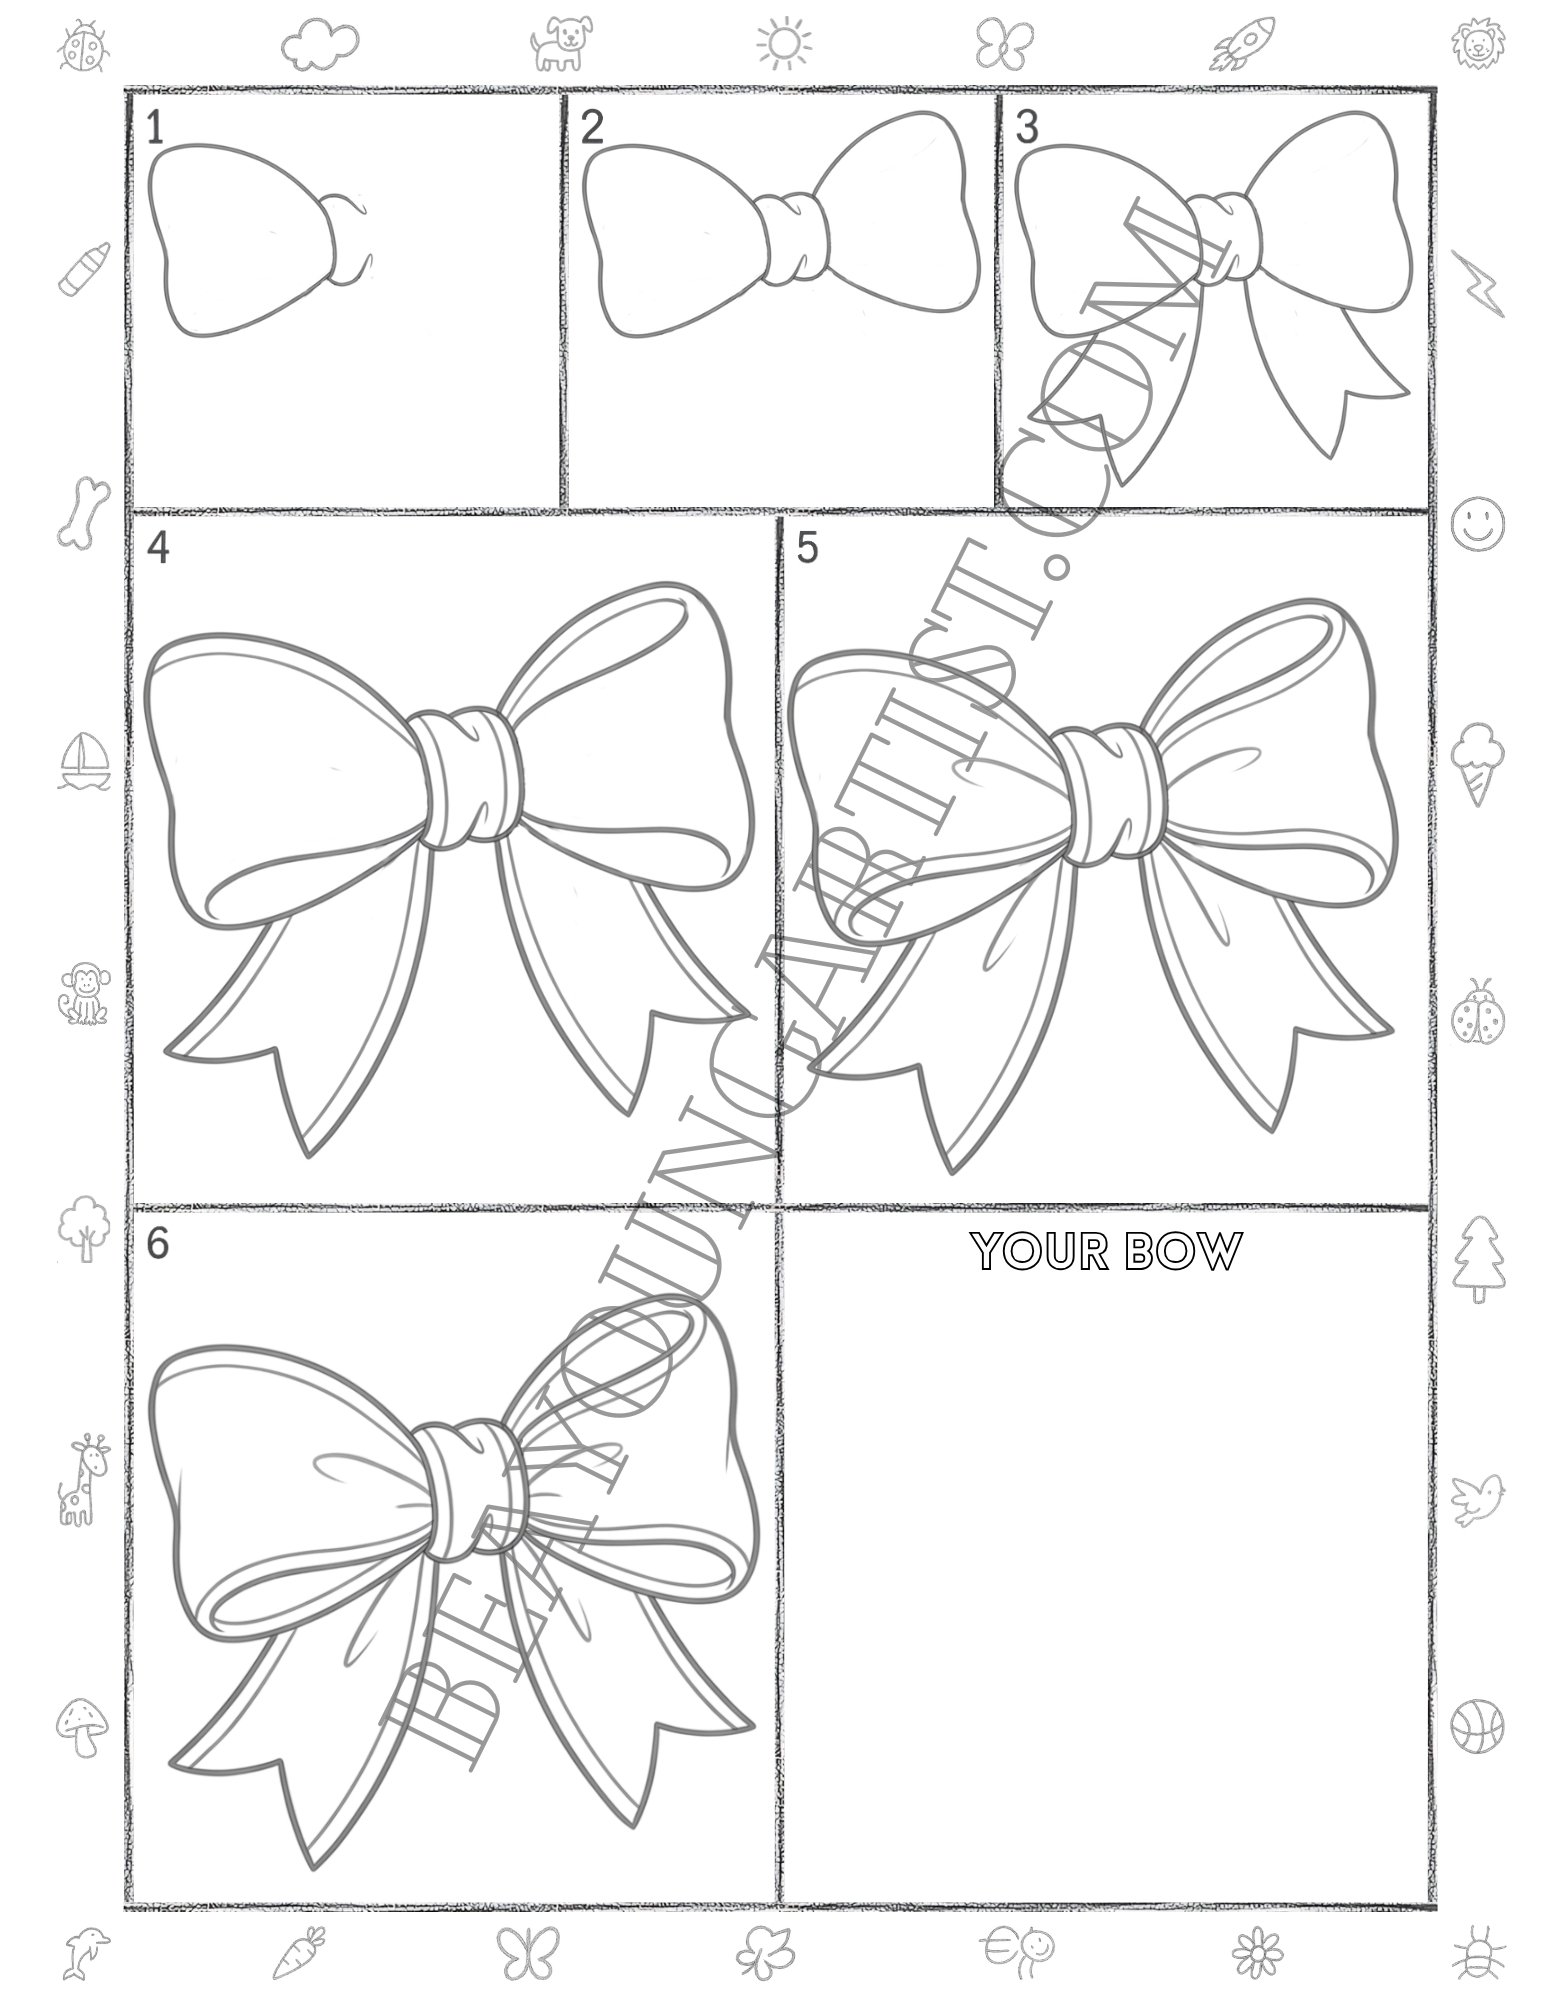
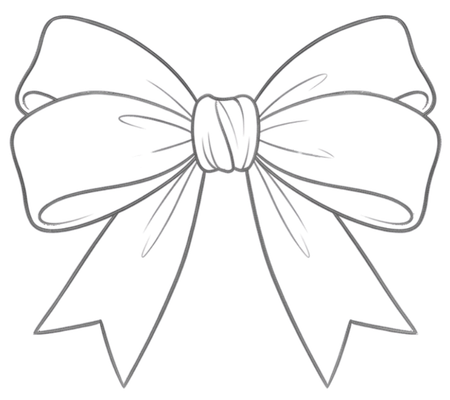
How to Draw a Bow for Teens Ages 13 to 18 in Easy 6 Steps
Learn to draw a stylish bow with a pencil in 6 easy steps. This teen guide keeps art fun and clear.
Teens Step 01: Draw the First Bow Loop Shape Neatly
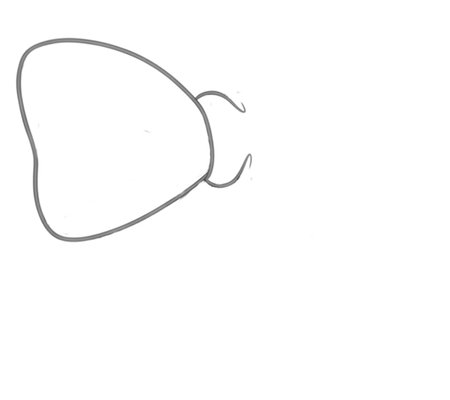
Start the bow drawing with the left loop and a small center guide. Keep the shape smooth, wide, and clean today.
Teens Step 02: Add the Right Loop and Center Knot
Draw the right loop and finish the center knot shape. Keep both sides balanced for a pretty pencil bow today, too.
Teens Step 03: Sketch the Ribbon Tails Below Now
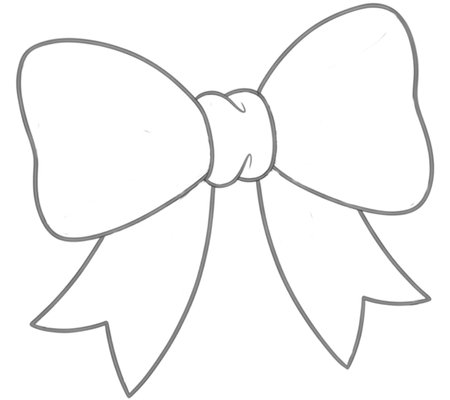
Add two long ribbon tails under the knot. Give each tail a pointed end to shape the bow with more style today.
Teens Step 04: Draw the Inner Fold Curves Neatly
Sketch inner ribbon curves inside the loops and tails. These clean lines help the bow look fuller and neater today.
Teens Step 05: Add Soft Fold Lines with Care Now

Draw a few fold lines from the center and along the ribbon parts. These details make the pencil bow richer as well.
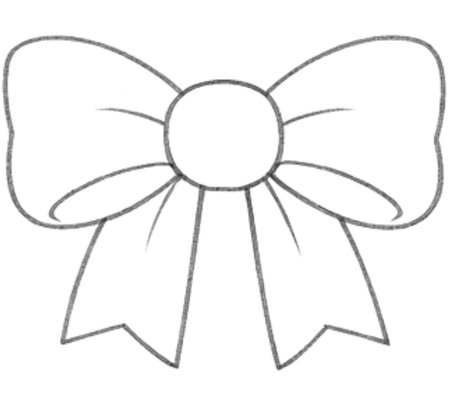
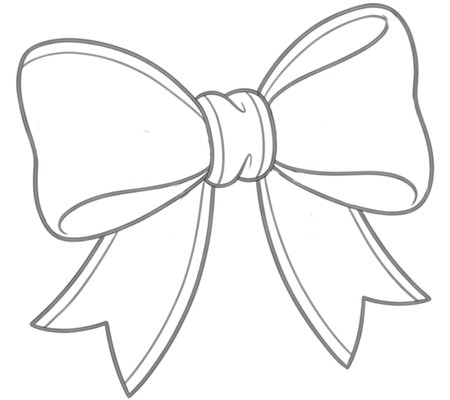
Teens Step 06: Finish the Bow with Final Detail

Complete the last fold lines and clean the shape. The bow drawing now looks polished, pretty, and ready today.
Inspiring work, artist. The bow drawing is complete. Download, print, and practice with the Easy Steps Full Page With 6 Easy Steps for steady drawing progress.
Creative Teens Bow Printable Page With Fun 6 Steps Print and Draw
Learn to Draw a Bow for Adult Learners 18 Years and Up in 6 Steps
Learn to draw a nice bow with a pencil in 6 easy steps. This adult guide makes practice easy and fun.
Adults Step 01: Draw the Small Center Knot Shape
Start the bow drawing by sketching a small center knot. Keep the shape soft, balanced, and neat for practice.
Adults Step 02: Add the Two Main Bow Loops Neatly
Draw one broad loop on each side of the knot. Make both loops smooth and even for a graceful bow drawing today.
Adults Step 03: Refine the Top Bow Edges Gently
Adjust the upper edges of both loops with gentle curves. This step gives the pencil bow a fuller, softer look.
Adults Step 04: Draw the Ribbon Tails Below Neatly
Add two long ribbon tails under the center knot. Let each tail fall neatly for a clean and elegant bow design.
Adults Step 05: Add Inner Ribbon Details Clearly
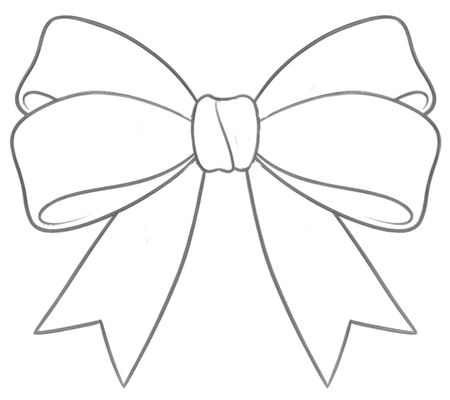
Sketch inner ribbon curves inside the loops and tails. These lines make the bow drawing look richer and fuller.
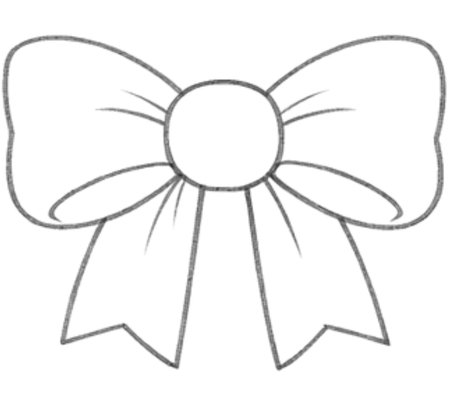
Adults Step 06: Finish with Fold Lines Clearly
Complete the fold lines and clean the full outline. The bow drawing now looks polished, refined, and complete.
Well done, artist. The bow drawing is complete. Download, print, and practice with the Easy Steps Full Page With 6 Easy Steps for calm and creative practice.
Adult Learners Bow Printable Page With 6 Clear Steps Print and Draw
Great work, artist. This bow pencil drawing lesson shows a fun, simple way to practice at different drawing levels. The 6-step guides help build better lines, cleaner shapes, and more confident pencil control.
The printable bow pages also make extra practice simple. Download, print, and draw again for a quick, cute, and creative drawing activity at home, in class, or during quiet art time.
Is this bow drawing tutorial good for beginners?
Yes. The bow starts with simple shapes, so beginners can follow each step without feeling confused.
Can kids draw this bow with little help?
Yes. The kids’ bow lesson uses simple lines and rounded shapes. Adult guidance may help with ribbon tails and final tracing.
Why does the bow drawing use 6 steps?
The 6-step format makes the drawing easier to follow. Each step adds one clear part before moving to the next detail.
Can color be added after finishing the pencil bow?
Yes. After the pencil outline is finished, color can be added with crayons, colored pencils, or markers.
Which part of the bow needs the most practice?
The two side loops and the center knot need the most practice because those parts help the bow look balanced and neat.