


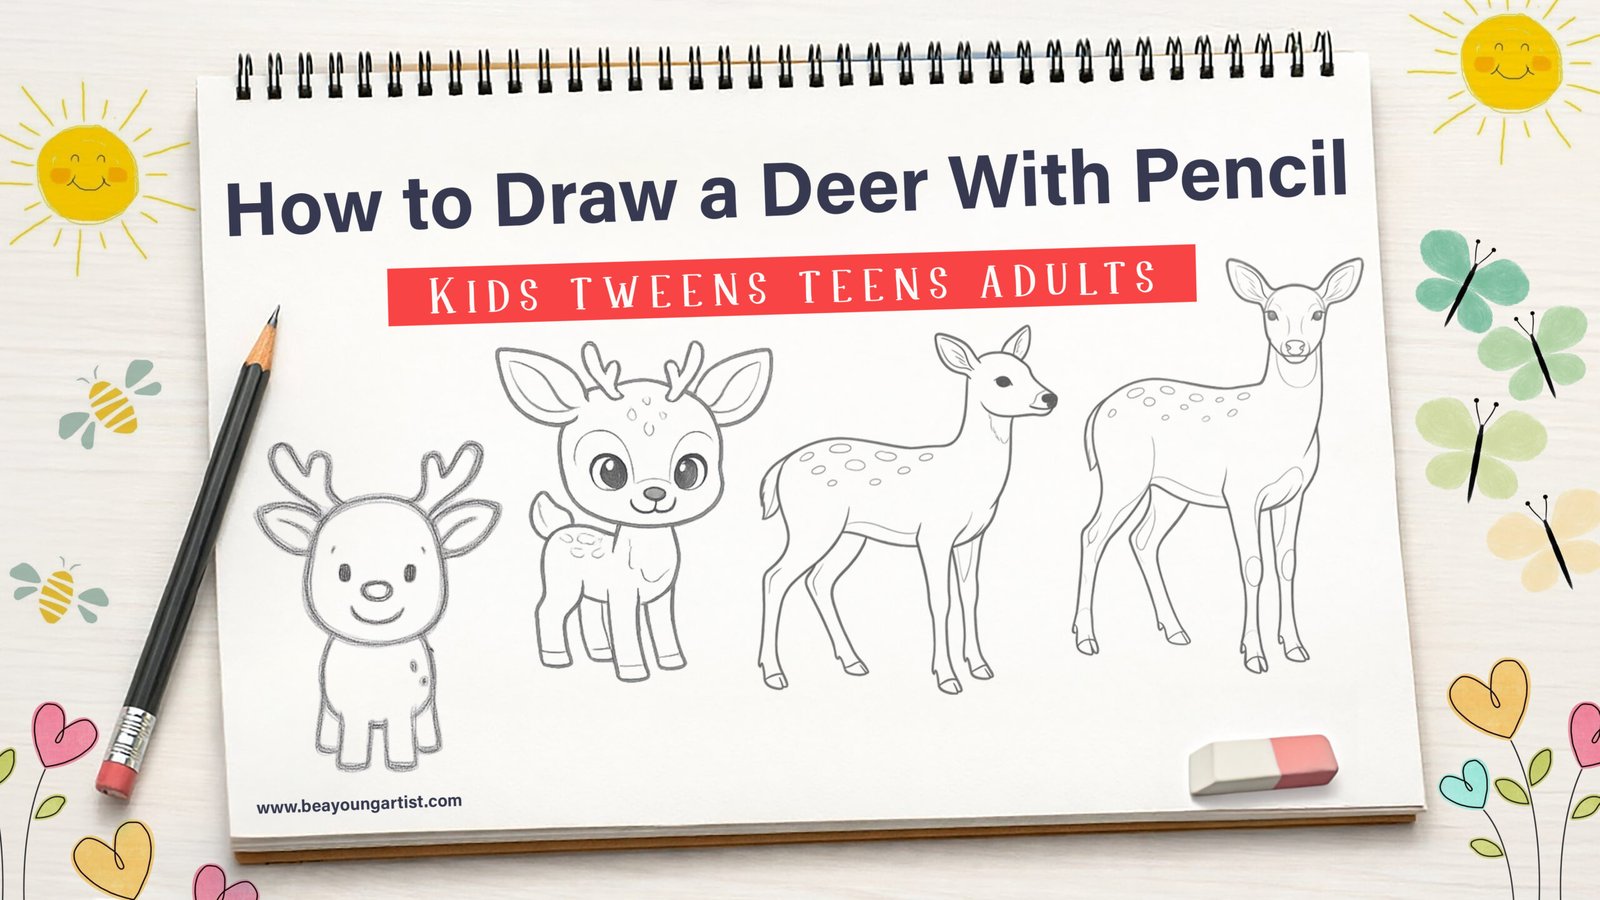
Welcome to our fun and easy drawing guide! Today, we will learn how to draw a beautiful deer together. Whether you are a little toddler
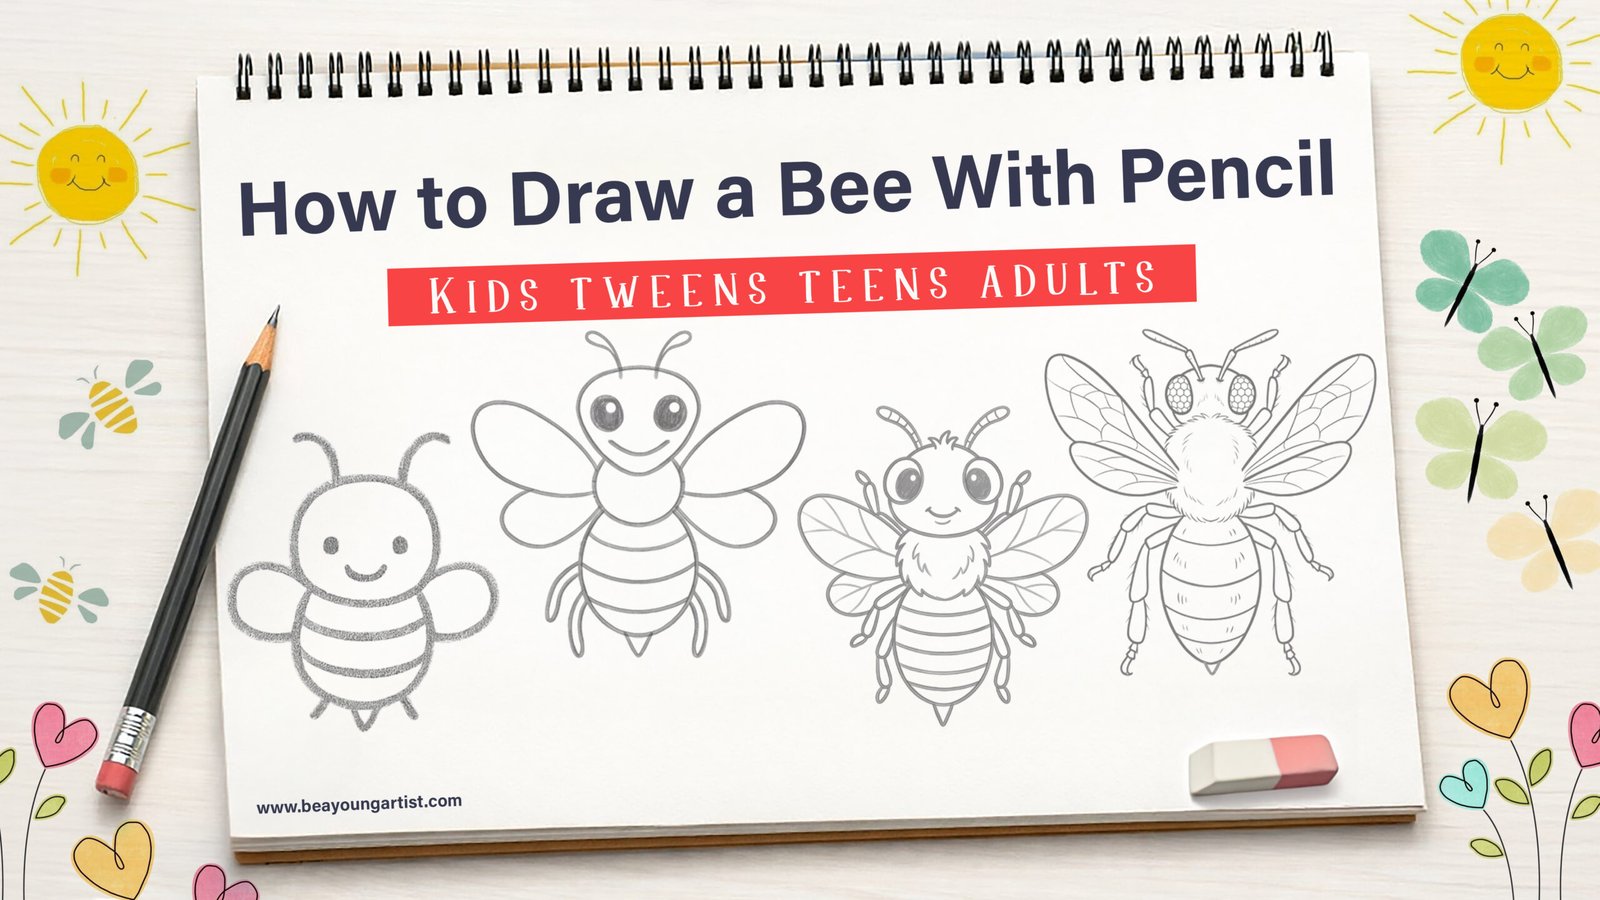
Welcome to our How to Draw Everything website. Today, we have a fun guide on how to draw a bee for everyone. From toddlers to

Welcome to our ultimate guide on how to draw a wolf! Whether you are a parent looking for a fun toddler activity or an adult
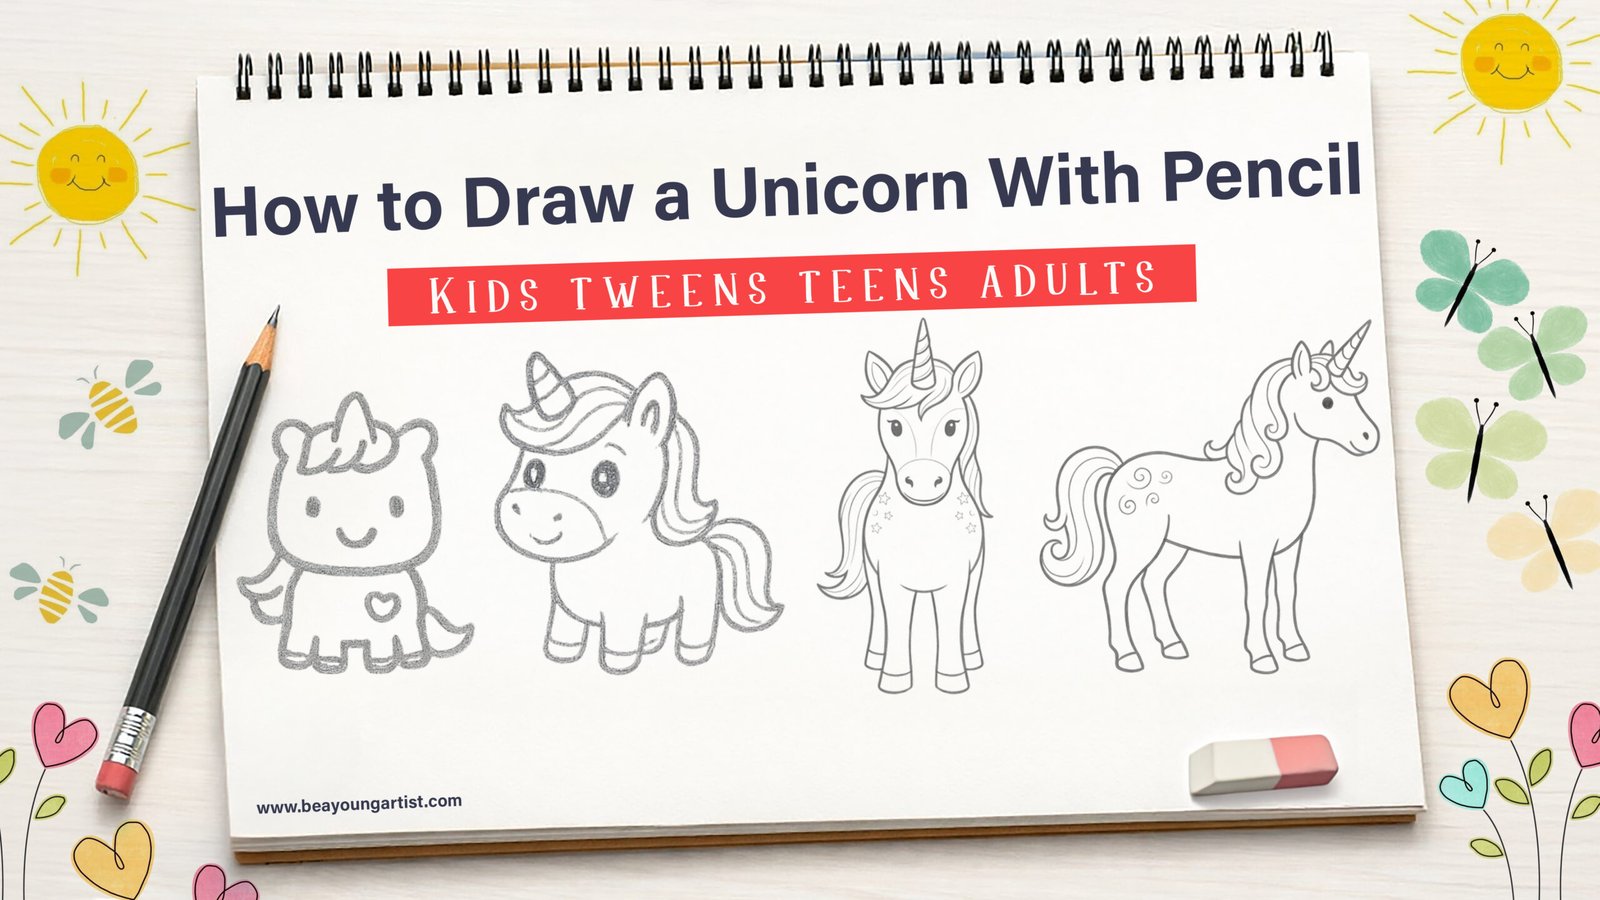
Welcome to our magical world of art. Drawing is a wonderful activity that brings joy to everyone. Today, we are sharing amazing unicorn pencil drawing