Learning how to draw a bird can feel simple and fun when each part is shown step by step. This bird pencil drawing guide includes easy lessons for Kids, Tweens, Teens, and Adults so that every age group can practice at a comfortable level. Each tutorial is completed with 6 clear steps, from the first simple shape to the final bird outline. You can follow the guide on screen, then use the printable pages for extra drawing practice at home, in class, or during quiet art time.
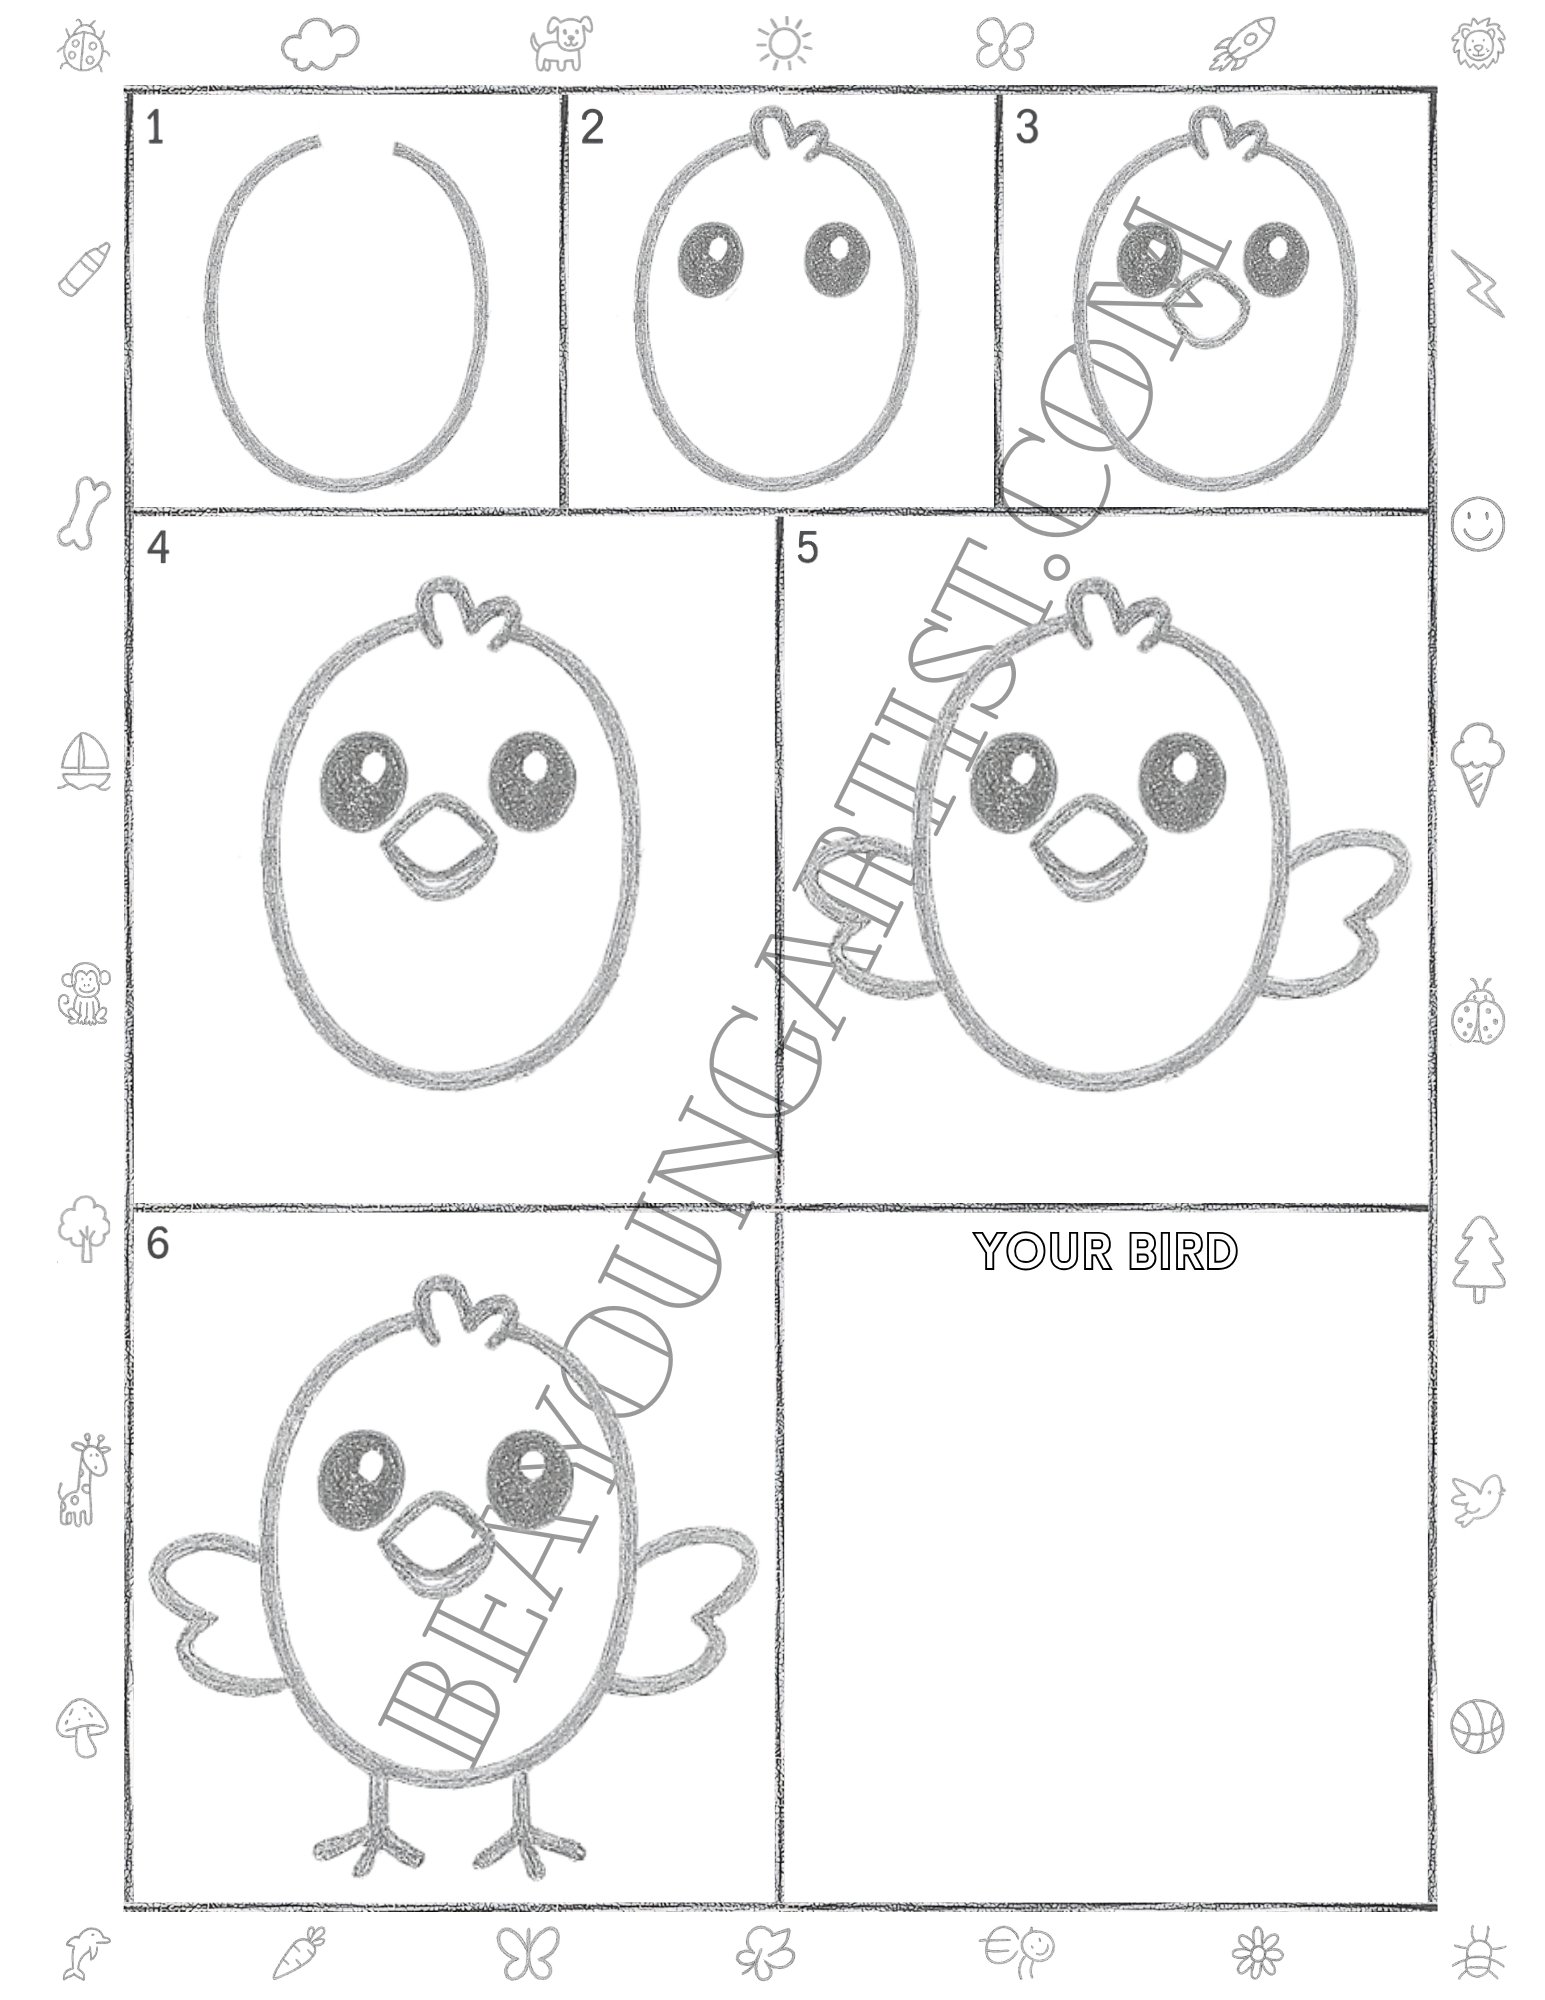
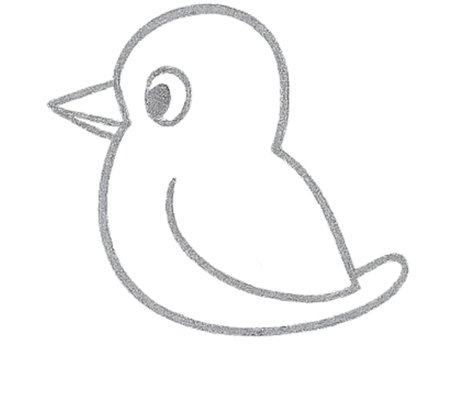
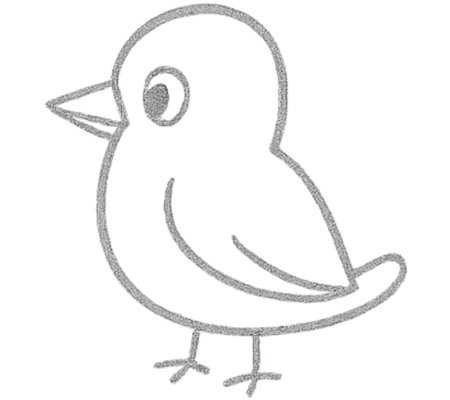
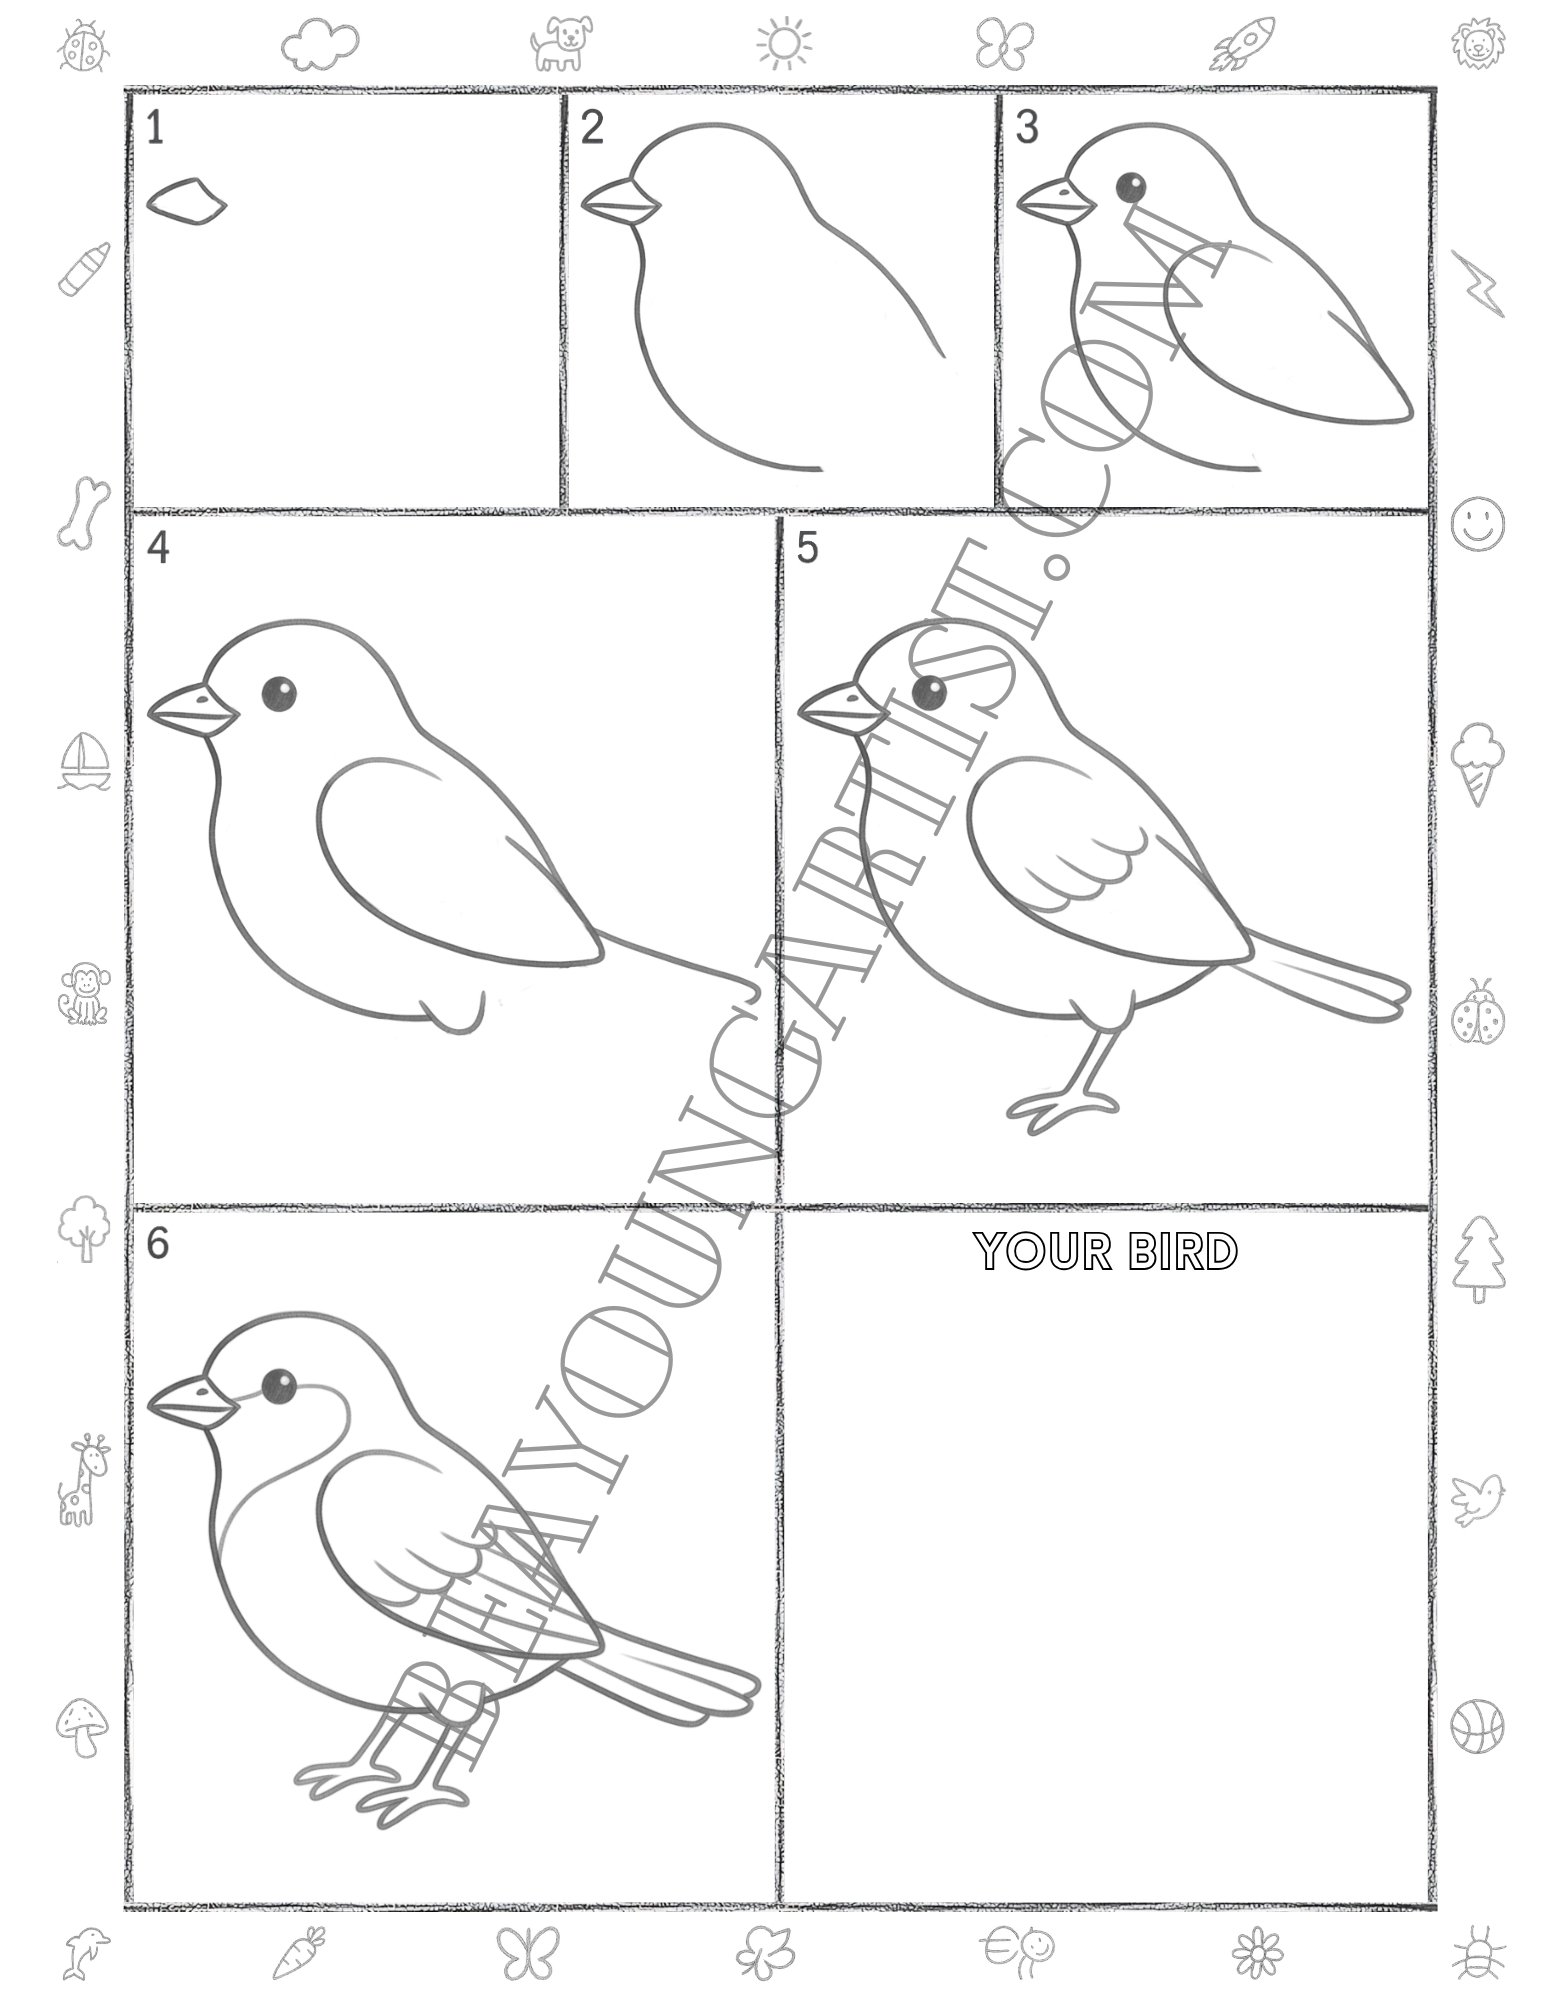
Cute Drawing of Bird With Pencil for Small Kids Ages 3 to 8 in 6 Steps
Kids can enjoy this bird pencil drawing guide with easy steps and fun practice for toddlers.
Kids Step 01: Draw the Round Bird Body Shape
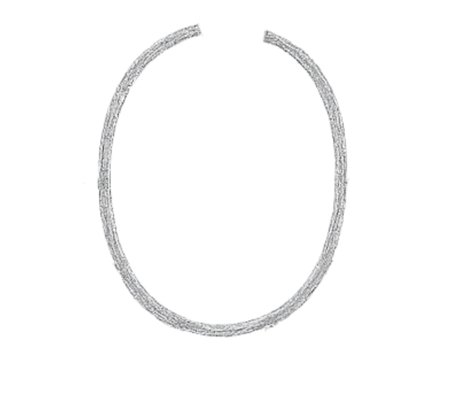
Start with a large, round body like an egg, leaving a small opening at the top for the bird’s feathers to fit well.
Kids Step 02: Add Bright Eyes and Top Feathers
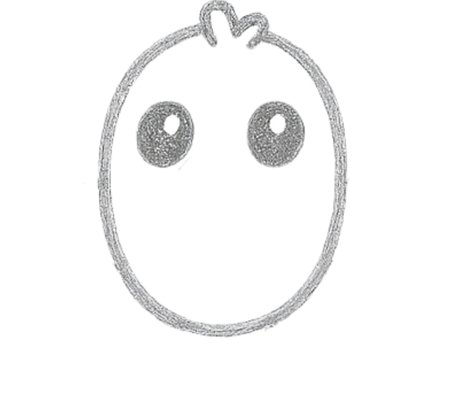
Add two shiny eyes inside the body, then draw a tiny feather bump at the top to make the bird look extra cute.
Kids Step 03: Draw a Tiny Beak in the Center Area

Place a small beak between the eyes, using a soft diamond shape that points down in the middle of the cute face.
Kids Step 04: Shape the Beak With a Sweet Smile
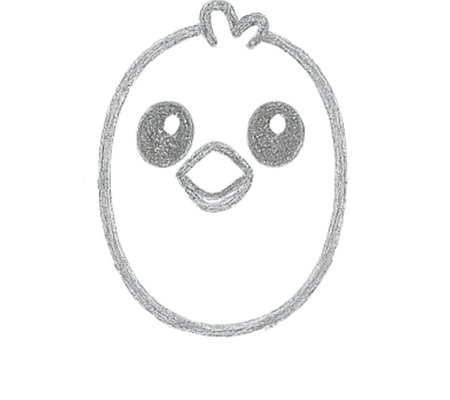
Add the lower beak line gently so the tiny bird’s face looks happy, clear, and easy for small kids to copy at home.
Kids Step 05: Add Two Cute Wings on Each Side
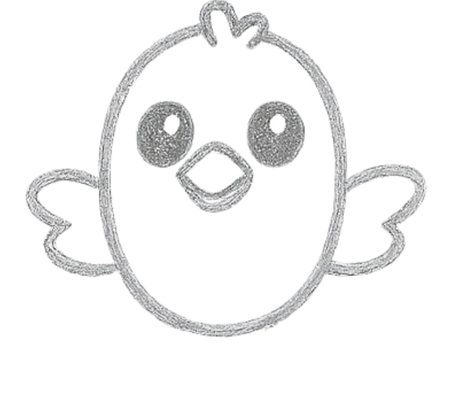
Draw one rounded wing on each side of the body, keeping both wings soft and simple for toddlers to trace again.
Kids Step 06: Finish With Little Legs and Feet
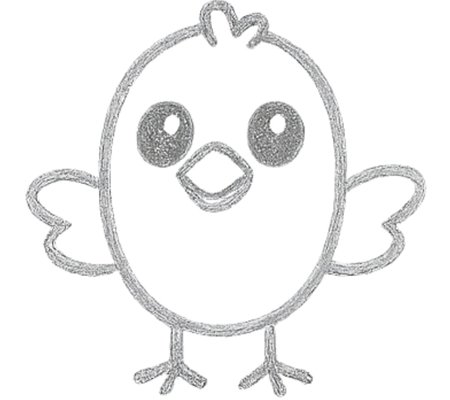
Finish with two little legs and three tiny toes on each foot, then enjoy the cute bird pencil drawing with pride.
Great work, little artist, your cute bird is done. Add the Easy Steps Full Page With 6 Easy Steps so kids can download, print, and practice the full bird drawing again anytime at home or class.
Download Bird Printable for Kids With 6 Clear Steps for Art Time
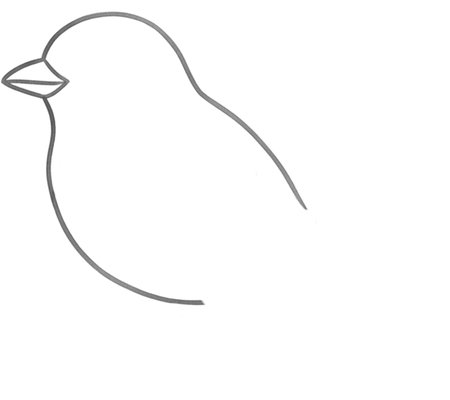
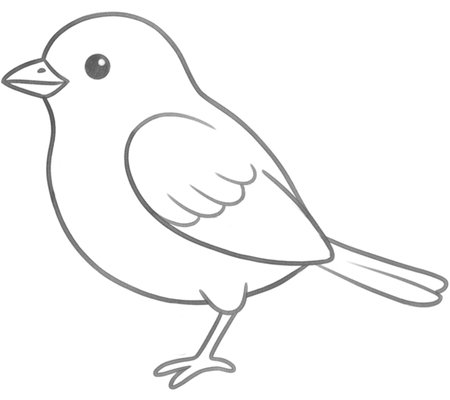
Bird Pencil Drawing for Tweens Ages 9 to 12 in 6 Steps
Tweens can follow this bird pencil drawing guide to create a neat side view in 6 fun steps.
Tweens Step 01: Draw the Bird Head Curve First
Begin with a curved line for the top of the bird’s head. Leave the lower part open so you can build the face next.
Tweens Step 02: Add the Beak and Eye Shape

Draw a pointed beak at the front, then add a round eye shape near the center to start the bird face with ease.
Tweens Step 03: Darken the Eye and Beak Lines
Darken the eye with a smaller inner shape, then clean the beak lines so the front of your bird looks very neat.
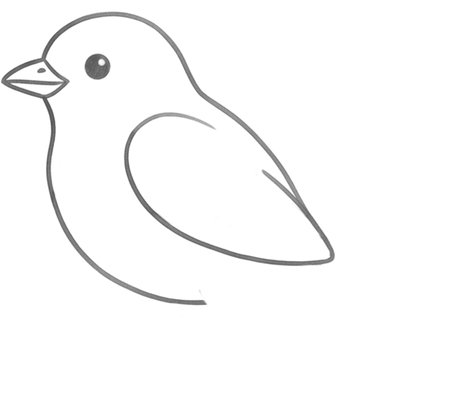
Tweens Step 04: Sketch the Neck and Body Curve
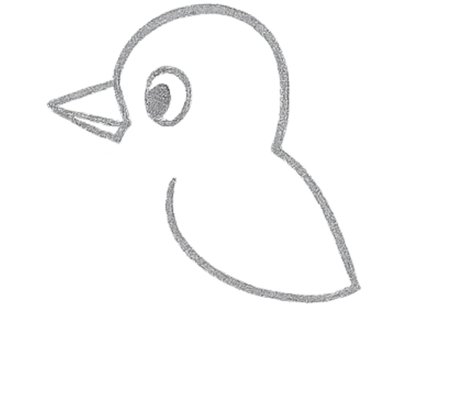
From the head, sketch a smooth neck and body curve that drops down and ends in a rounded point for the tail end.
Tweens Step 05: Add the Wing and Soft Belly Line
Add a long belly line under the body, then draw one wing inside the shape to give your bird a fuller side look.
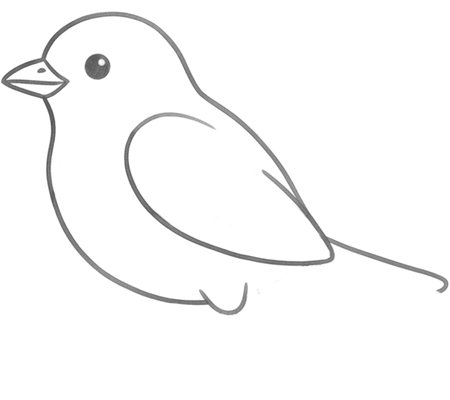
Tweens Step 06: Finish the Feet and Wing Detail
Finish by adding two simple legs and feet, then refine the wing line so your tween bird drawing feels complete.
Nice work, young artist. Your bird looks great. The Easy Steps Full Page With 6 Easy Steps will be here to download, print, and practice anytime, so keep drawing and enjoy your progress today.
Learn Bird Printable for Tweens With 6 Clear Steps for Art Time

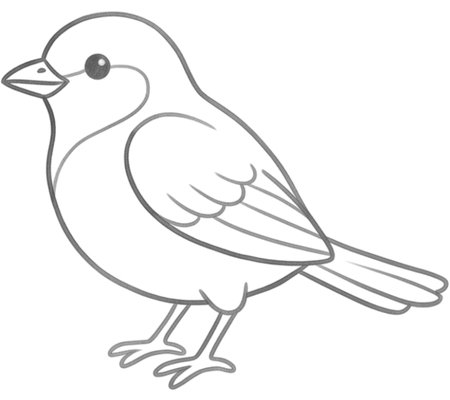
Bird Pencil Drawing for Teens for 13 to 18 Years in 6 Steps
This teen bird drawing guide shows a simple side view in six easy steps for fun pencil practice.
Teens Step 01: Draw the Bird Beak Shape First

Begin with a small pointed beak near the left side. Keep the lines light and clean, so the bird starts neatly.
Teens Step 02: Sketch the Head and Chest Line
From the beak, sketch the round head and curved chest. Let the back line flow down to build the bird’s body shape.
Teens Step 03: Add the Eye and Main Wing Shape
Place a round eye on the head, then add a smooth wing shape inside the body to make your bird look fuller and neater.
Teens Step 04: Shape the Belly and Tail Curves
Extend the lower body with a soft belly curve and pull the tail line back so the bird shape looks more complete.
Teens Step 05: Draw the Feet and Feather Details
Draw the legs and feet under the body, then add curved feather lines on the wing for a detailed bird look.
Teens Step 06: Finish the Bird With Final Lines
Finish the drawing with extra wing lines, a face patch, and the second leg so your bird looks polished and ready.
Well done, artist. Your bird came together beautifully. The Easy Steps Full Page With 6 Easy Steps will be here to download, print, and practice, so keep creating and enjoy every sketch today.
Home Practice Bird Printable for Teens With Simple 6 Steps for Art Time
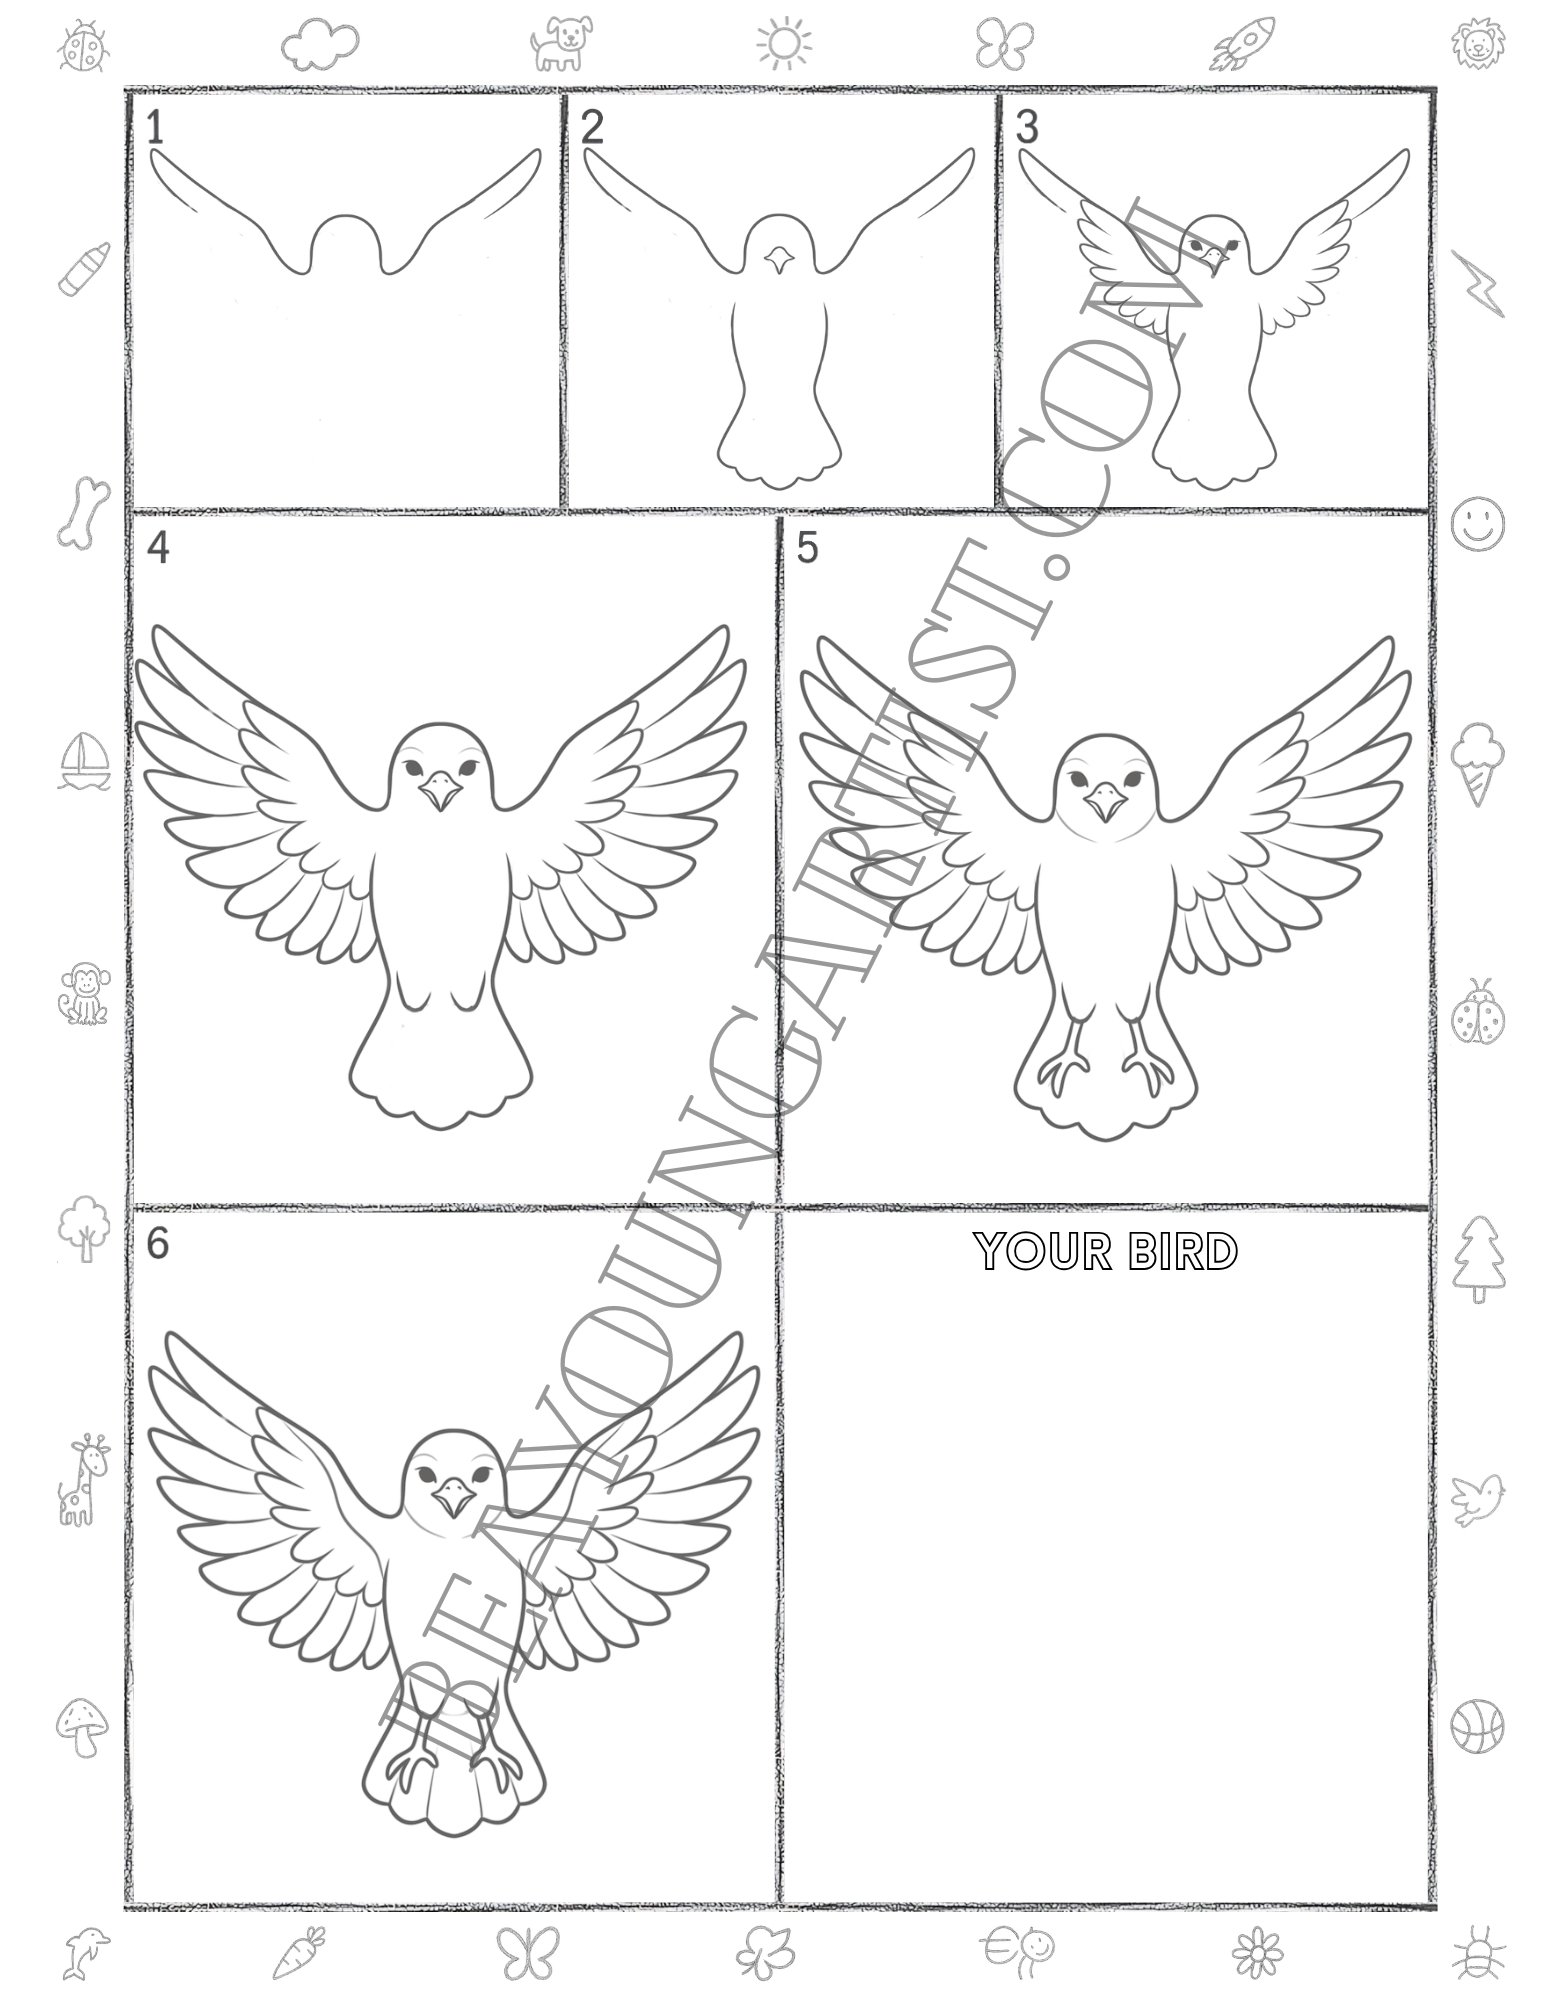
Adult-Friendly Bird Drawing Lesson in 6 Steps
This adult bird drawing lesson shows a graceful front view in six steps for calm pencil practice.
Adults Step 01: Shape the Raised Wings Outline
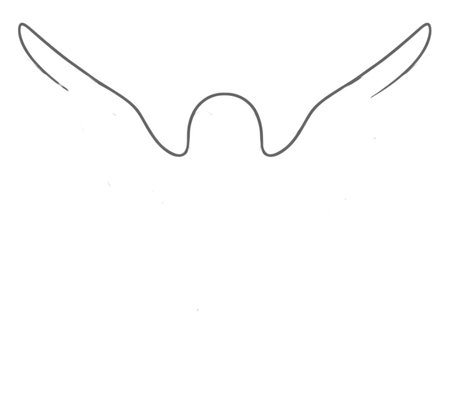
Start with two raised wings and a soft curve in the middle. This simple outline now sets the pose for your bird.
Adults Step 02: Add the Head and Body Outline
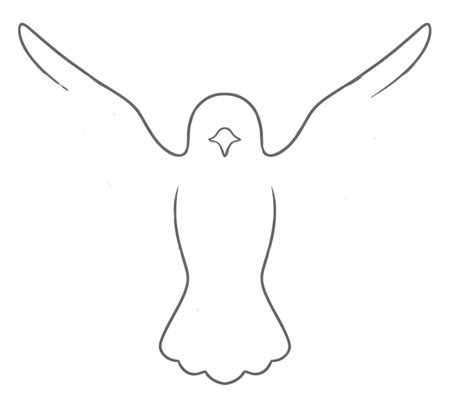
Add the round head and long body under the wings. Keep the lines smooth so the bird shape looks very balanced.
Adults Step 03: Draw the Face and Inner Wings
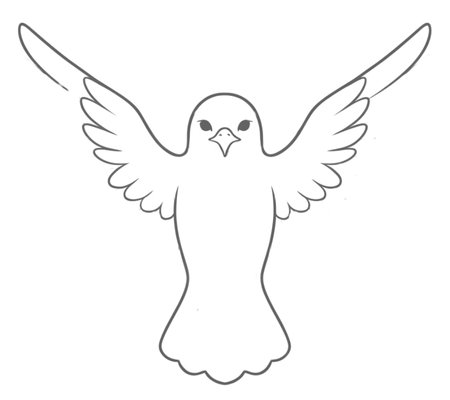
Draw the eyes and beak, then sketch small inner wing curves. The bird now looks alive and very clear.
Adults Step 04: Build the Feather Layers Carefully
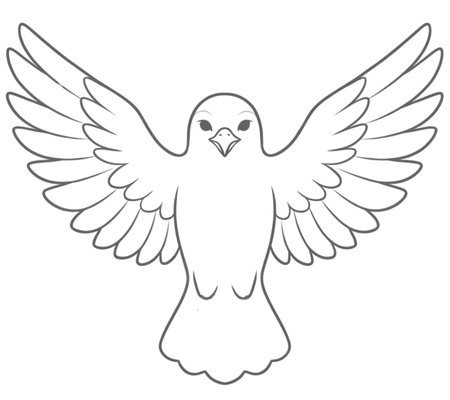
Layer more feathers along both wings and refine the body edge. This step gives your bird a fuller, more natural flight look.
Adults Step 05: Draw the Legs and Feet Details
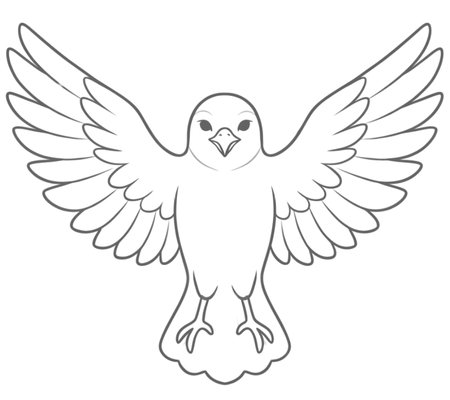
Add the legs and small feet below the body, then clean the face. Your bird now looks strong and quite complete.
Adults Step 06: Finish the Tail and Final Lines
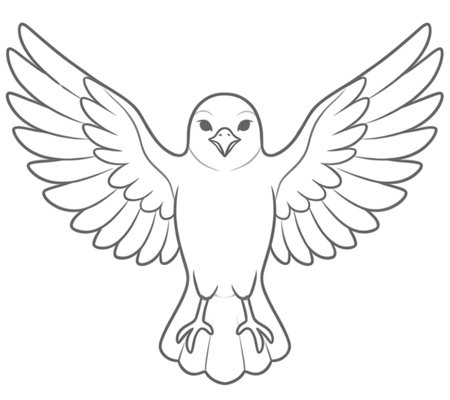
Finish the tail sections and final body lines with care. Enjoy your finished bird drawing and keep practicing.
Wonderful work, artist. Your bird looks beautiful. The Easy Steps Full Page With 6 Easy Steps will be added so you can download, print, and practice this drawing again anytime with confidence.
Home Practice Bird Printable for Adults With 6 Simple Steps for Art Time
Great work, artist. You have now explored four bird pencil drawing lessons made for different ages and skill levels. Each guide uses simple steps, clean pencil lines, and easy shapes to help you practice with confidence. Download the printable pages, print the full 6-step worksheets, and keep practicing until your bird drawing feels smooth, neat, and fun to create.
Is this bird drawing guide good for beginners?
Yes. Each bird drawing starts with simple shapes and gradually adds the beak, eyes, wings, feet, and final details.
Can younger kids follow this bird tutorial?
Yes. The kids’ section is designed with simple shapes, soft lines, and easy steps for toddlers and young children.
Why are there different bird lessons for each age group?
Each age group needs a different level of detail. Kids get simple shapes, while teens and adults get more feathers and body details.
Can I use the printable bird worksheet for practice?
Yes. The printable page is made for extra practice, so learners can download it, print it, and draw again anytime.