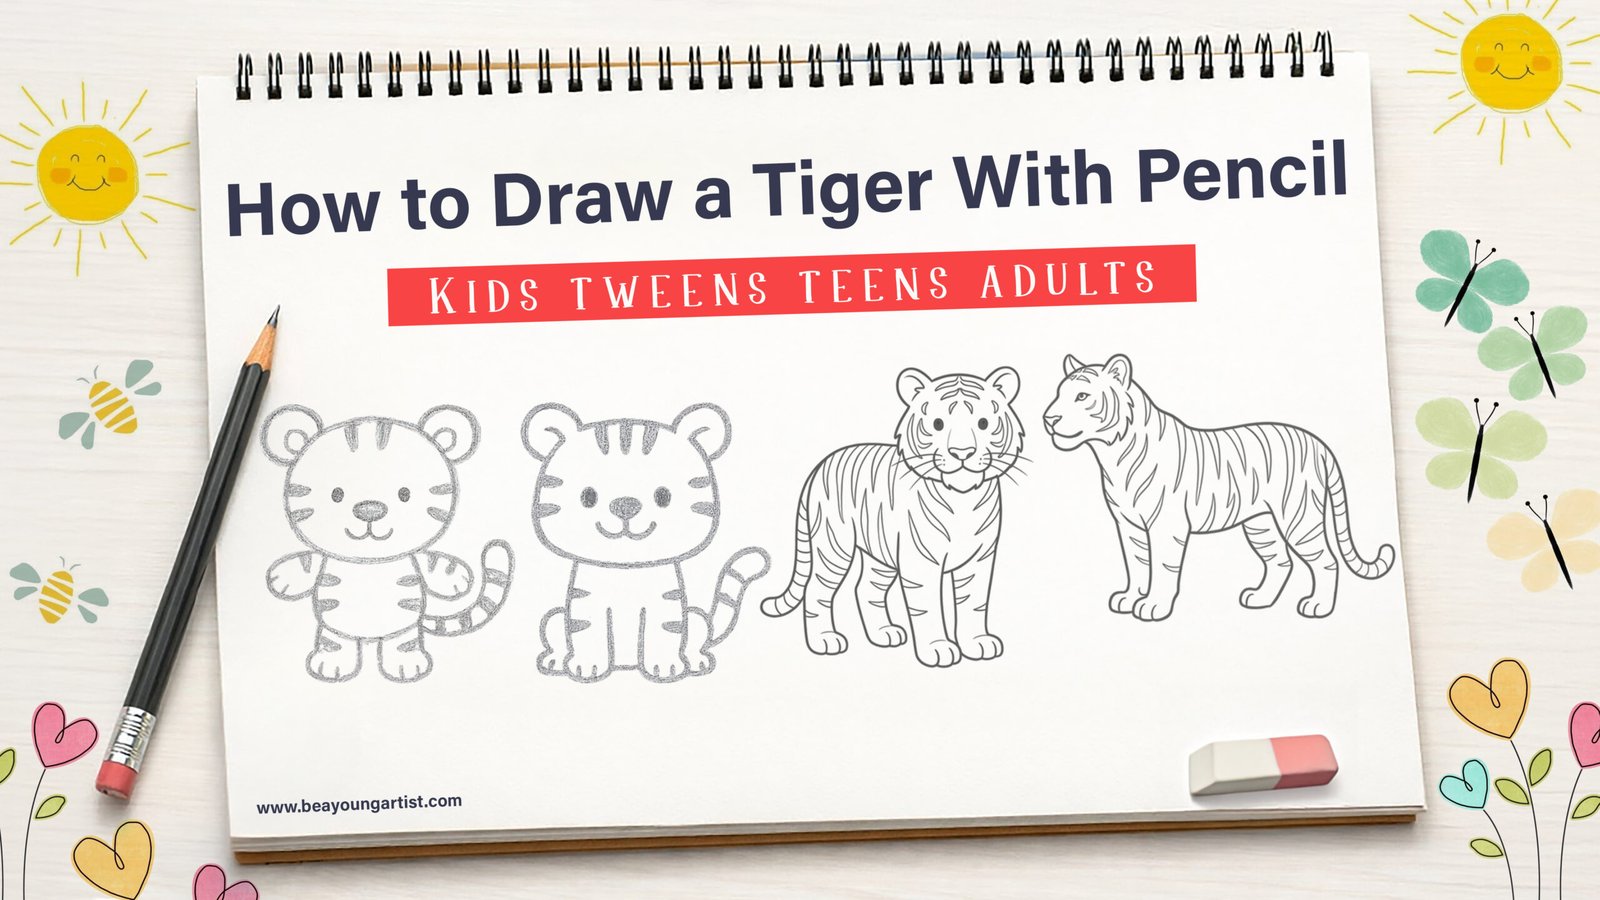
Welcome to our fun and easy guide on how to draw a tiger with a pencil! Whether you are a creative toddler learning basic shapes, a tween developing new skills, a teen looking for a cool sketch, or an adult wanting to master a realistic big cat, we have the perfect tutorial just for you. Drawing wild animals is a fantastic way to boost your creativity and relax. Grab your favorite pencil and some paper, and let us jump right into these step-by-step drawing adventures!
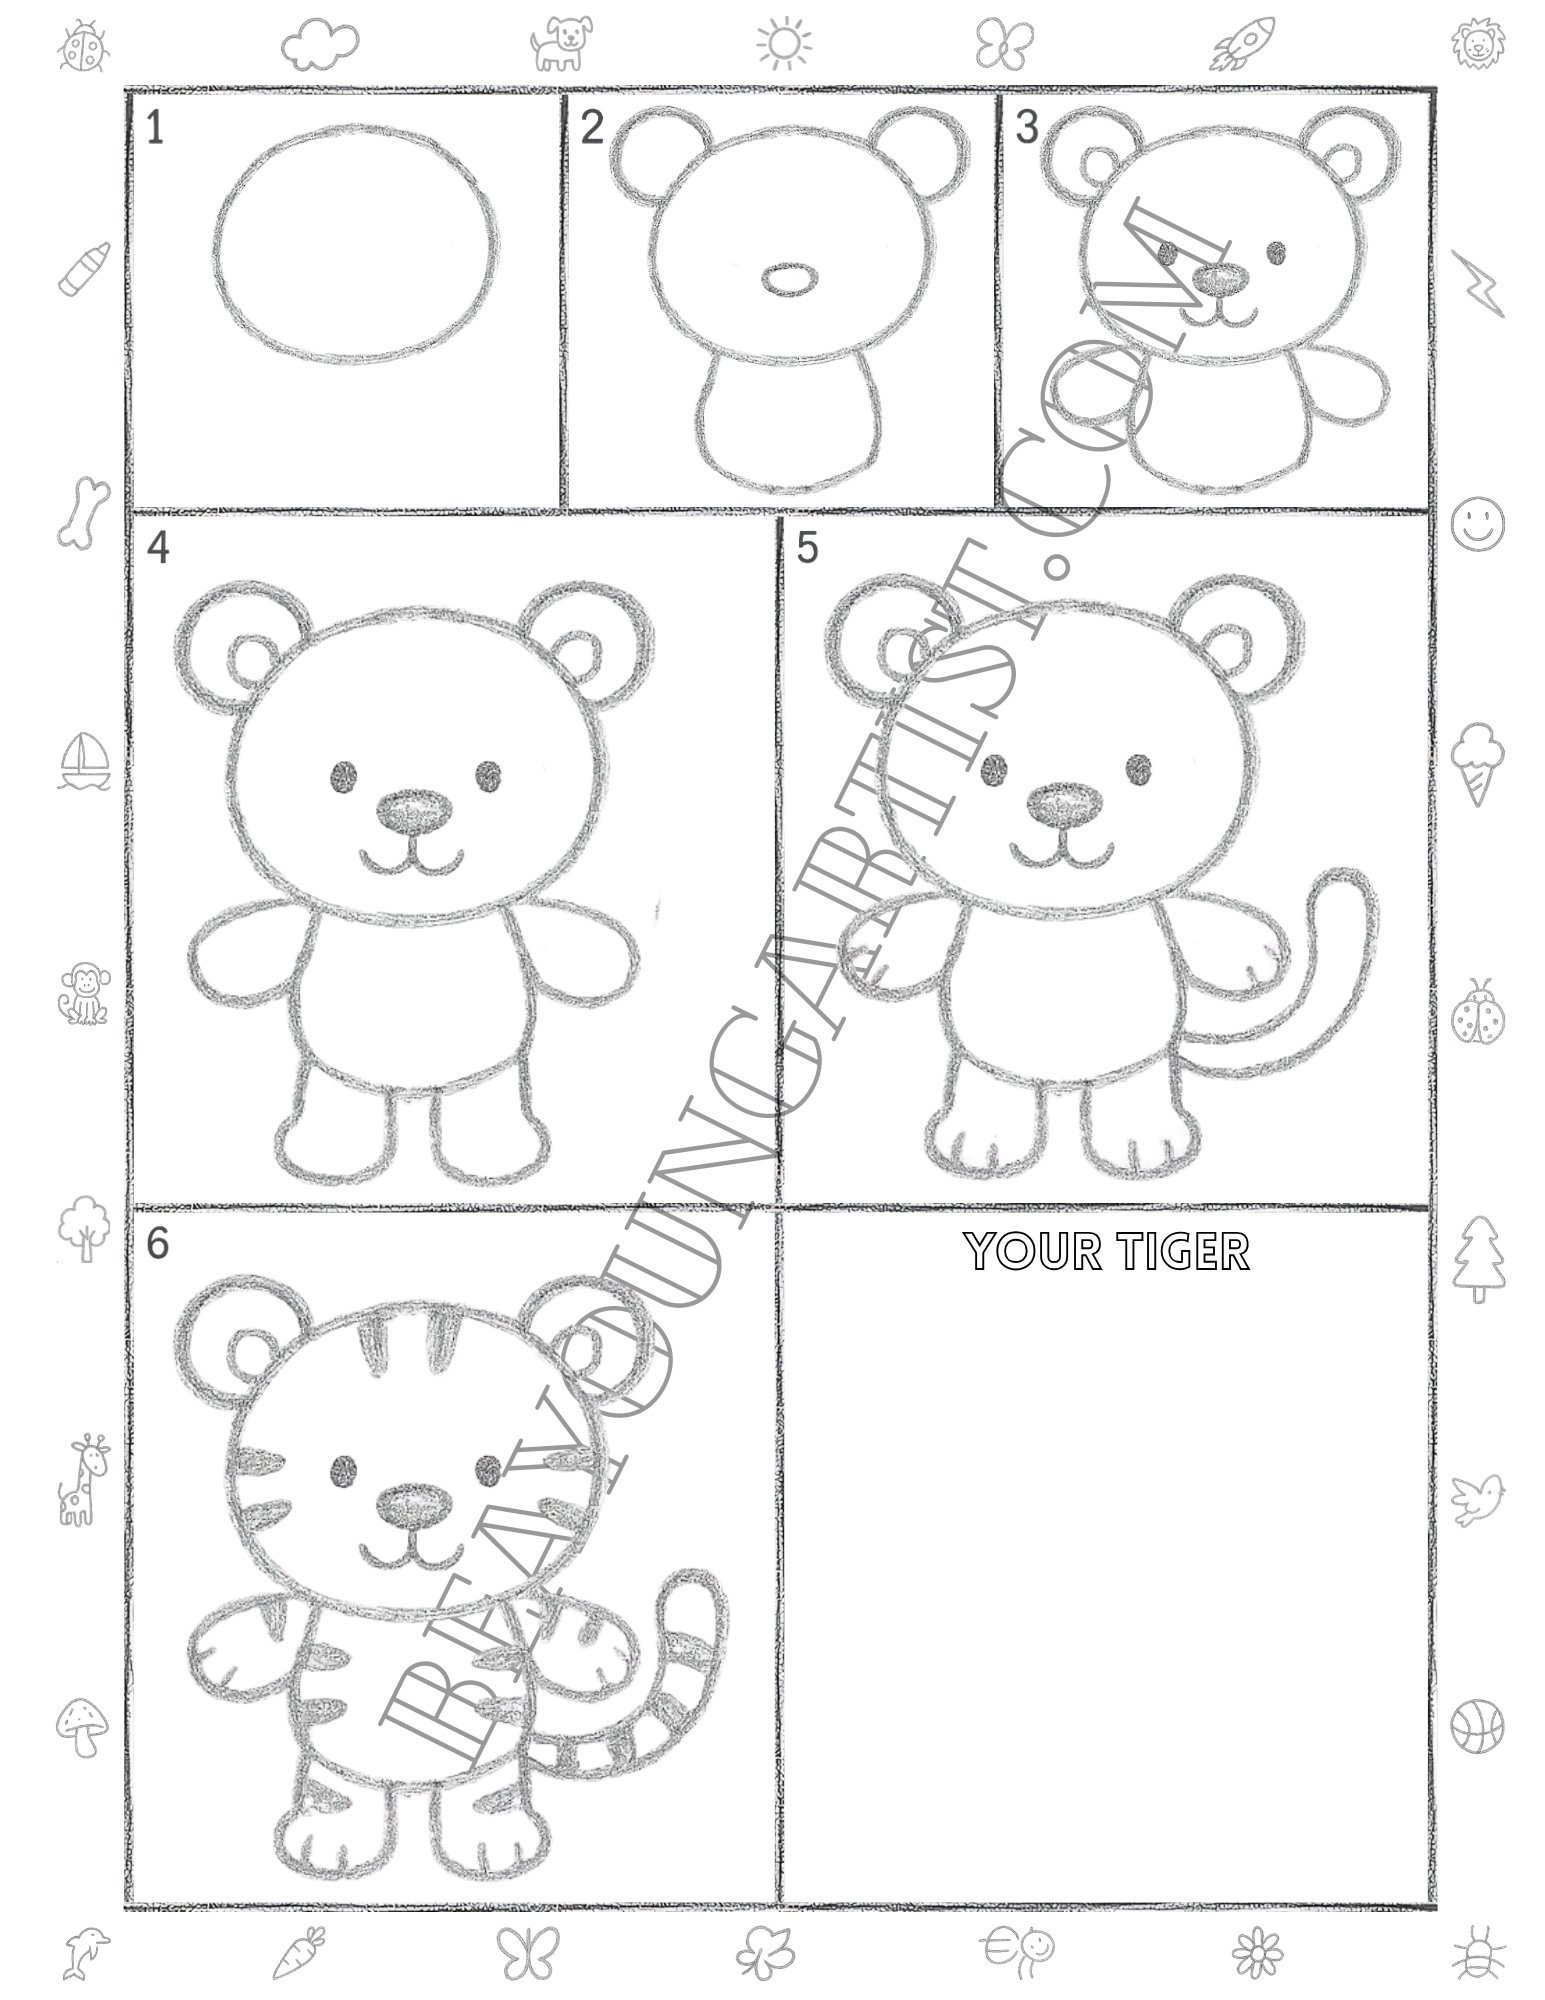
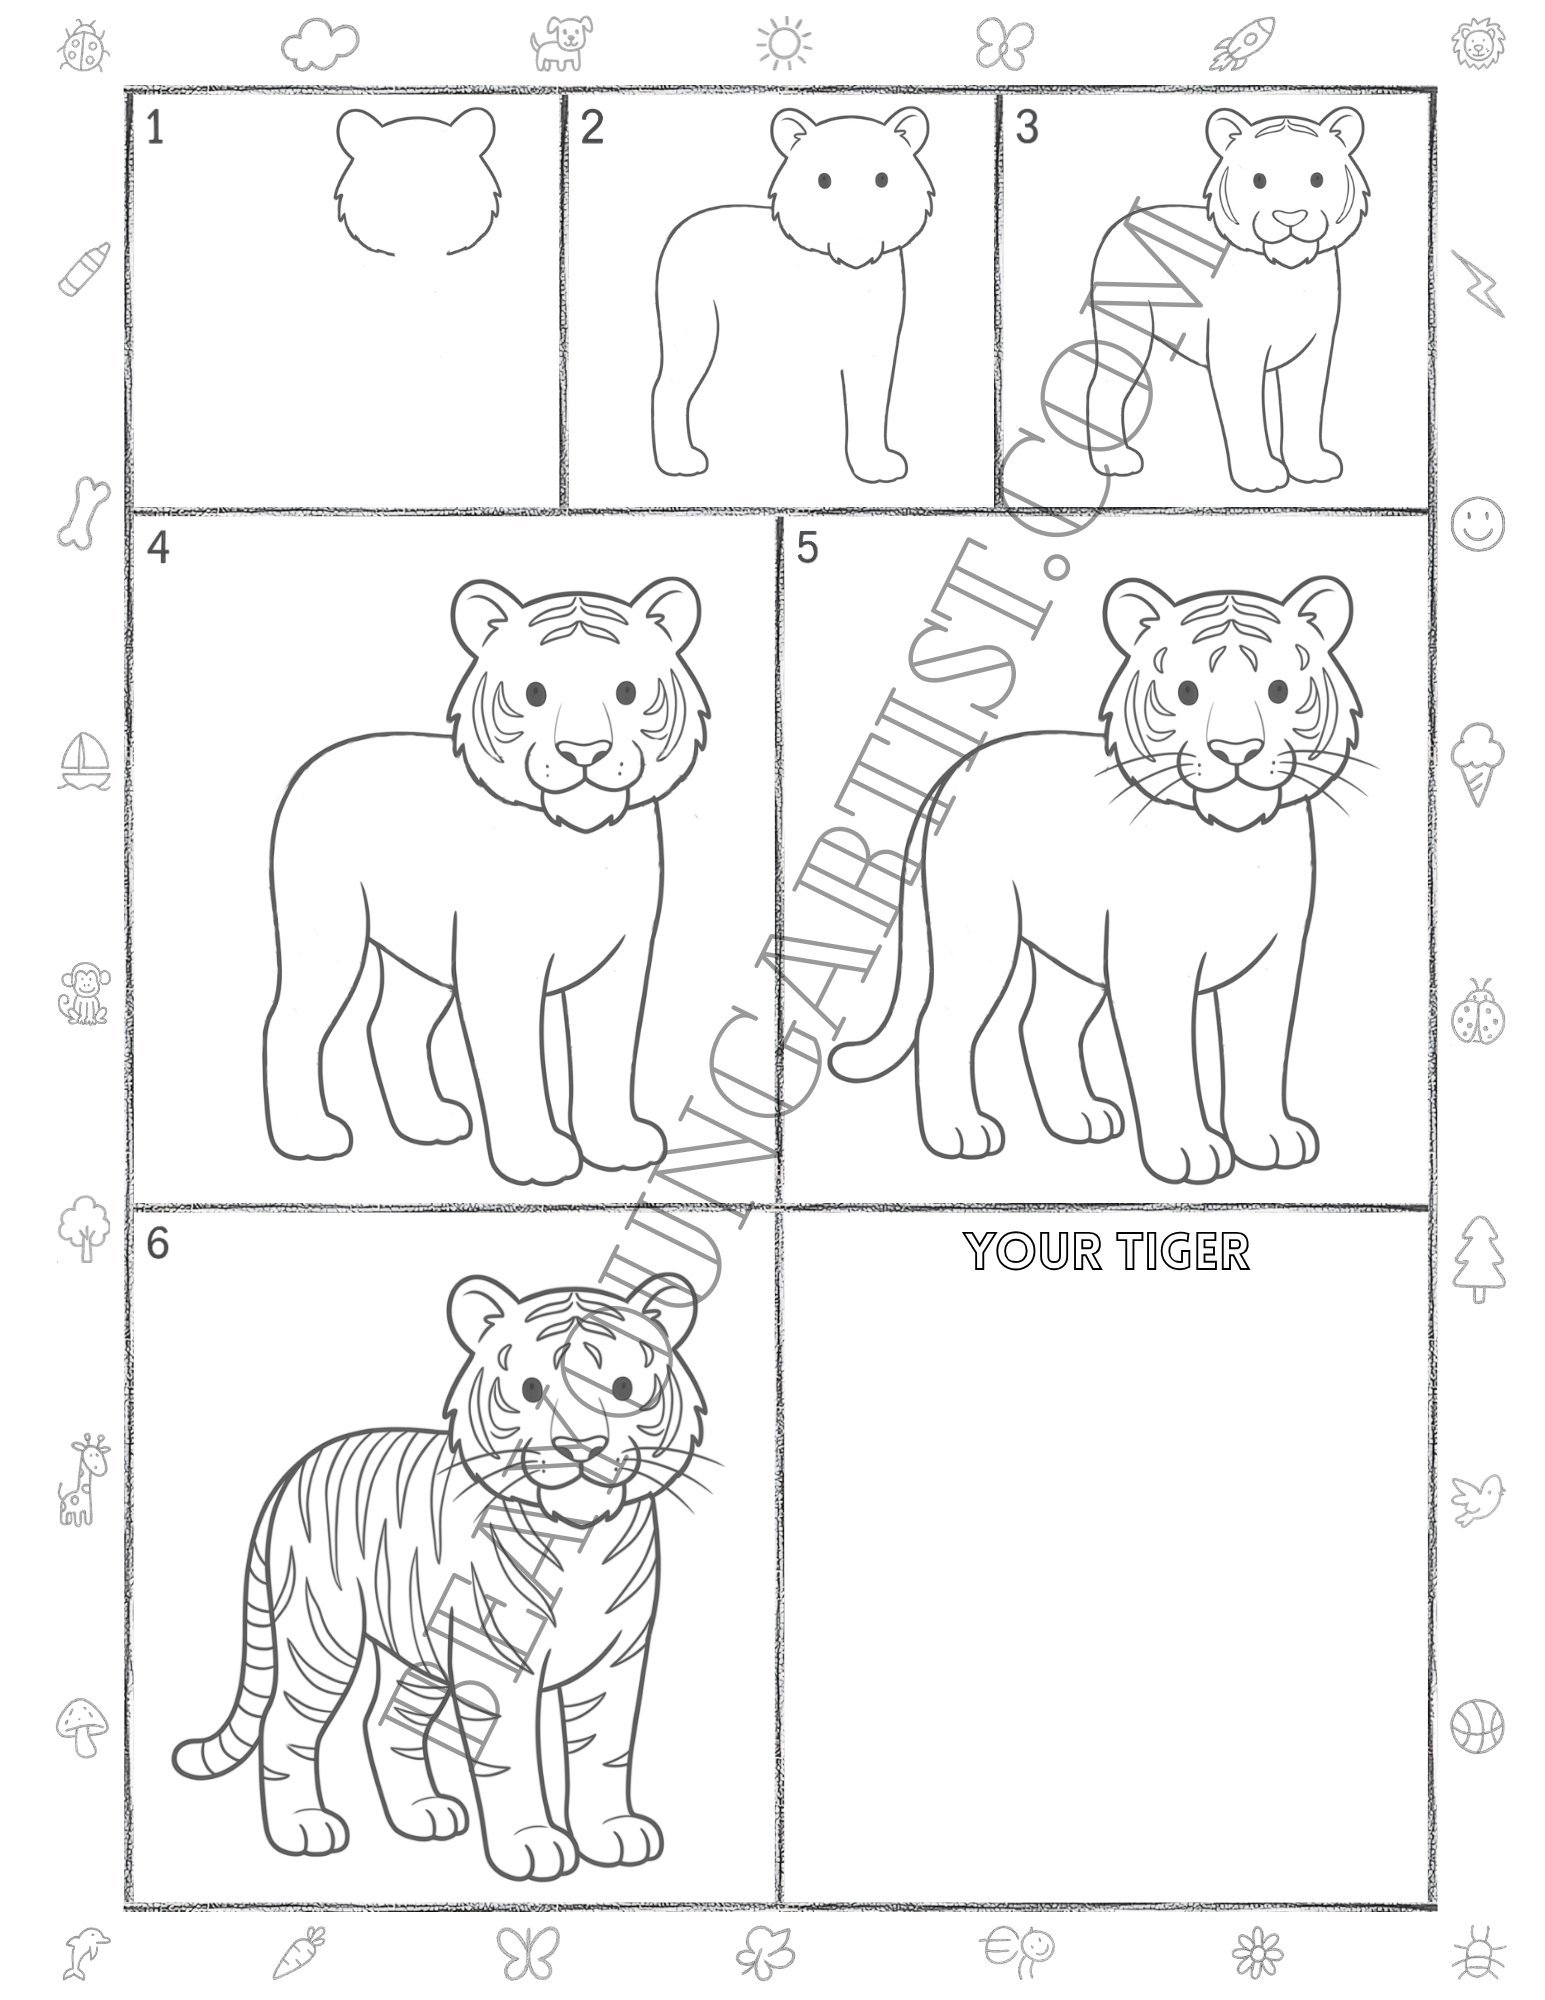
Easy Tiger Drawing Tutorial in Pencil for Creative Kids Ages 3 to 8 in 6 Steps
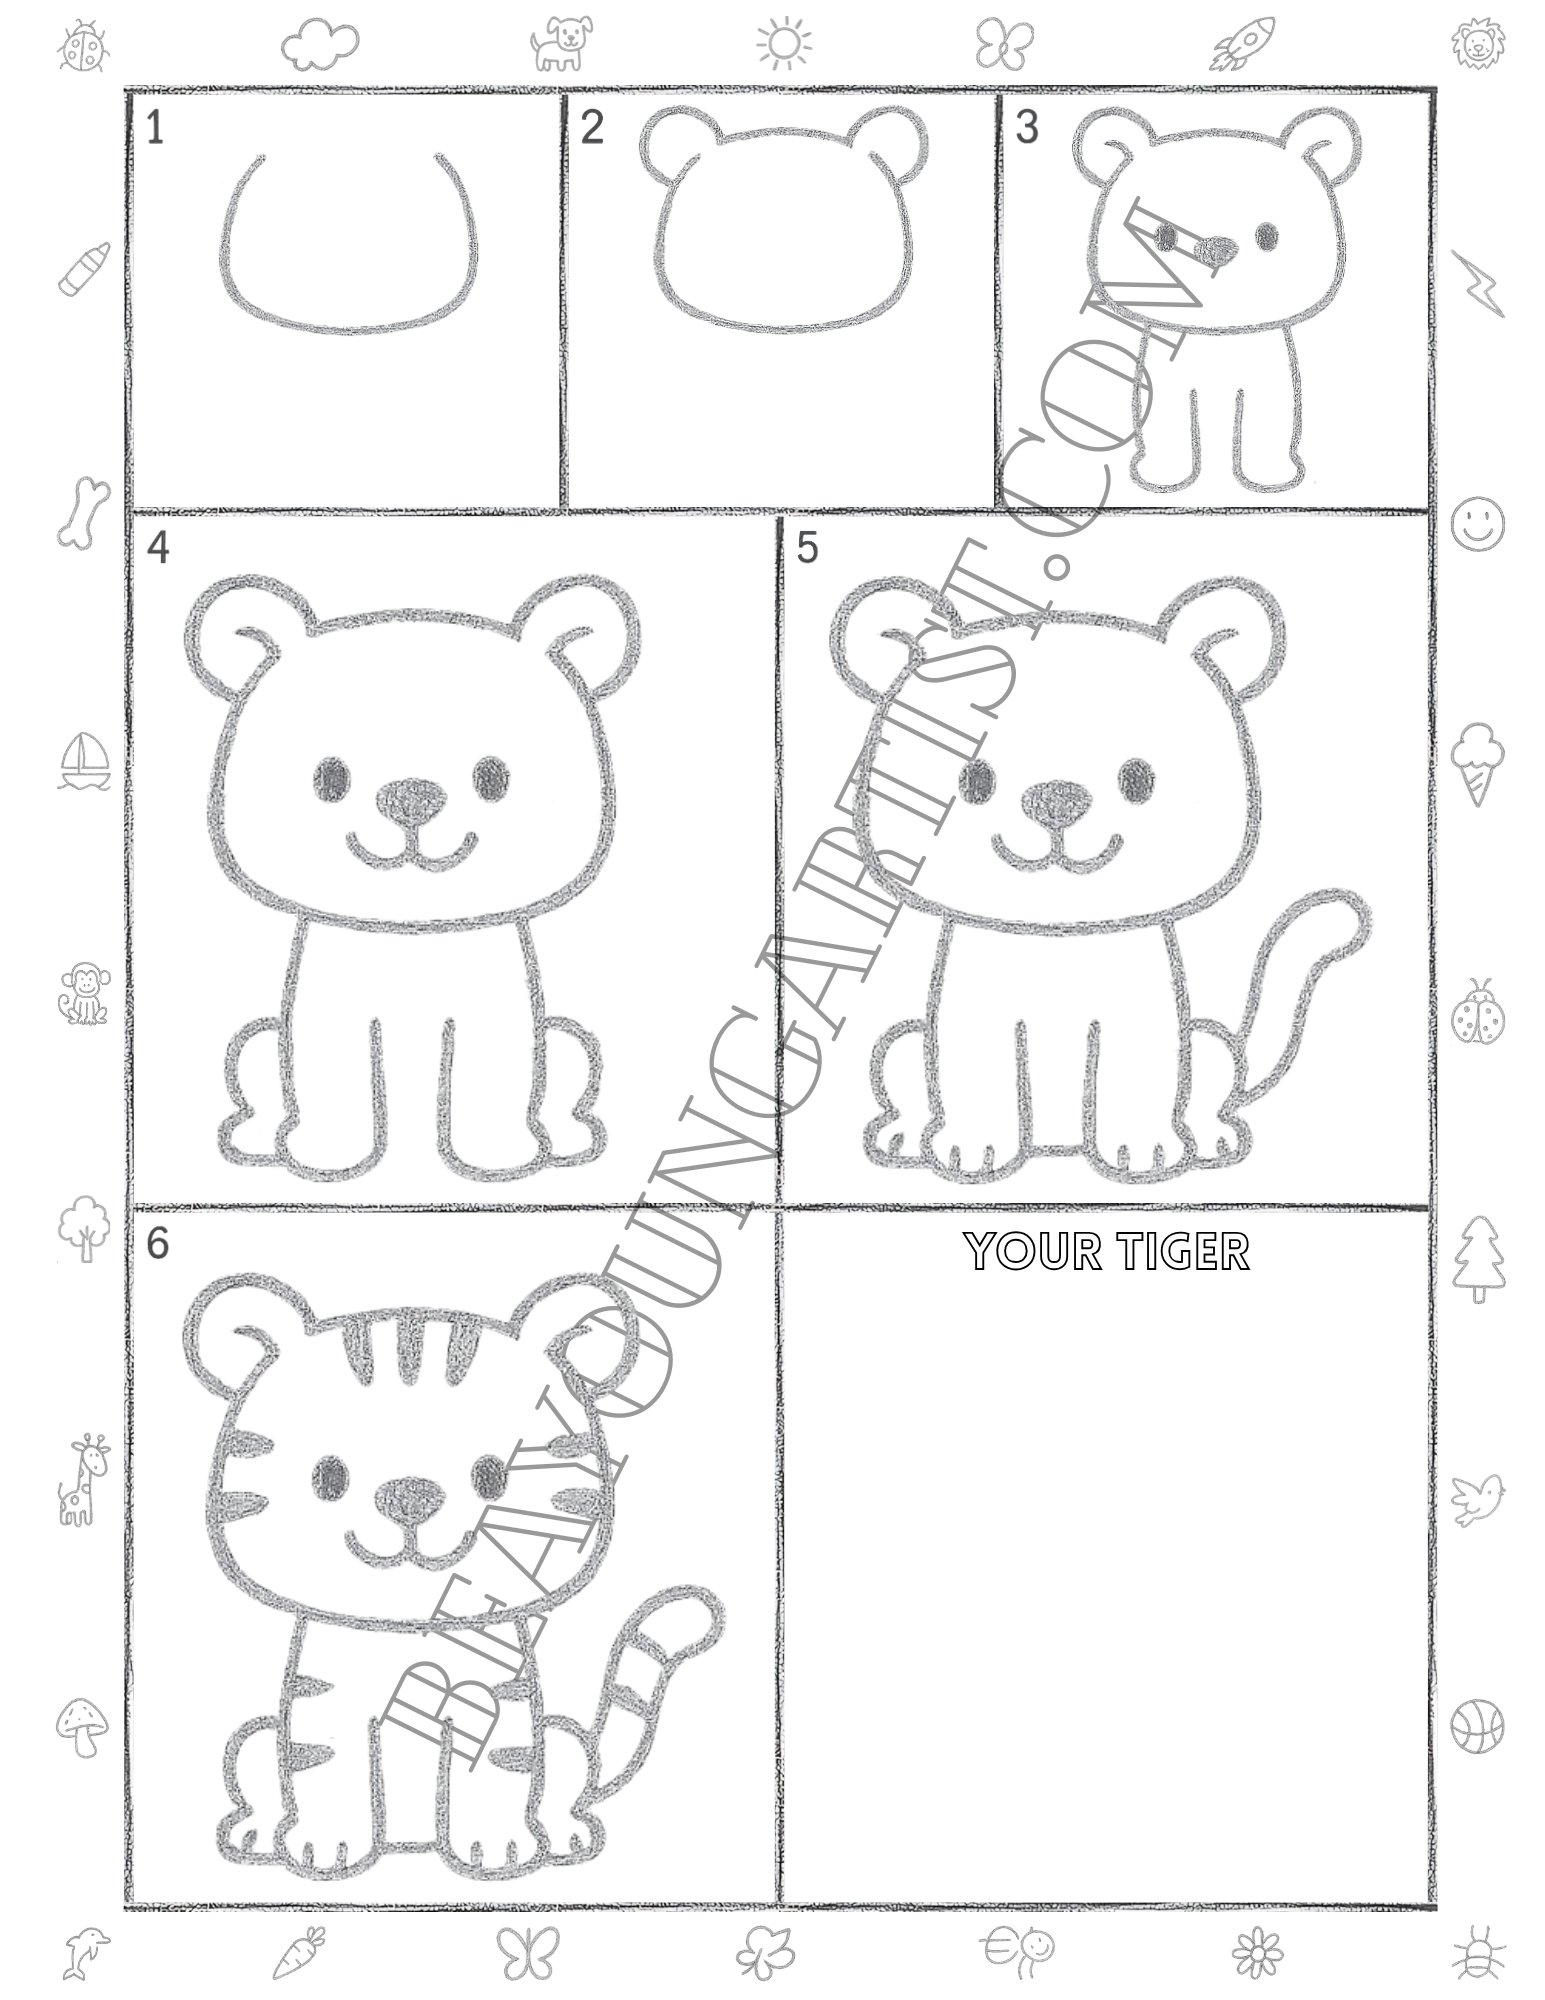
Get your pencil ready to draw a sweet little tiger! This fun art project is perfect for children.
Kids Step 01: Start With a Big Round Tiger Head

Draw a large circle right on your paper. This easy shape will become the face for our sweet toddler tiger.
Kids Step 02: Add Round Ears and a Small Body
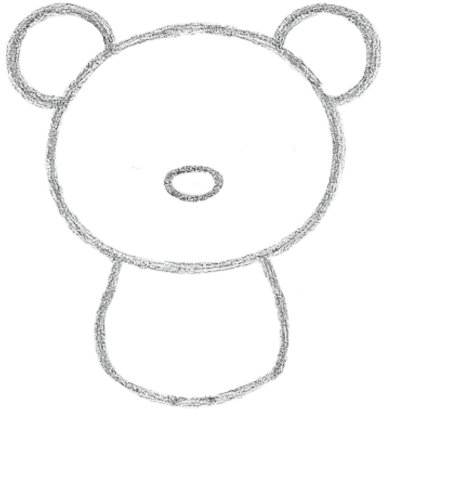
Add two circles on top for ears. Next, draw an oval for the nose and a round shape for the lovely toddler’s body.
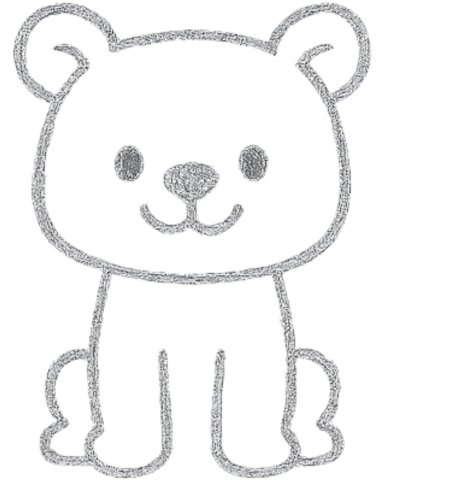
Kids Step 03: Draw Sweet Eyes, Nose, and Tiny Arms
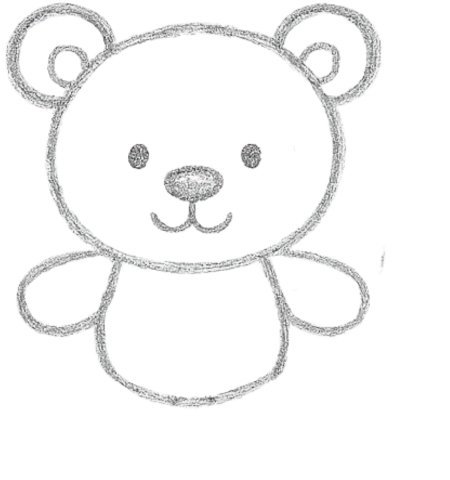
Draw two dark dots for eyes and a sweet smile. Sketch inner circles in the ears and add two arms on the sides.
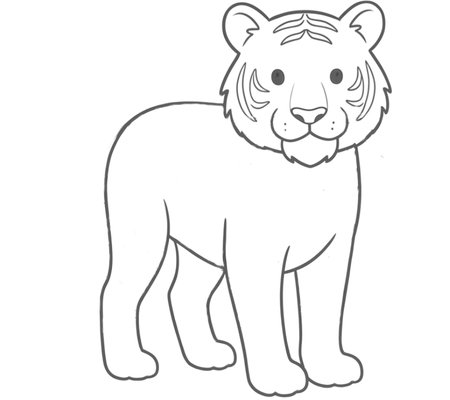
Kids Step 04: Place Two Little Legs on the Bottom

Now it is time to draw the legs. Add two chubby little legs right at the bottom of the body so it can stand up.
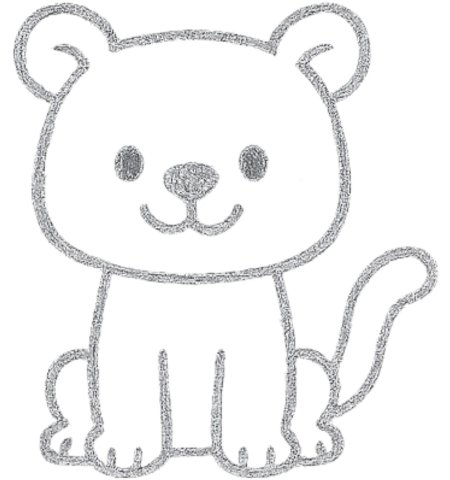
Kids Step 05: Sketch the Big Paws and a Long Tail
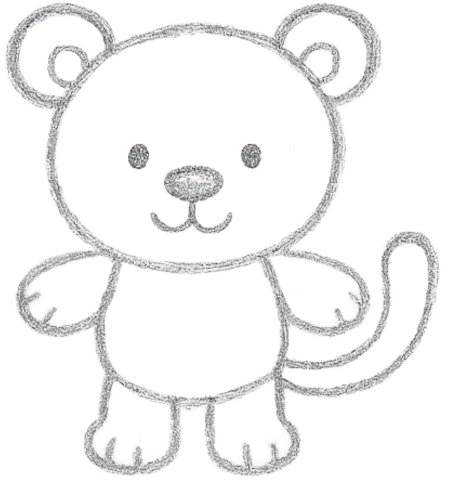
Draw small lines on the hands and feet to make paws. Then sketch a long, curved tail on the side of your animal.
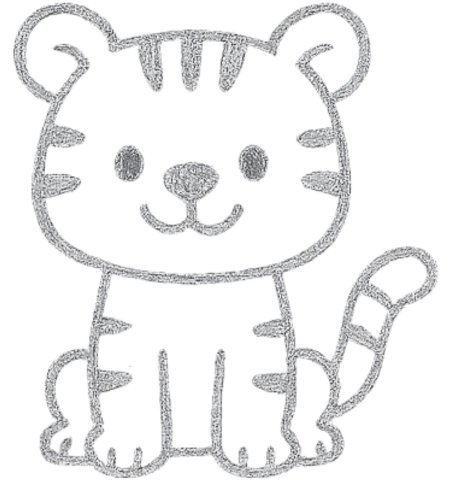
Kids Step 06: Add Dark Stripes to Finish the Tiger
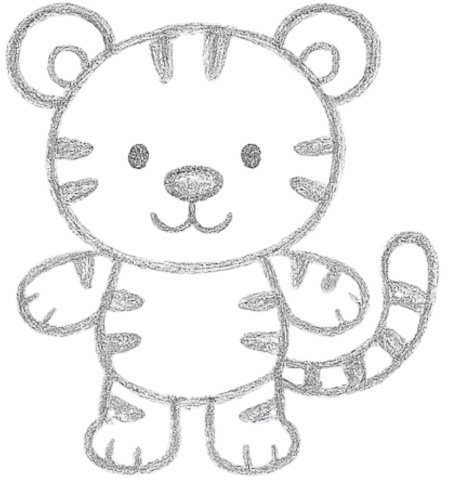
Finally finish your masterpiece by adding dark stripes on the face, body and tail to make a perfect wild tiger.
Wow, you did an amazing job drawing this beautiful tiger today! Grab our full-page, easy-to-follow guide with 6 steps you can download, print, and practice. You are a fantastic young artist!
Kids Tiger Printable Full Page With Fun 6 Steps Print and Draw
Simple Tiger Drawing Tutorial for Ages 9 to 12 Tweens with Clear 6 Steps
Simple Tiger Drawing Tutorial for Ages 9 to 12 Tweens with Clear 6 Steps
Get ready to draw a cool tiger with your pencil. This fun guide is perfect for older kids to try.
Tweens Step 01: Draw the Bottom of the Tiger Head

Let us draw a wide curved line to make the bottom of the face. This simple shape is a good start for your animal drawing.
Tweens Step 02: Sketch Top of Head and Ears

Now add two round ears on top and connect them with a line. You are doing so great building the wild animal face.
Tweens Step 03: Draw Eyes, Nose, and the Front Legs

Draw dark eyes and a nose. Add inner ear lines. Sketch two long front legs right down from the lovely tiger face.
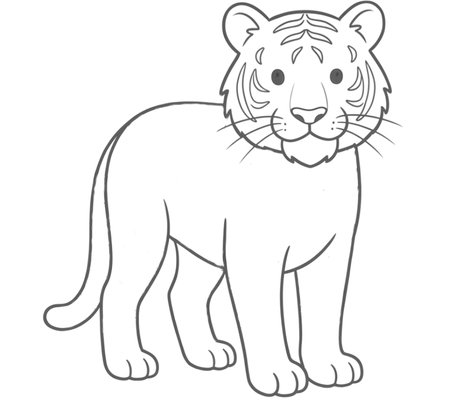
Tweens Step 04: Give Him a Smile and Two Back Legs
Time to make your tiger happy with a smile. Now you must draw two bent back legs sitting beside the front legs.
Tweens Step 05: Draw the Paws and a Curved Tail
Add small lines on the feet to create paws. Then draw a nice, long, curved tail stretching to the right.
Tweens Step 06: Add Dark Stripes to Finish It
To complete your art, add some dark stripes on the head, back, and tail. Your fantastic tiger drawing is now done.
Amazing effort on this artwork! We offer an Easy Steps Full Page with 6 Easy Steps that can be downloaded, printed, and practiced. Keep up the brilliant pencil work because you are a truly gifted artist.
Tweens Tiger Full Page Printable With 6 Fun Steps Print and Practice
How to Draw a Tiger for 13 to 18-year-olds Teens in 6 Steps
Grab your pencils and let us draw a magnificent tiger together in six very simple steps today.
Teens Step 01: Sketch the Fluffy Head Outline
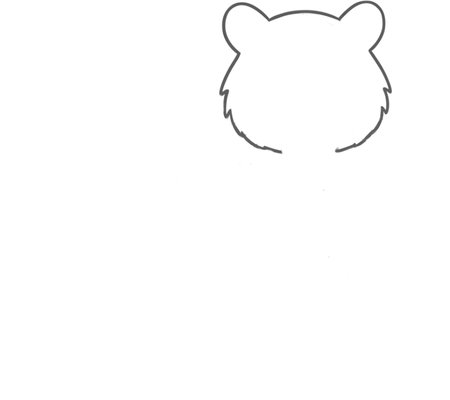
Let us start by drawing a fluffy head shape. Add two round ears on top and sketch zigzag lines for the cheeks.
Teens Step 02: Add Eyes, Body, and Front Legs
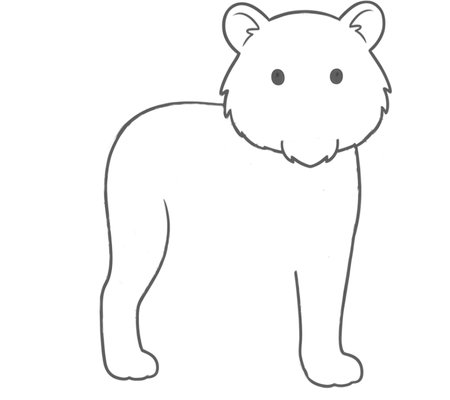
Next, draw two dark dots for eyes. Then sketch a large curved back line and draw two straight legs at the front.
Teens Step 03: Draw Nose, Mouth, and Paw Lines
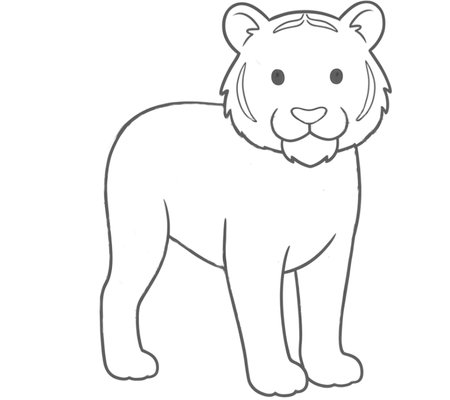
Now draw a cute nose and a smiling mouth. Finish the front paws and add inner lines to the round ears up high.
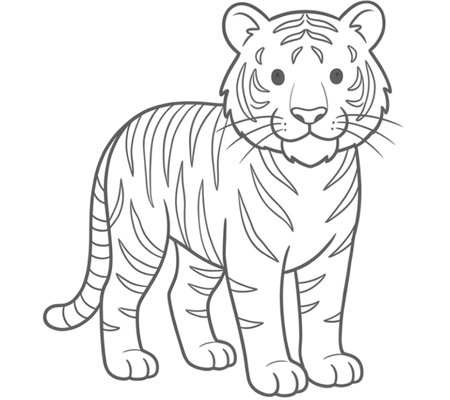
Teens Step 04: Sketch Back Legs Nice Face Stripes
Time to draw the two back legs, standing firm. Next, sketch some nice thin stripes on the forehead and the face.
Teens Step 05: Add Whiskers and a Long Tail
Draw straight whiskers on both sides of the nose. Sketch the chest fur and add a long, curved tail at the very back.
Teens Step 06: Finish With Body Stripe Lines
Complete your big cat art by drawing dark stripes all over the body, legs, and tail to make a realistic wild cat.
Fantastic job making this cool tiger! Get the Easy Steps Full Page With 6 Easy Steps to download, print, and practice. Keep up the awesome artwork because you are a very talented artist!
Creative Teens Tiger Printable Page With 6 Easy Steps Print and Draw
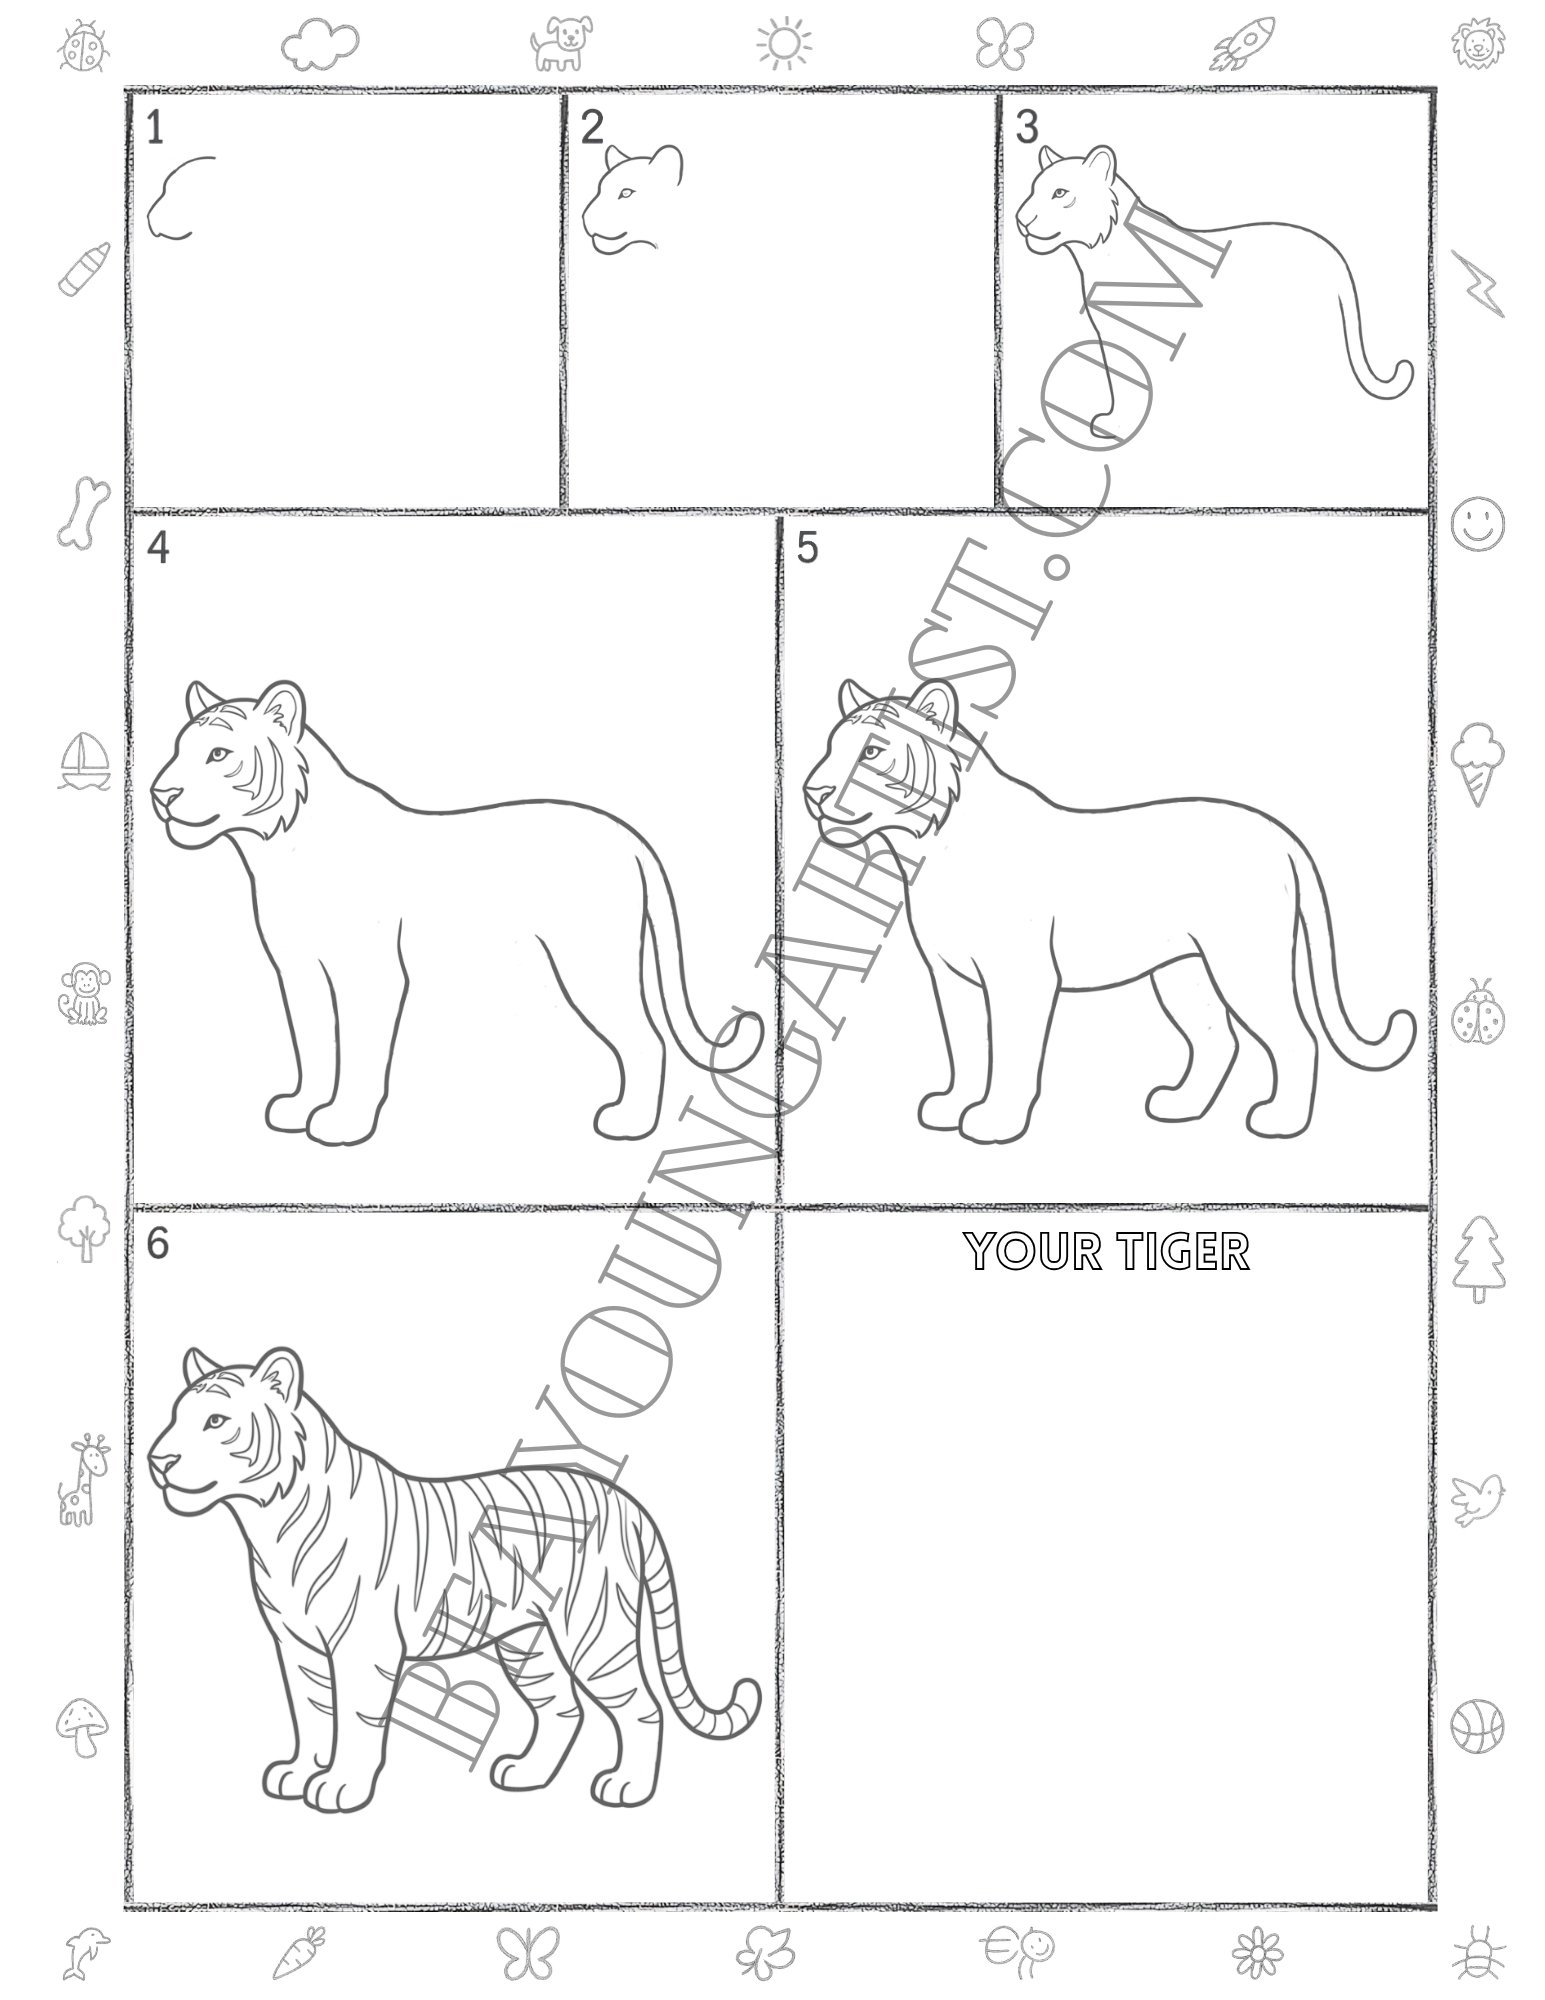
Learn to Draw a Tiger for Adults 18 Years and Up in 6 Steps
Grab your pencil and sketch a realistic tiger. This fun art guide is great for grown adults today.
Adults Step 01: Sketch the Tiger Face Outline

Begin your fine artwork by sketching the side profile of the face. Draw the rounded nose and a very strong jaw.
Adults Step 02: Sketch the Eye and a Round Ear

Now add a small, sharp eye near the nose. Then sketch a round ear on top and complete the back of his wild head.
Adults Step 03: Draw the Body and a Long Tail
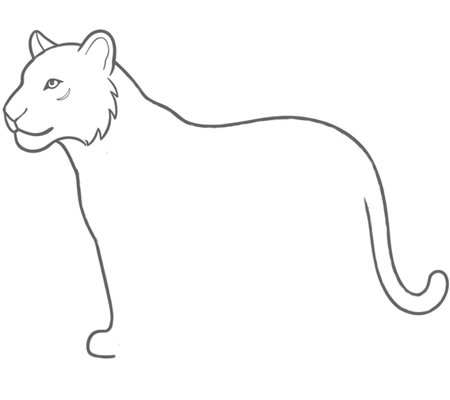
Sketch fluffy fur under the chin. Draw a long, smooth back line curving down to a thick tail and one front leg.
Adults Step 04: Sketch the Legs and Face Stripes
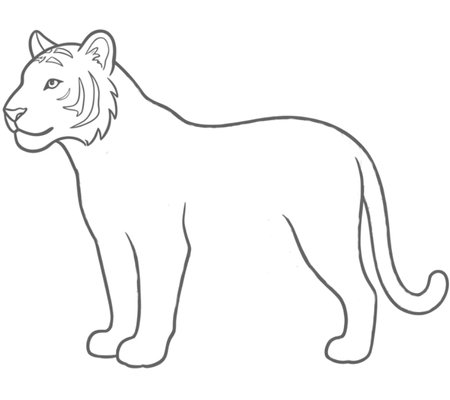
Add neat stripes to the fierce face. Then draw the second front leg and sketch that strong bent back leg shape.
Adults Step 05: Sketch the Last Back Leg and Paws
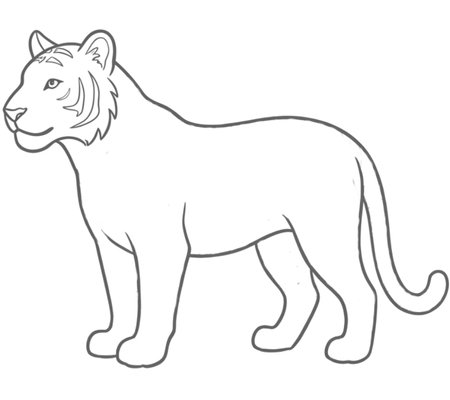
Complete the beautiful big cat body by drawing the final back leg. Make sure to add round toes on all the paws.
Adults Step 06: Draw Dark Realistic Body Stripes
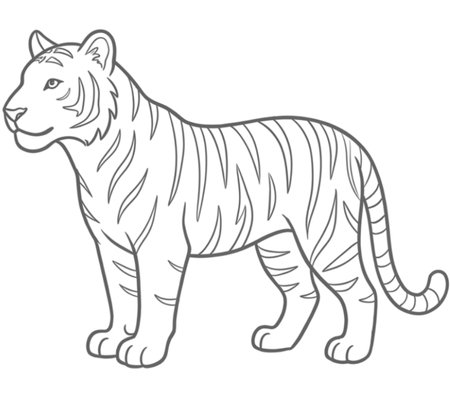
Finish your amazing wild animal drawing by adding beautiful dark stripes down the back legs, belly, and long tail.
Congratulations on creating a masterpiece! We are so proud of your progress. Grab our Easy Steps Full Page With 6 Easy Steps, which you can download, print, and practice to keep improving your art.
Adult Learners Tiger Printable Page With Clear 6 Steps Download and Print for Practice
We hope you had an amazing time learning how to draw a tiger with a pencil today! Every time you pick up your sketchbook, you are building wonderful new skills and becoming a better artist. Be sure to explore our website for more exciting drawing tutorials, and do not forget to grab your printable practice sheets. Keep drawing and stay creative!
What kind of pencil is best for drawing tigers?
A standard HB pencil is wonderful for sketching your initial light shapes. Once you are happy with the outline, you can use softer graphite, like a 2B or 4B pencil, to shade in the dark, rich stripes and add fun details.
How can I make my tiger stripes look realistic?
To make your stripes look more natural, try drawing them with slightly jagged edges rather than perfectly straight lines. Remember to follow the body’s curve so your wild cat looks round and realistic on flat paper.
Is drawing a tiger difficult for beginners?
Not at all! The best trick is to break the big animal down into simple shapes like circles and ovals first. By following our easy six steps, anyone can learn to draw a beautiful tiger with confidence.