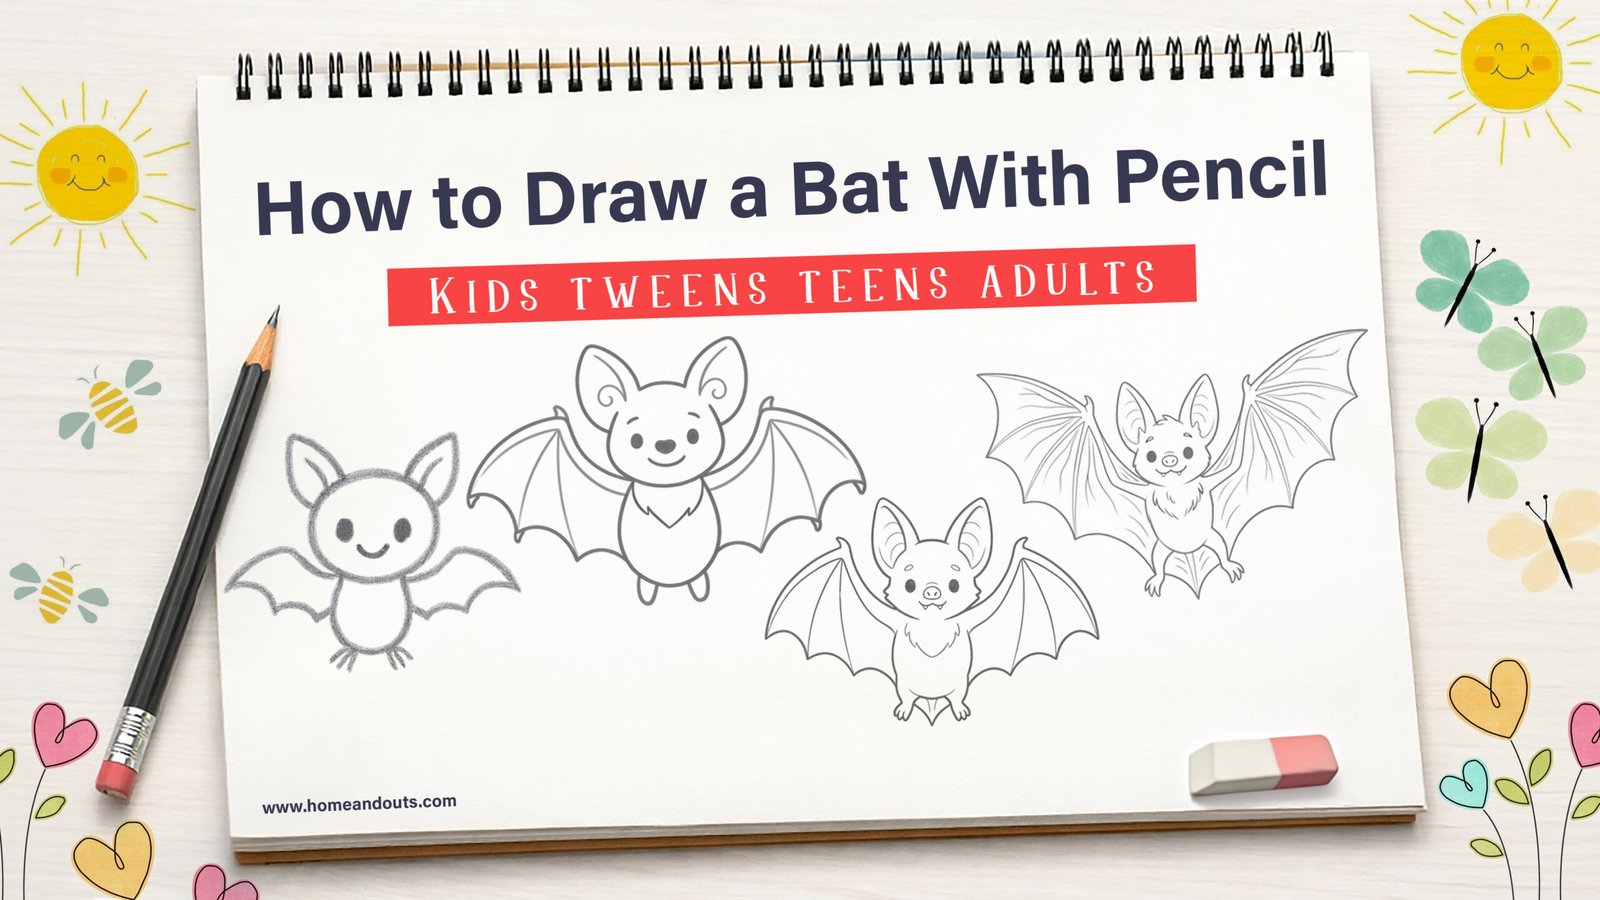
Bat drawings are fun for animal art, Halloween pages, and simple pencil practice. This full tutorial includes four age-friendly lessons for kids, tweens, teens, and adults. Each drawing tutorial is completed with 6 steps, making the bat easy to follow from the first shape to the final details.
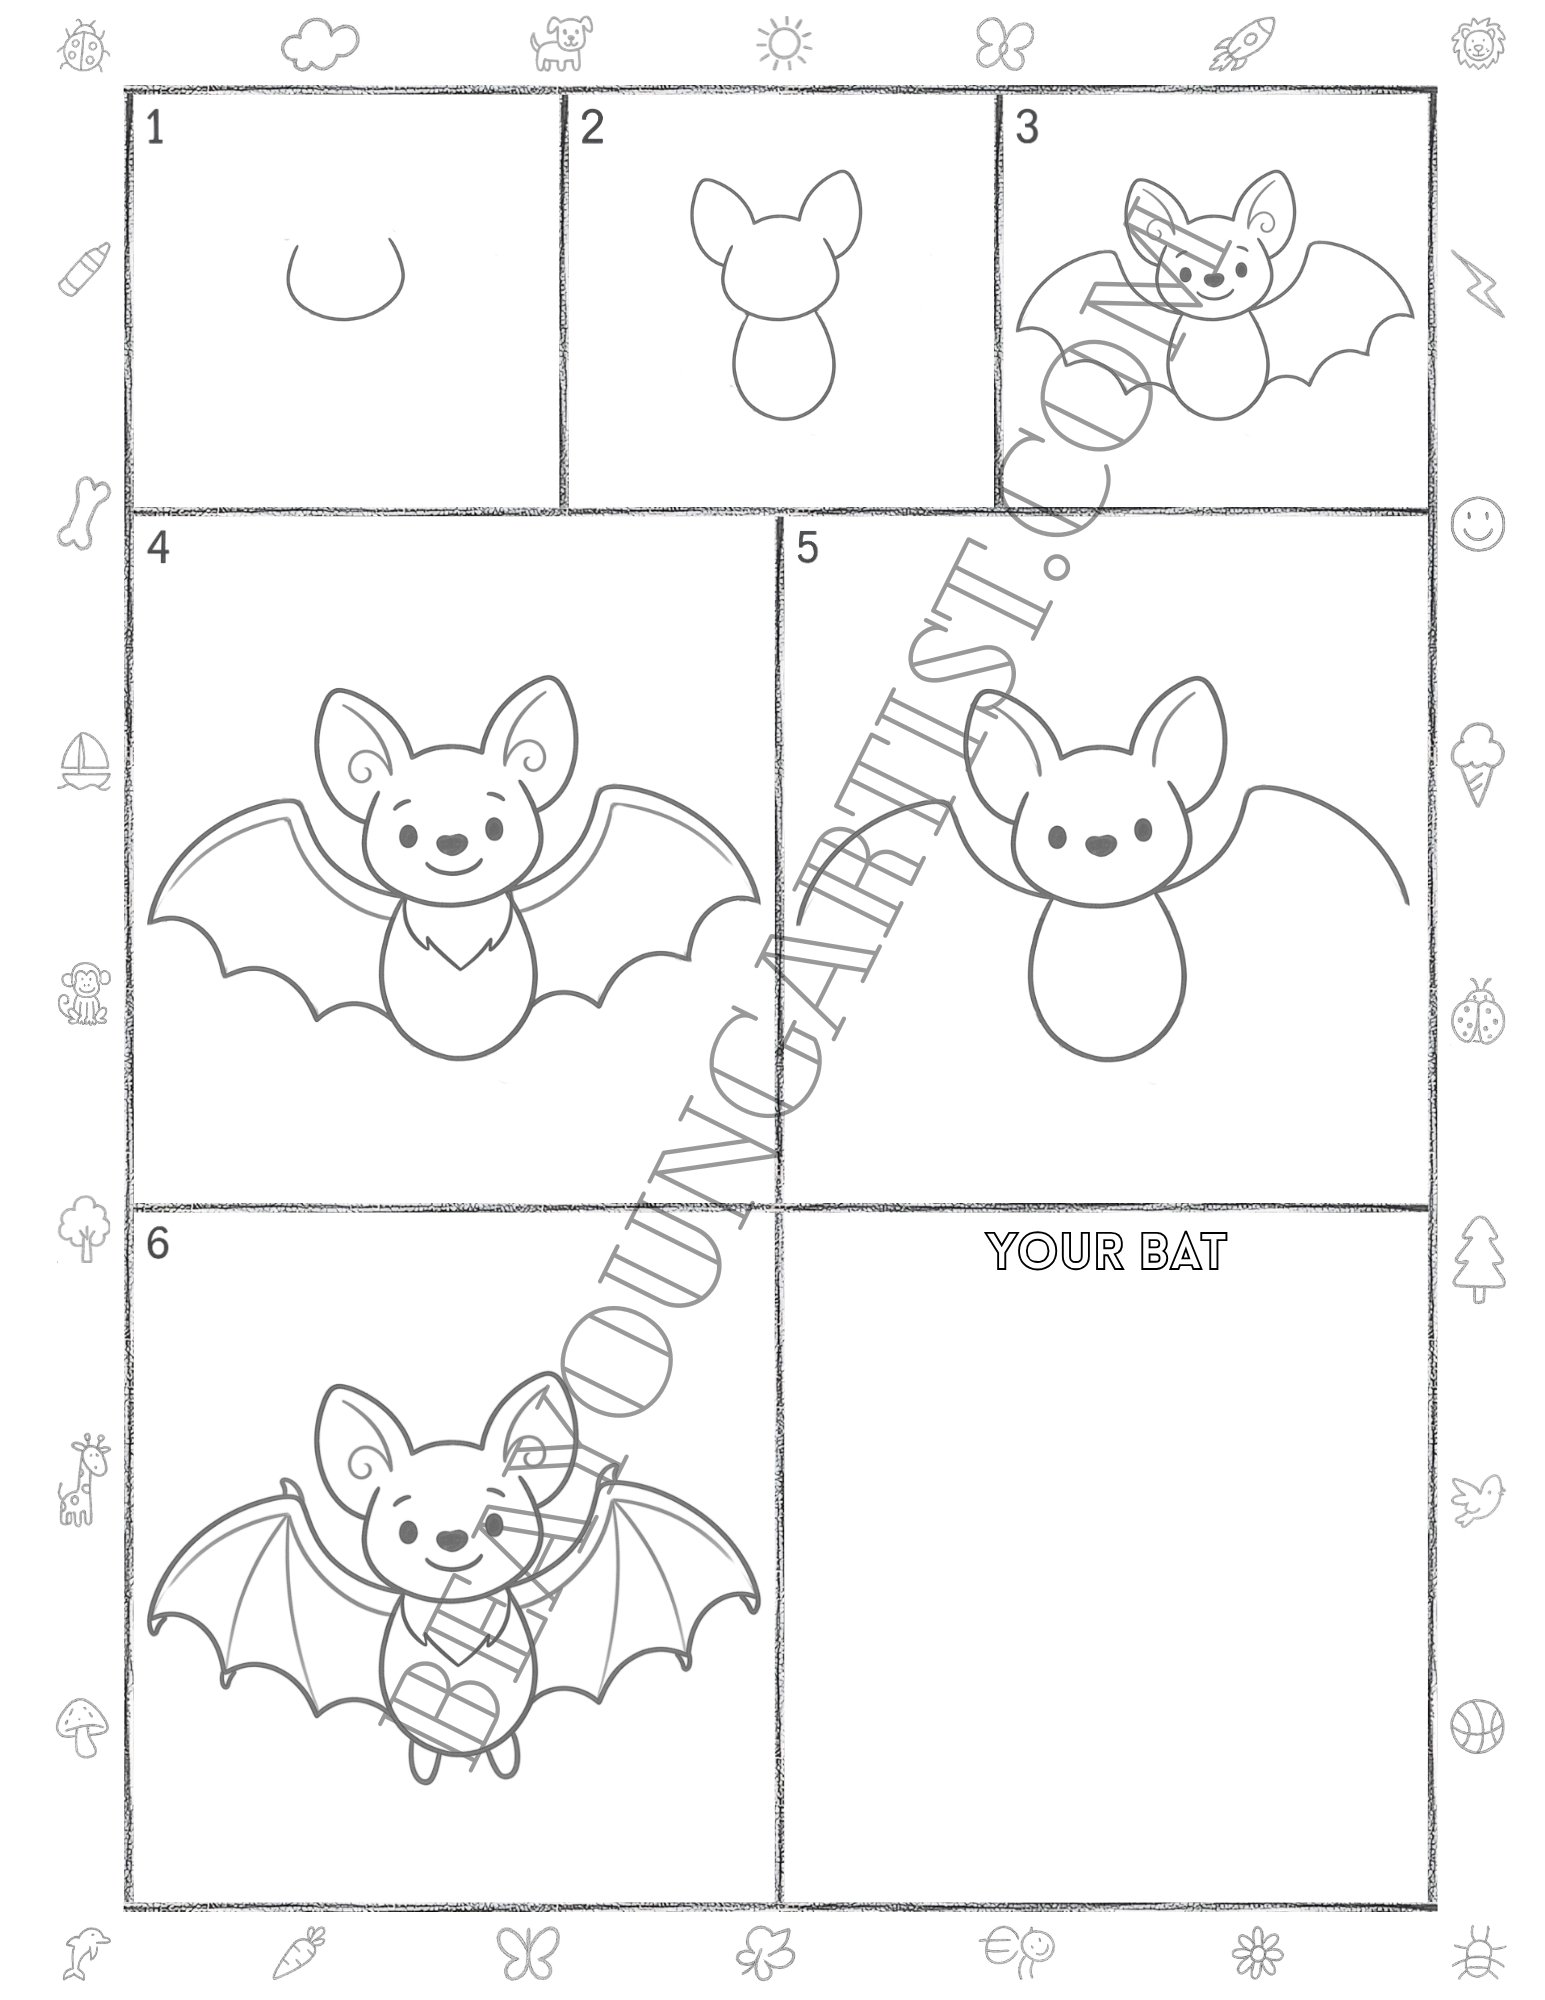
Easy Drawing of a Bat With a Pencil for Ages 3 to 8 Little Kids in 6 Steps
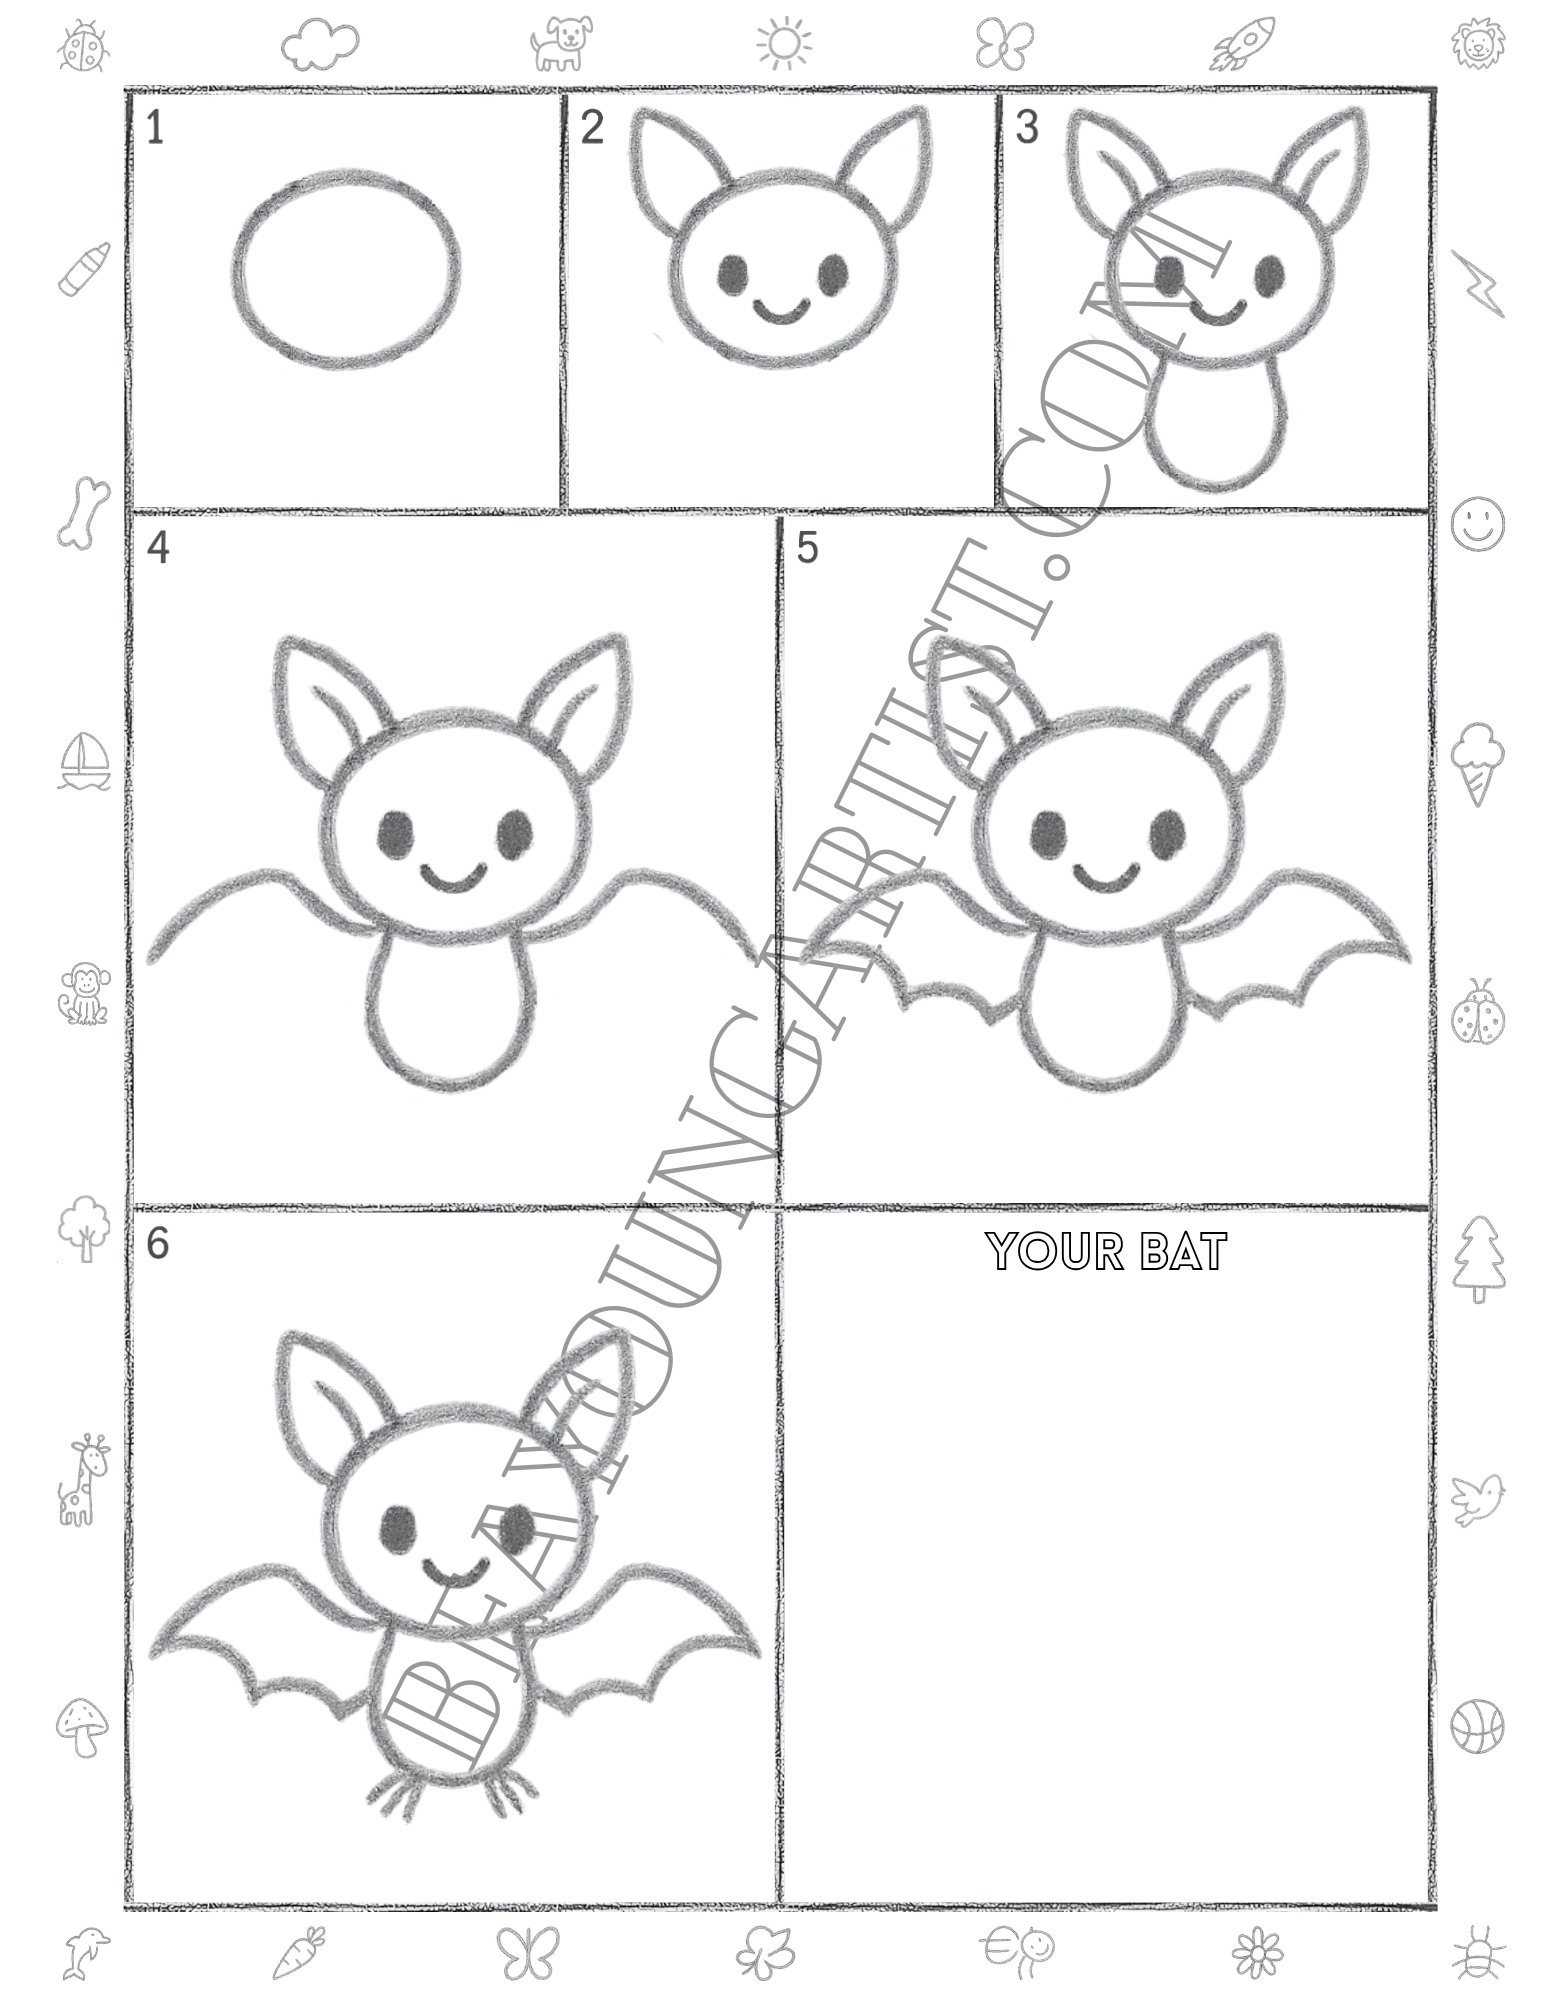
This easy bat drawing for kids helps little artists build a cute pencil bat in 6 fun steps.
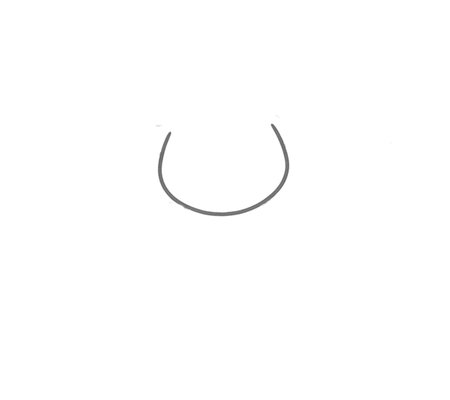
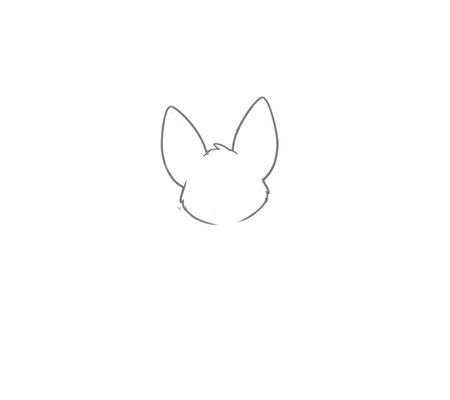
Kids Step 01: Draw a Big Round Bat Head Shape
Start with a large round shape for the bat head. Keep the line soft so the face looks friendly and easy to color.
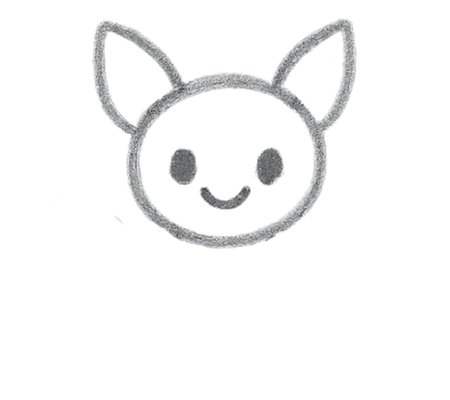
Kids Step 02: Add Pointy Ears, Eyes, and a Smile
Add two pointy ears on top of the head, then draw two dark eyes and a small smile for a cute toddler bat face.
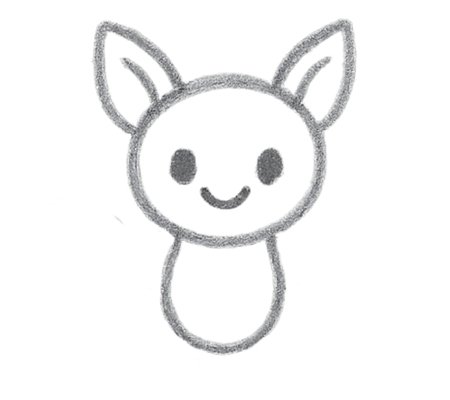
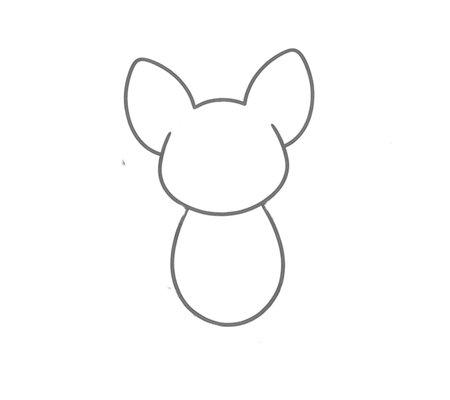
Kids Step 03: Add Inner Ears and a Small Body
Place smaller ear lines inside both ears, then draw a short, rounded body under the happy bat face for practice.
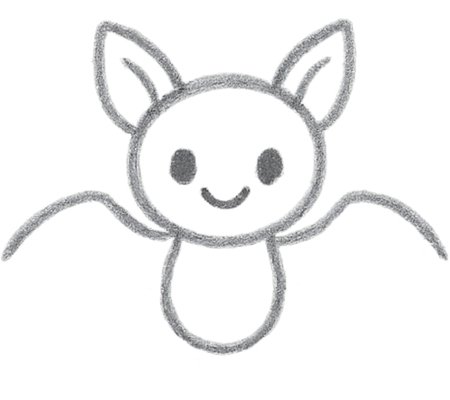
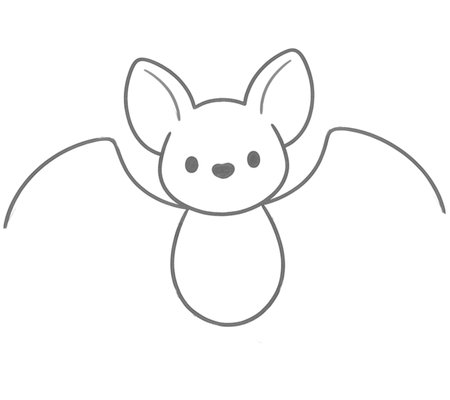
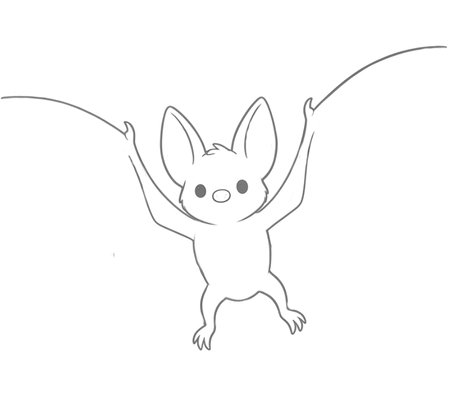
Kids Step 04: Draw Two Wide Curved Wing Lines
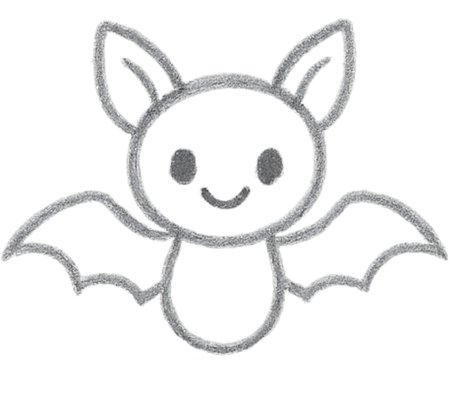
Draw one wide curved wing line from each side of the head. These lines will guide the open bat wings for kids.
Kids Step 05: Shape the Wings With Soft Curves
Add soft curves under each wing line to make the bat wings look light, playful, and easy for young kids to draw.
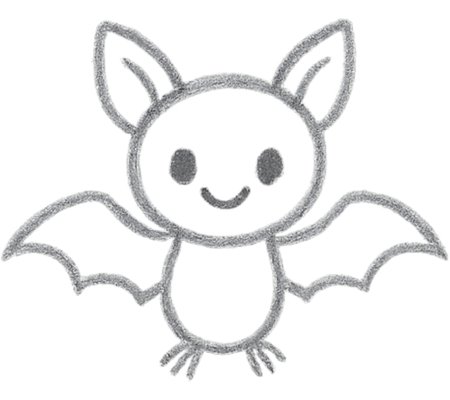
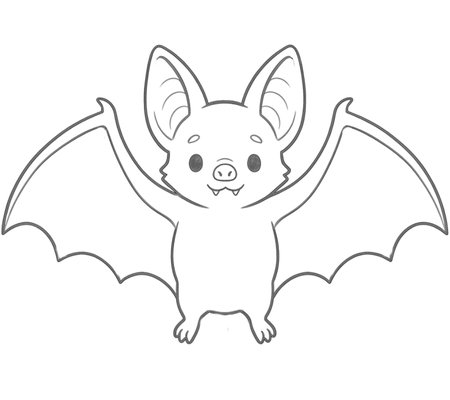
Kids Step 06: Add Tiny Feet and Finish the Bat
Finish the easy bat drawing with tiny feet under the body, then darken the lines for a clean pencil look today.
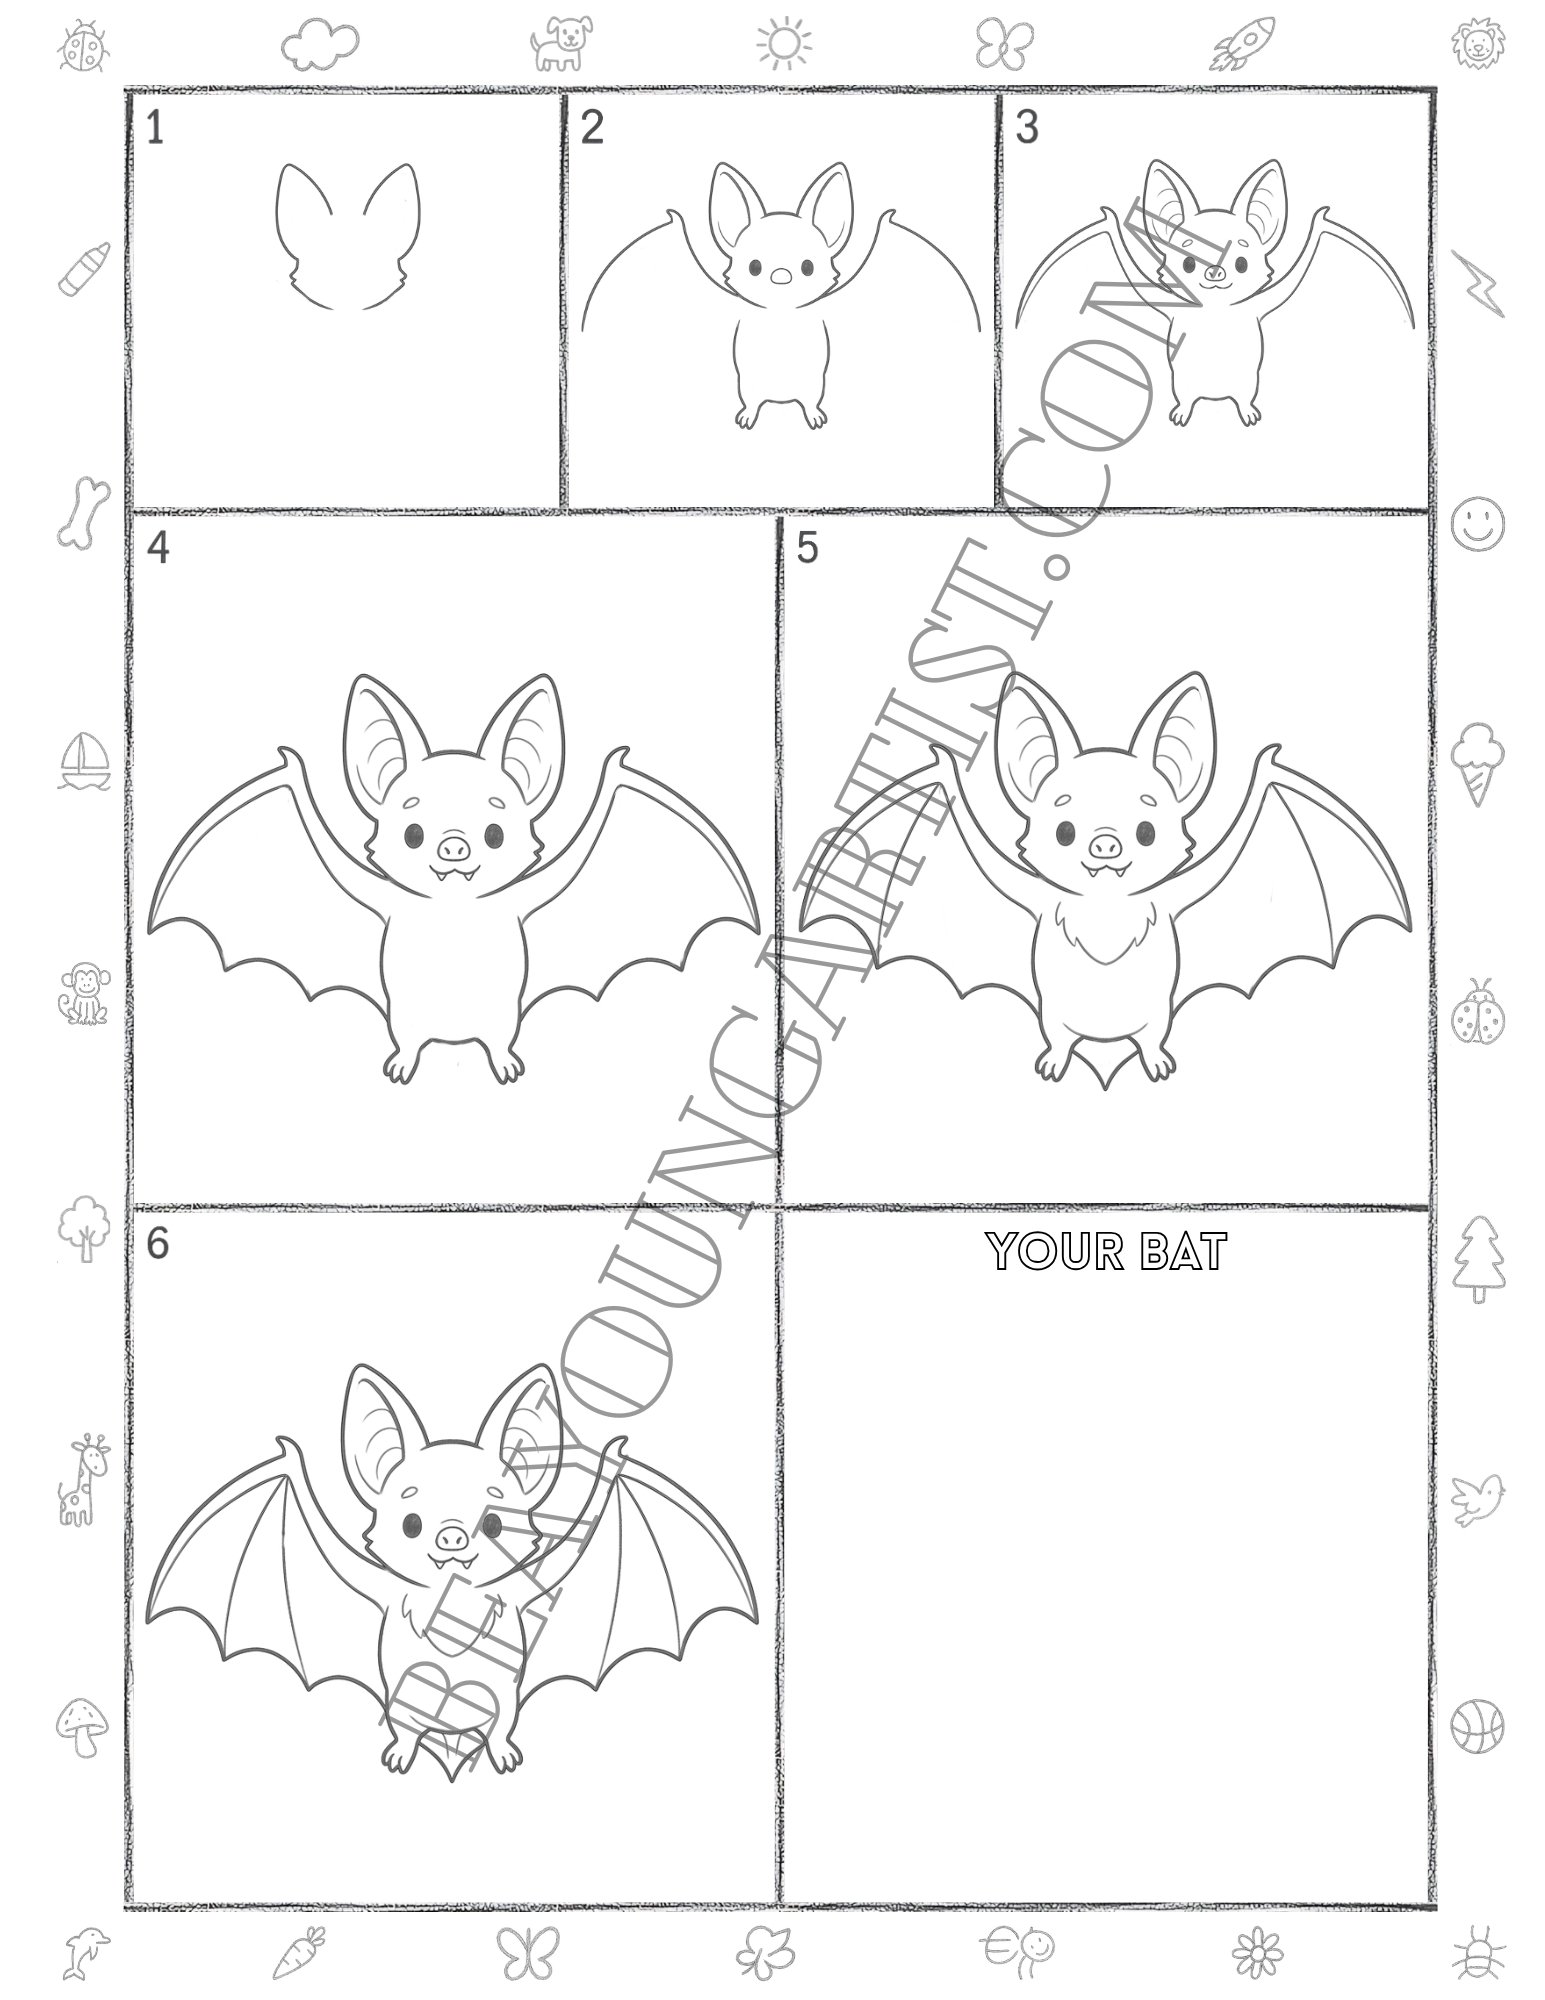
Nice job, little artist. The Easy Steps Full Page With 6 Easy Steps can be downloaded, printed, and used for practice, making this cute bat drawing lesson fun to repeat later at home with joy.
Print Bat Practice Page for Kids With Clear 6 Steps for Art Time
Bat Pencil Drawing Guide for Friendly Tweens Ages 9 to 12 in 6 Steps
Follow this easy bat pencil drawing guide for tweens and build a cute flying bat in 6 simple steps.
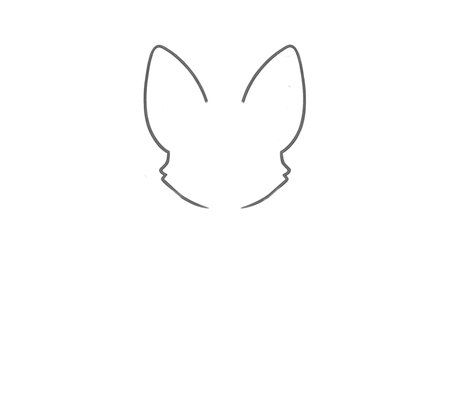
Tweens Step 01: Draw the Curved Lower Face Line
Start with a soft curved line for the lower bat face. This first shape keeps the drawing clear, neat, and easy to read.
Tweens Step 02: Add Big Ears and the Body Shape
Add two large ears above the head, then draw a rounded body below. The bat shape now looks clear and balanced.
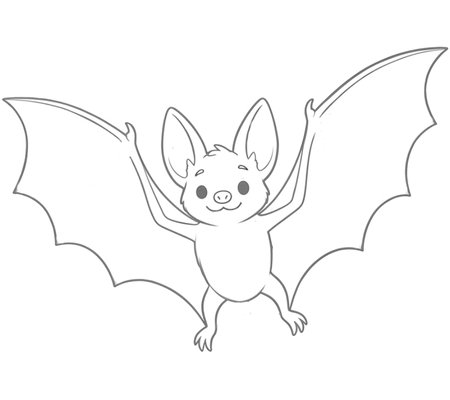
Tweens Step 03: Sketch Bat Wings and the Cute Face
Sketch wide curved wings on both sides, then add the eyes and nose. The bat begins to look cute and ready to fly.
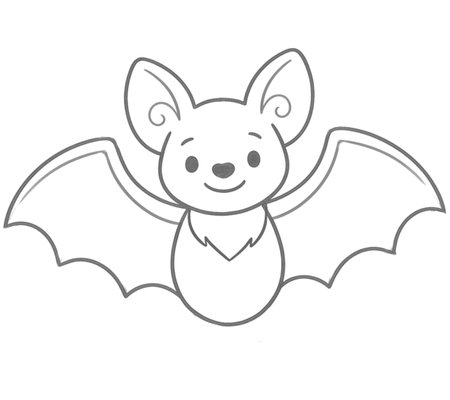
Tweens Step 04: Shape Bat Wings and Face Details
Shape the wing edges with soft dips, then add inner ear lines and a smile. These details bring the bat to life.
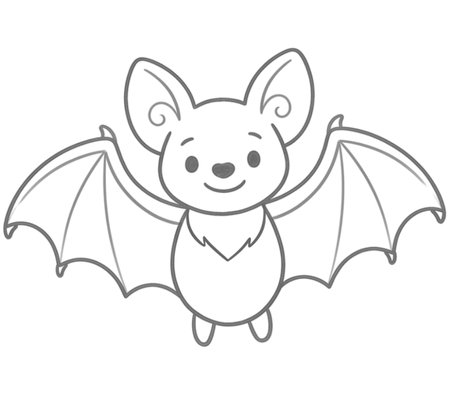
Tweens Step 05: Add Wing Lines and a Soft Chest Fur
Draw the inner wing lines and a small chest fur shape. These simple details give the bat more style and charm.
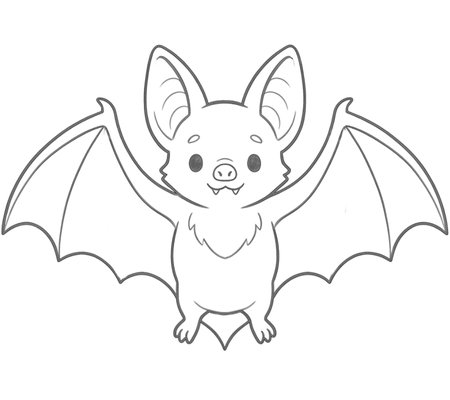
Tweens Step 06: Finish the Feet and Final Bat Lines
Finish with tiny feet under the body, then darken the final lines. The bat drawing now looks complete and clean.
Great work, artist. The Easy Steps Full Page With 6 Easy Steps is ready to download, print, and practice, making this cute bat drawing lesson simple to revisit for more fun art time at home.
Cute Tweens Bat Printable Page With Beginner 6 Steps Print and Practice
Fun Bat Pencil Drawing Lesson for Ages 13 to 18 Teens in 6 Steps
This fun bat pencil drawing lesson helps teens create a cute flying bat in 6 simple steps.
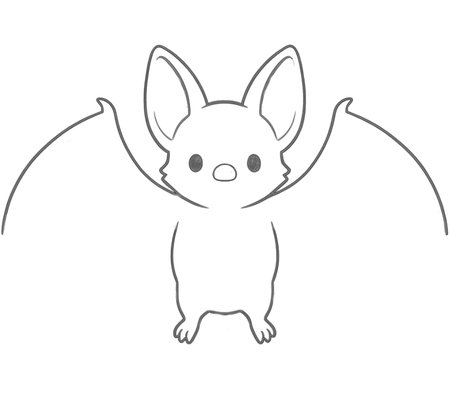
Teens Step 01: Draw the Bat Head and Ear Shape
Start with the bat head and tall ears. This simple outline gives the drawing a clear shape and a cute look today.
Teens Step 02: Add Body and Wing Guide Lines
Add the small body below the head, then sketch the raised wing guidelines. The bat pose now starts to show well.
Teens Step 03: Draw Nose and Mouth on the Face
Draw the eyes, nose, and mouth on the face. These small details bring the bat to life and add friendly charm, too.
Teens Step 04: Shape the Bat Wings and Small Legs
Shape both wings with soft curved edges, then add the short legs. The bat now looks wider, balanced, and bold.
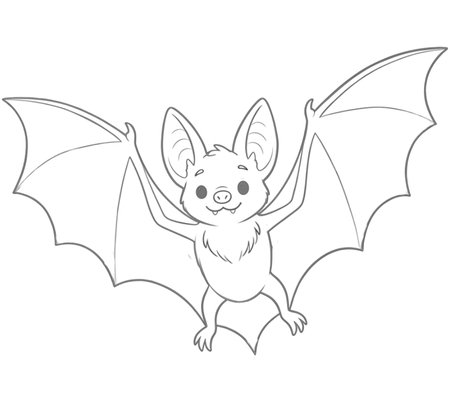
Teens Step 05: Add Inner Wings and Soft Chest Fur
Add the inner wing lines and a fluffy chest shape. These details give the bat more style, texture, and charm, too.
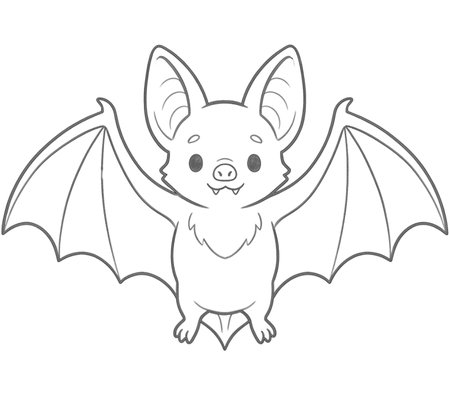
Teens Step 06: Finish the Feet and Final Bat Lines
Finish with clear feet and darker final lines. The teen bat drawing now looks complete, clean, and ready to show.
Well done, artist. The Easy Steps Full Page With 6 Easy Steps can be downloaded, printed, and used for practice, so this bat drawing lesson stays ready for more creative fun anytime at home too.
Creative Teens Bat Printable Page With Beginner 6 Steps Print and Learn
Classic Bat Pencil Drawing Guide for Adults 18 Years and Up in 6 Steps
This classic bat pencil drawing guide helps adults create a detailed flying bat in 6 clear steps.
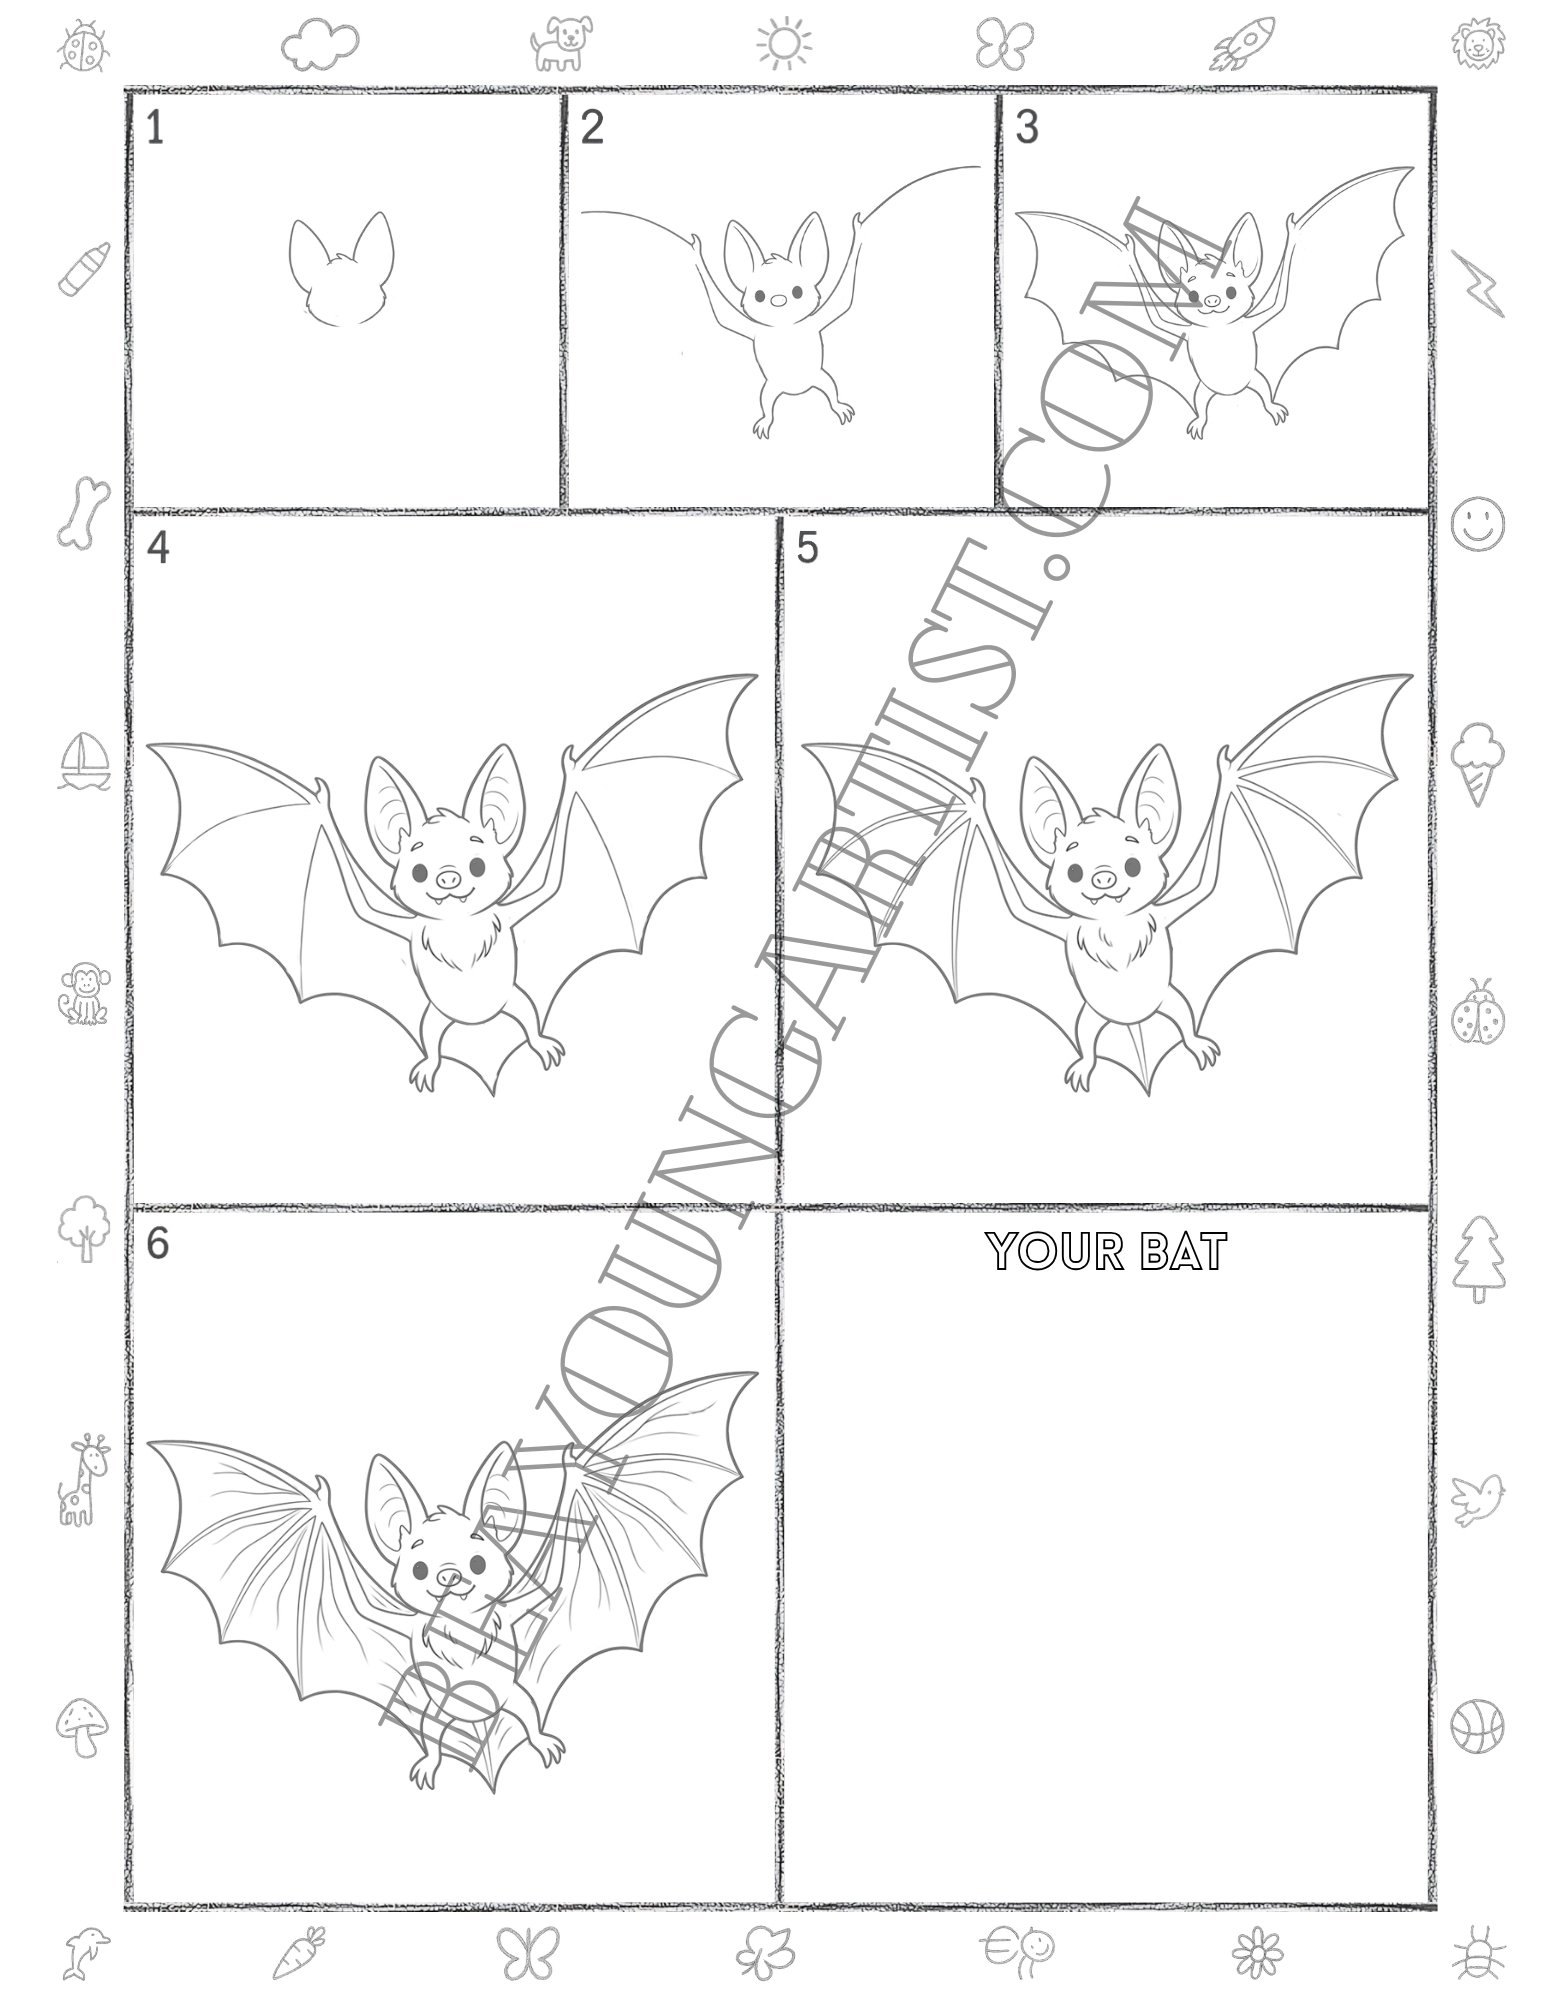
Adults Step 01: Draw the Bat Head and Ear Shape
Start with the bat head and pointed ears. This first outline builds a strong base for the full adult drawing now.
Adults Step 02: Add Body Legs and Wing Guides
Add the body, legs, and raised wing guide lines. The bat pose becomes clearer and more balanced at this step.
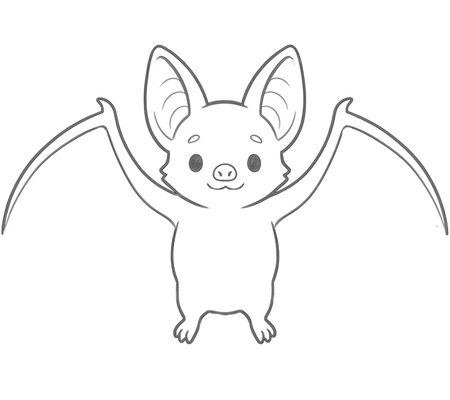
Adults Step 03: Shape the Wings and Cute Face
Shape the wide wings and add the eyes, nose, and smile. The flying bat now looks bold, neat, and expressive, too.
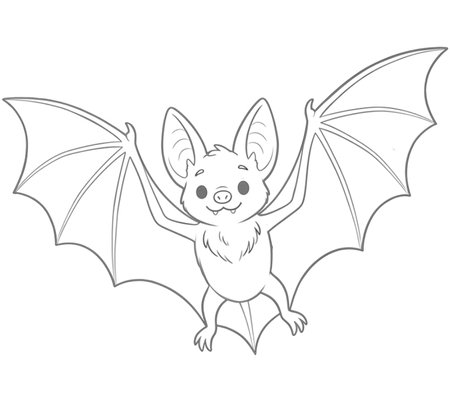
Adults Step 04: Add Chest Fur and Body Details
Add the chest fur and refine the body shape. These details make the bat look fuller, softer, and more natural.
Adults Step 05: Draw Inner Wings and Small Feet
Draw the inner wing lines and small feet with care. These clean details give the bat more structure and style.
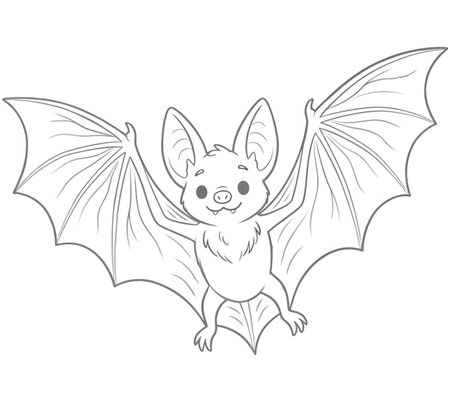
Adults Step 06: Finish Texture and Final Bat Lines
Finish the wing texture and darken the final lines. The bat drawing now looks complete, polished, and ready too.
Congrats, artist. The Easy Steps Full Page With 6 Easy Steps can be downloaded, printed, and used for practice, so this classic bat drawing lesson is always ready for more creative art time.
Bat Step by Step Printable for Adults With 6 Easy Steps Download, Print, and Draw
Bat pencil drawing becomes easier when each lesson starts with simple shapes and builds slowly. These 6-step tutorials give people of all ages a clear way to practice, improve, and enjoy drawing a cute flying bat with confidence.
What makes this bat drawing tutorial easy for beginners?
Each bat drawing starts with simple pencil shapes, then adds ears, wings, face details, feet, and final lines in 6 clear steps.
Can this bat drawing lesson work for Halloween art?
Yes. The cute bat design works well for Halloween drawing practice, animal art pages, classroom projects, and simple pencil sketch activities.
What supplies are best for this bat pencil drawing?
A pencil, eraser, plain paper, and coloring tools are enough. Soft pencil lines make each step easier to adjust.
Bat Drawing FAQ