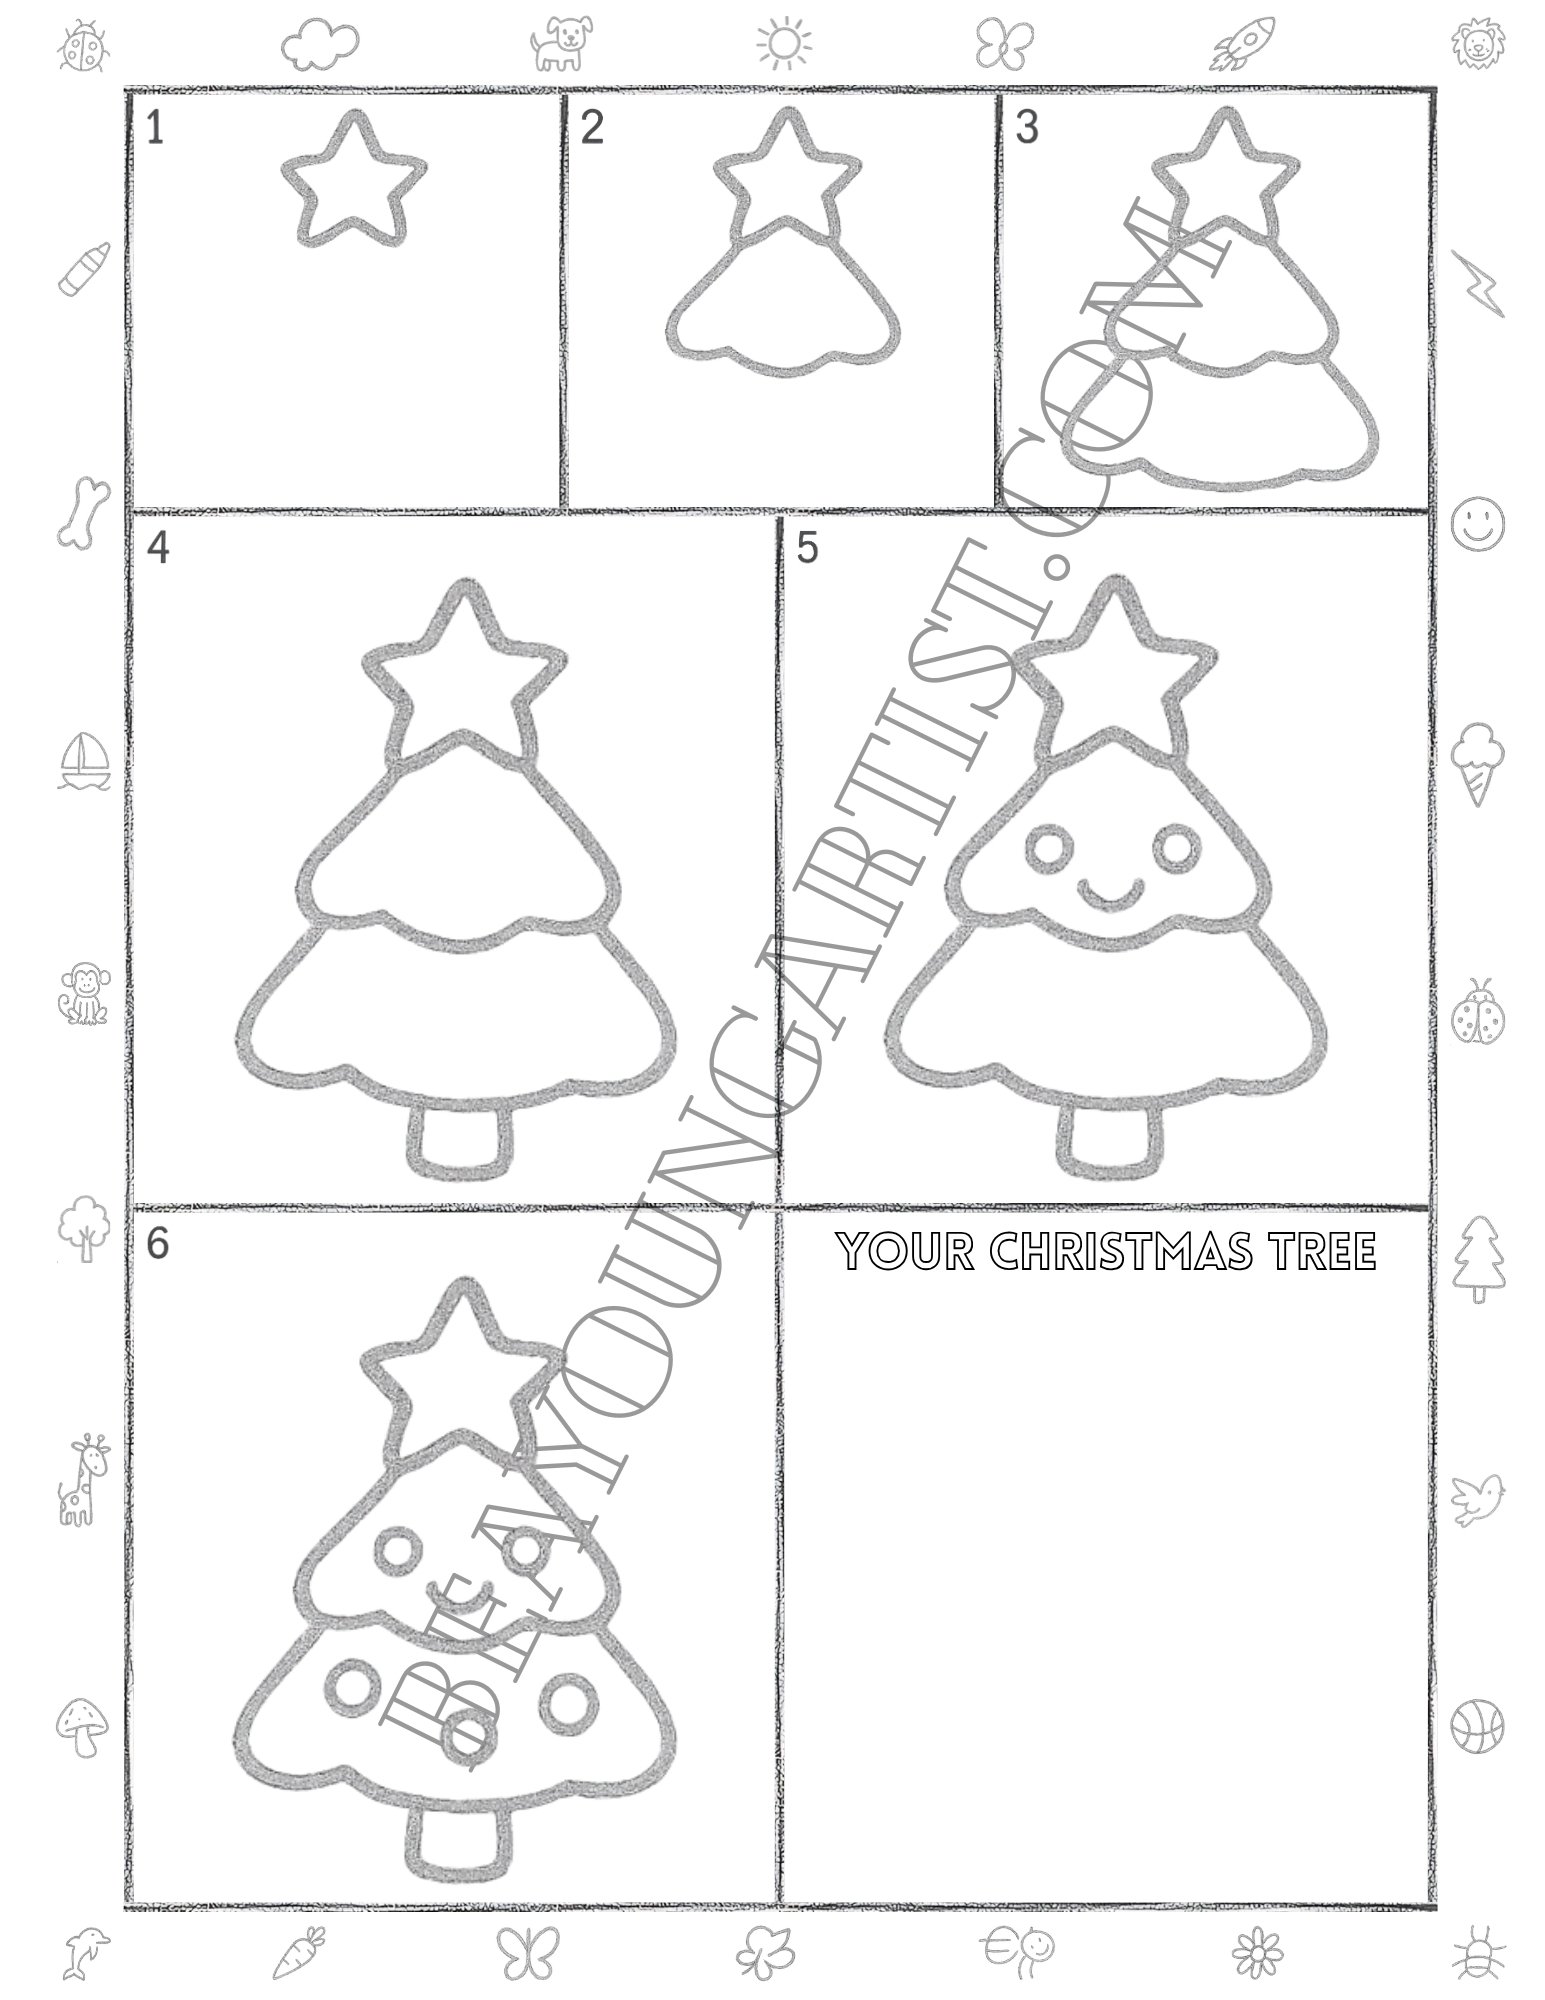
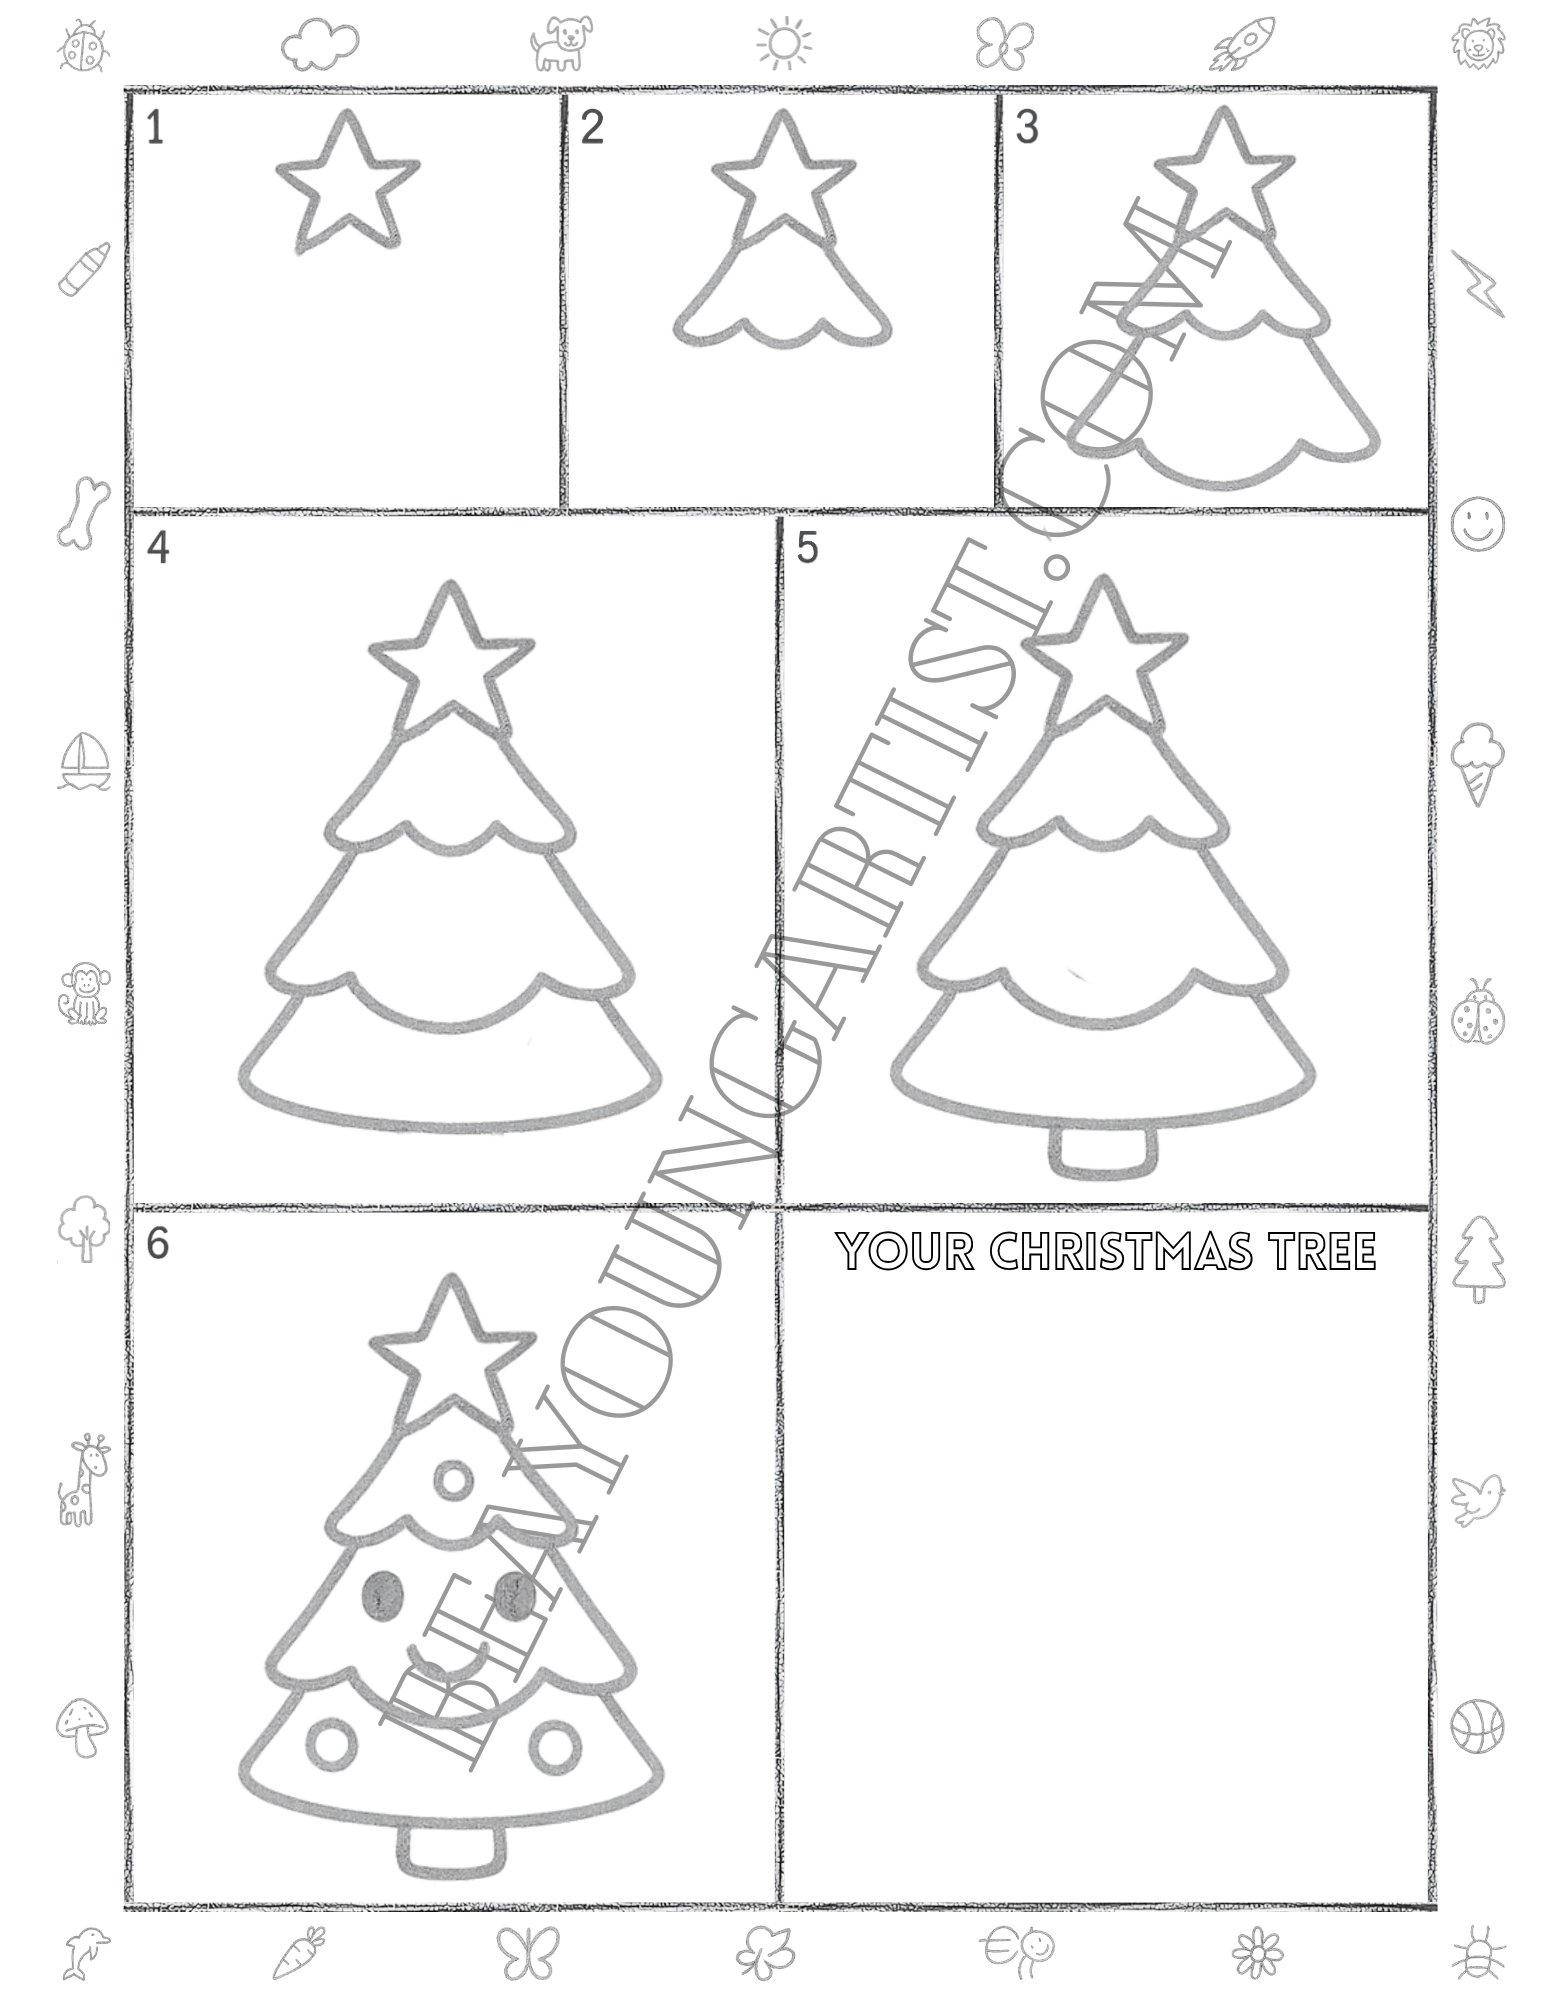
Learning how to draw a Christmas tree becomes easier when each part is shown in a clear order. This tutorial gives kids, tweens, teens, and adults their own simple pencil-drawing guide so everyone can practice at the right level. Each Christmas tree drawing is completed with 6 steps, from the first star to the final ornaments.
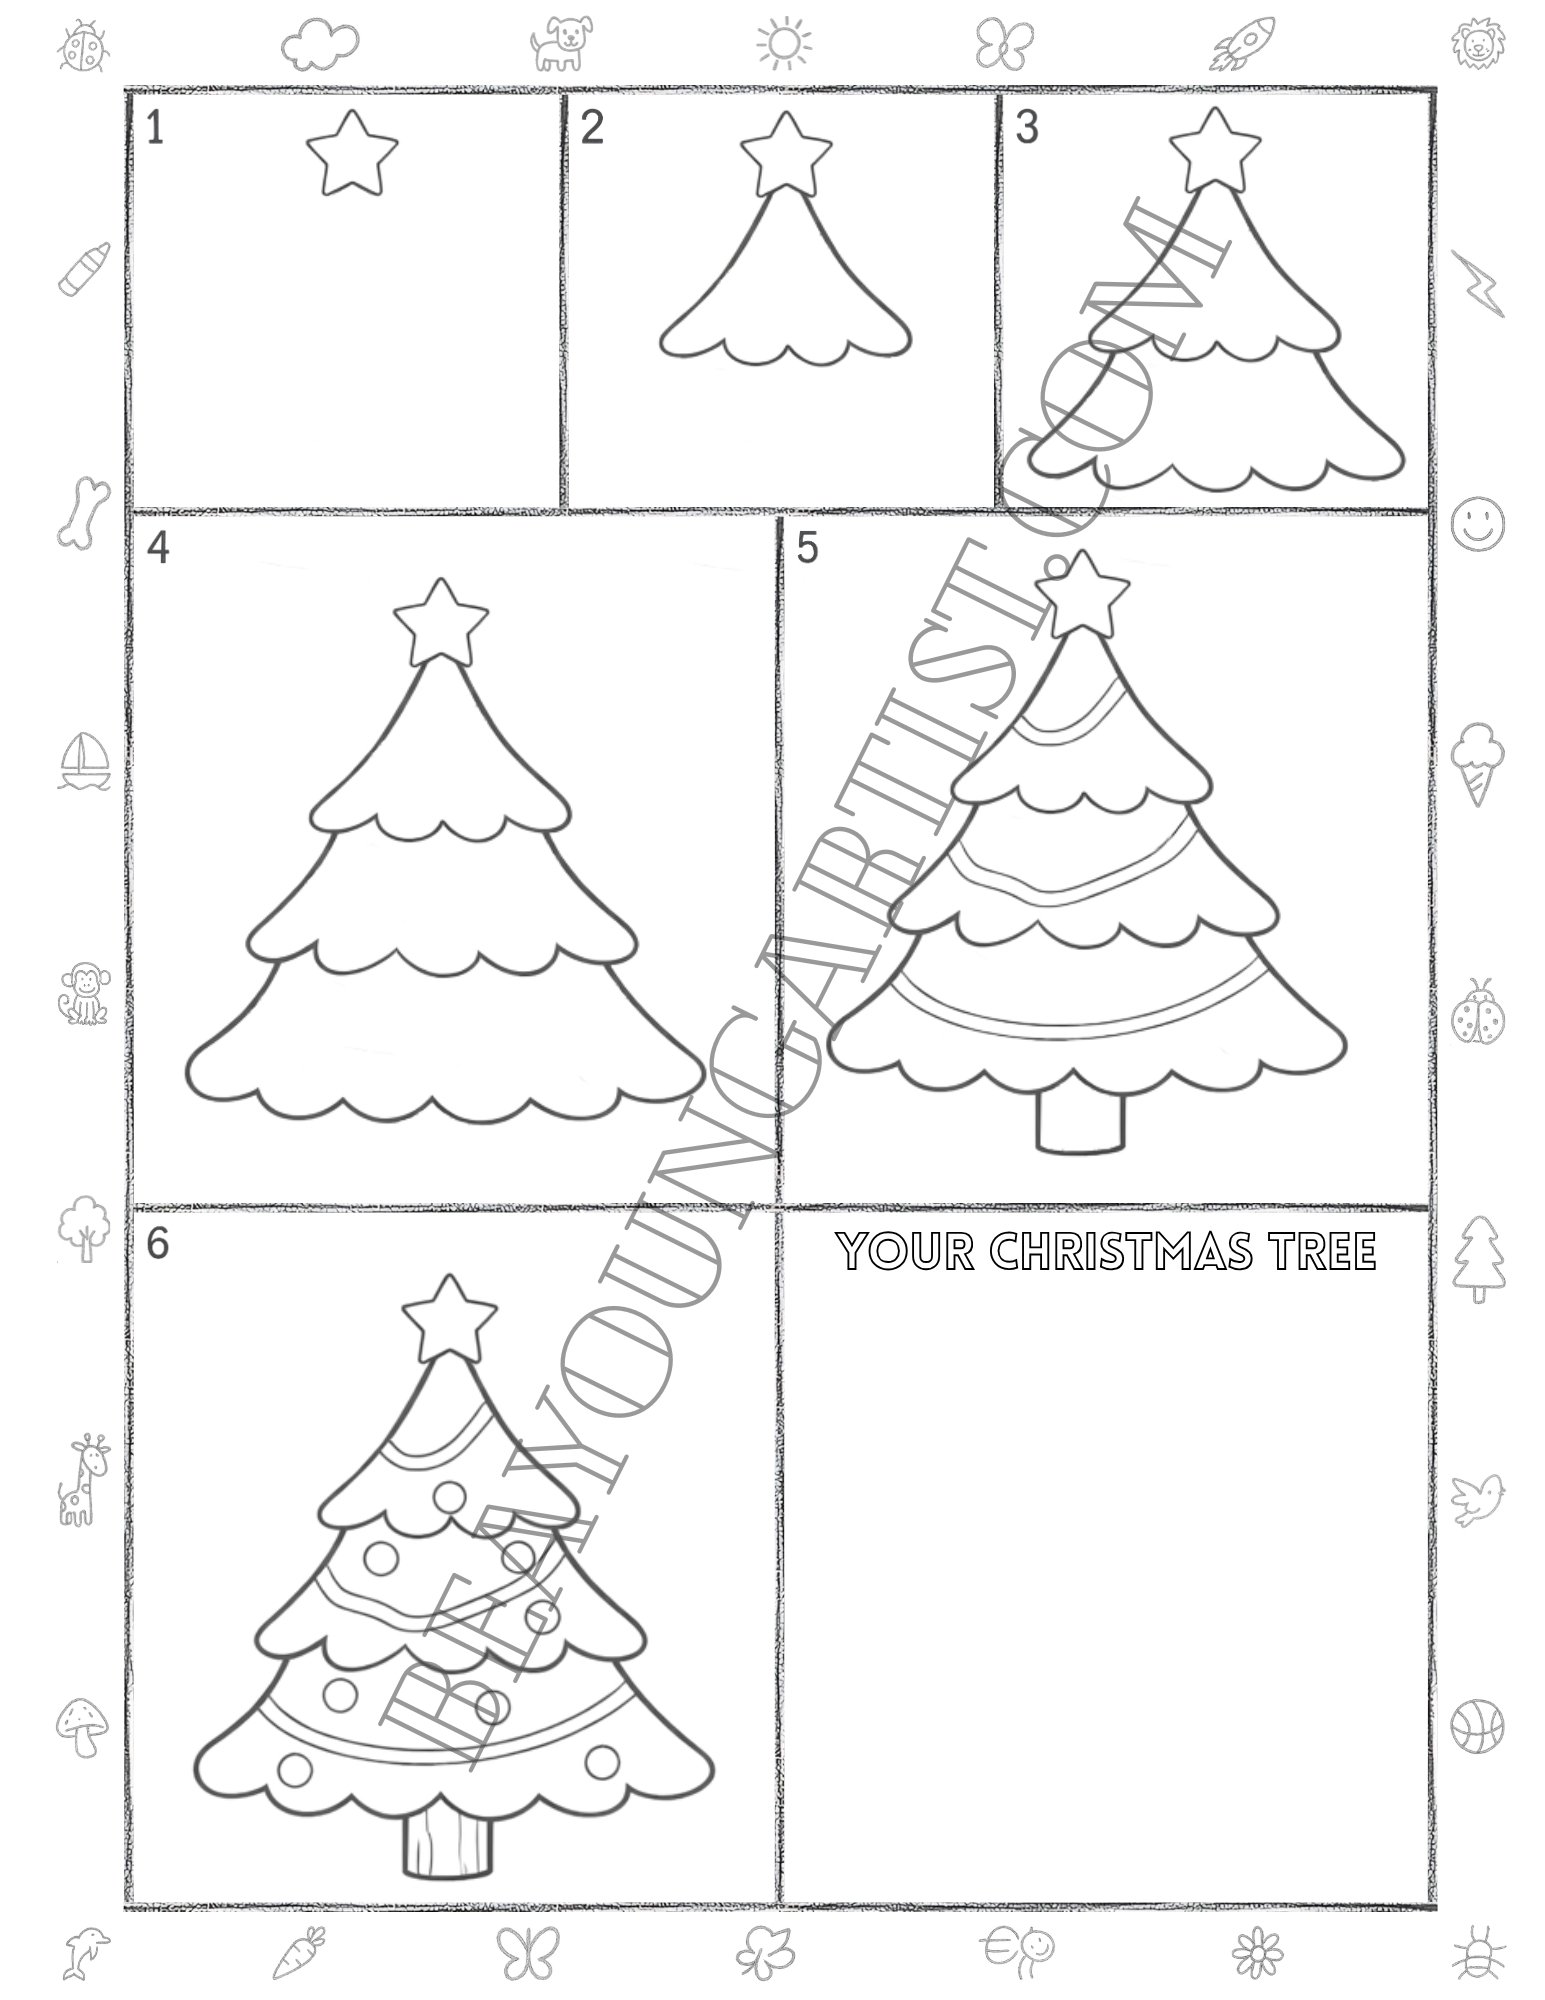
Easy Christmas Tree Drawing Tutorial in Pencil for Kids Ages 3 to 8 with 6 Steps
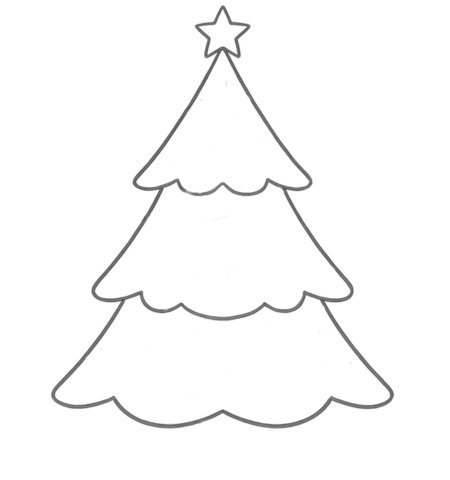
This easy Christmas tree drawing helps kids and toddlers make a cute pencil tree step by step.
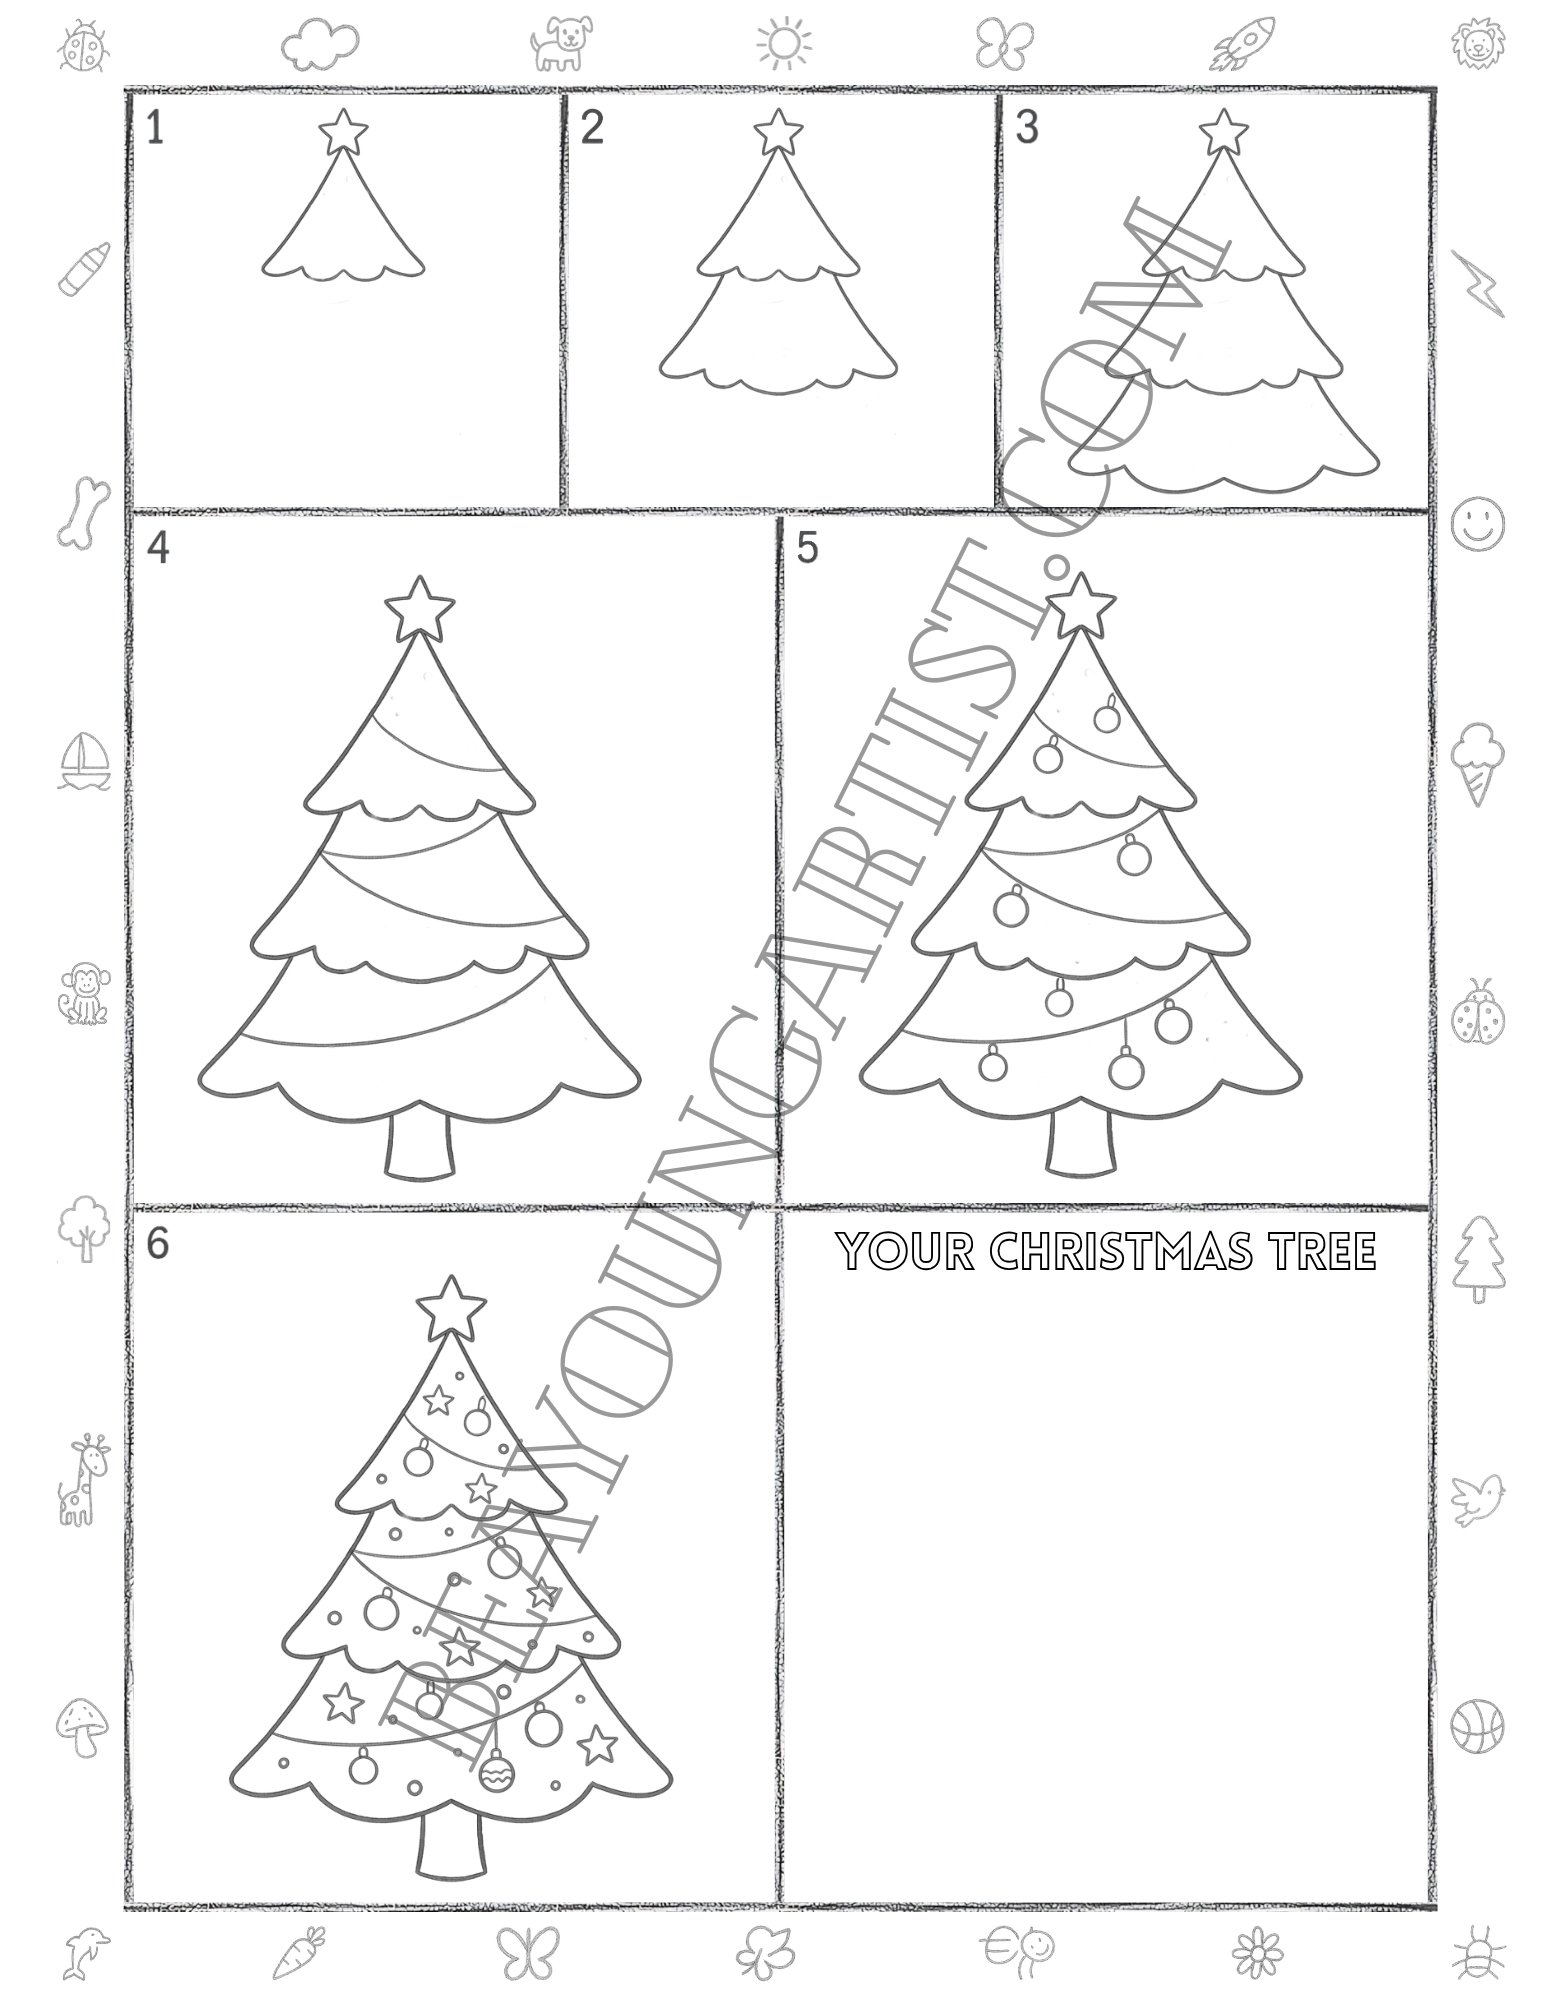
Kids Step 01: Draw a Bright Star at the Top First
Start with a simple star at the top. Use five soft points and keep the shape open and friendly for little hands.
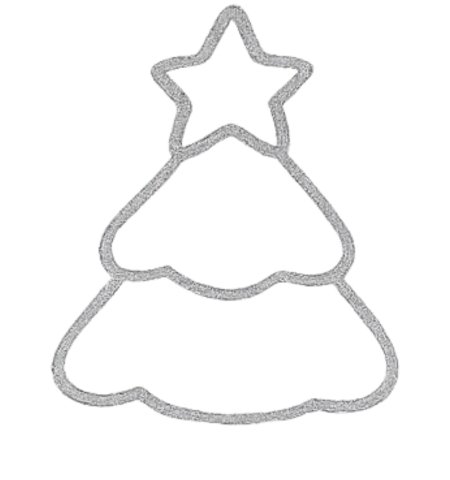
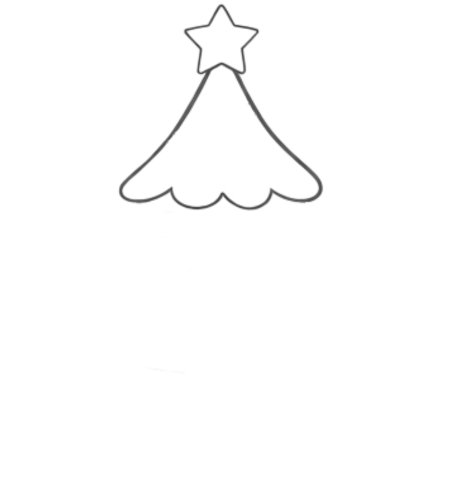
Kids Step 02: Add the First Tree Layer Below
Draw the first tree layer under the star. Curve each side down gently so the Christmas tree looks soft and cute.
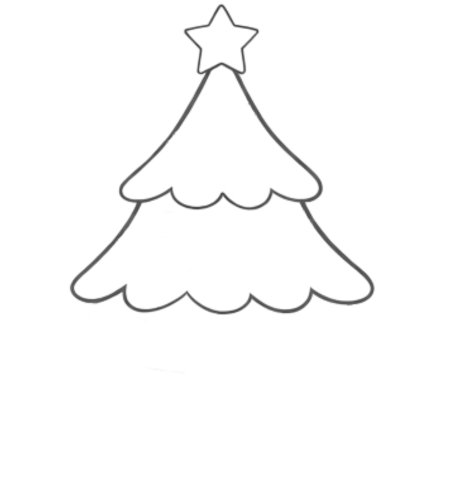
Kids Step 03: Draw the Lower Fluffy Tree Layer
Add the second fluffy layer below. Make it wider than the top layer so your easy tree drawing grows nicely today.
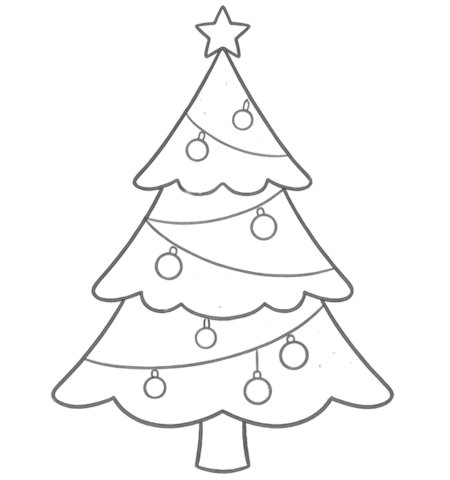
Kids Step 04: Add a Small Trunk Under the Tree
Place a small trunk under the tree. Keep it short and centered to help the pencil Christmas tree stand steady.
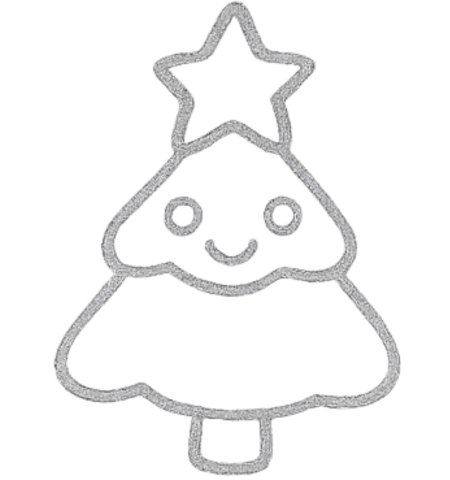
Kids Step 05: Add a Cute Smiling Face for Fun
Add two round eyes and a happy smile. Those give the toddler’s tree drawing a sweet, playful face for practice.
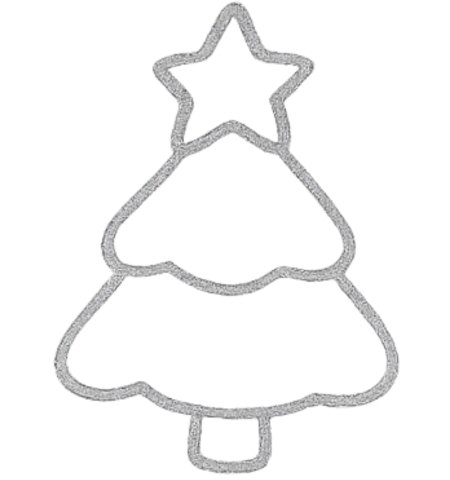
Kids Step 06: Add Round Tree Ornaments to Finish
Finish with round ornaments on the branches. Check the star, trunk, and shapes, then enjoy your cute tree today.
Great work, young artist. Your Christmas tree is ready. Next, use the Easy Steps Full Page With 6 Easy Steps to download, print, and practice this cute pencil drawing again for more holiday fun.
Kids Christmas Tree Printable Full Page With 6 Easy Steps Download Print Practice
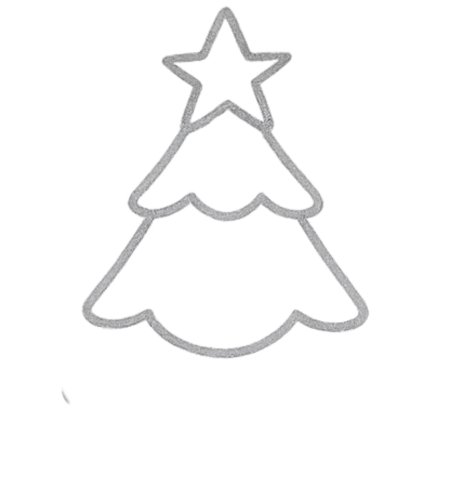
Simple Christmas Tree Drawing Tutorial for Tween Artists Ages 9 to 12 with 6 Steps
This simple Christmas tree drawing helps tweens build a cute holiday pencil sketch in 6 fun steps.
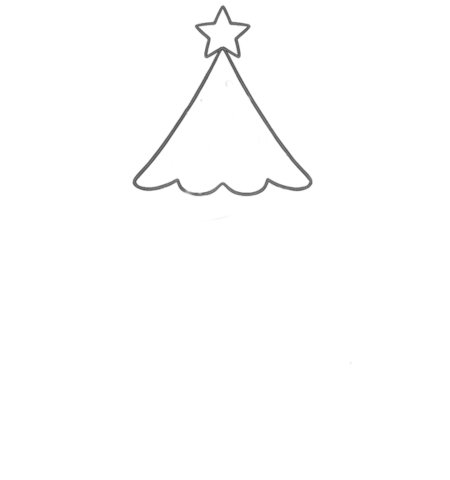
Tweens Step 01: Draw the Star at the Top First
Start with a neat five-point star near the top. Keep the lines light and even so your Christmas tree begins well.
Tweens Step 02: Add the Top Tree Layer Below Now
Add the first tree layer under the star. Curve the sides softly to give your holiday drawing a gentle shape now.
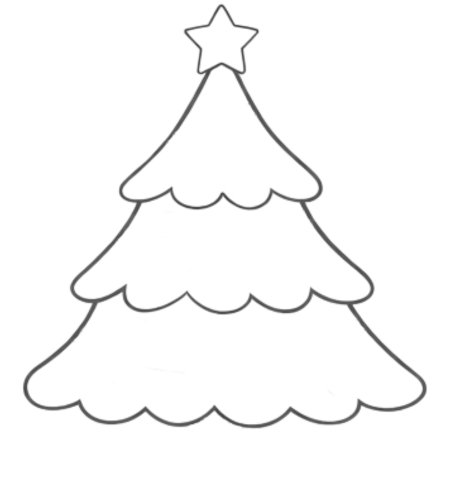
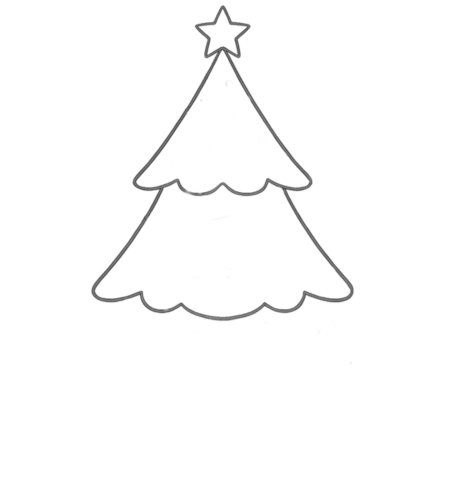
Tweens Step 03: Draw the Larger Middle Tree Layer
Draw a larger middle branch layer next. Make it wider than the top so the Christmas tree looks balanced and full.
Tweens Step 04: Add the Wide Bottom Tree Shape
Add the wide bottom layer now. Let it spread out gently so your simple Christmas tree looks full and strong now.
Tweens Step 05: Draw the Trunk Under the Tree
Draw a short trunk under the tree. Then add a smiling face to turn your holiday sketch into a cute character.
Tweens Step 06: Add the Face and Ornaments
Finish with a round topper and four ornaments. Check the smile and lines, then enjoy your Christmas tree art now.
Nice job, young artist. Your Christmas tree is complete, and the Easy Steps Full Page With 6 Easy Steps is ready to download, print, and practice whenever you want more festive drawing fun, too.
Tweens Christmas Tree Full Page Printable With Clear 6 Steps Download and Print
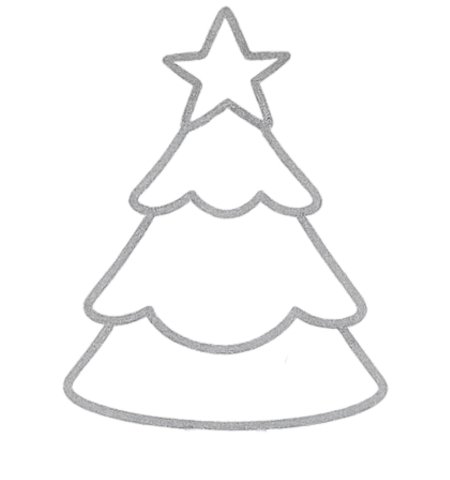
How to Draw a Christmas Tree for Ages 13 to 18 Teens in 6 Steps
This Christmas tree drawing for teens shows how to build a neat holiday tree in six easy steps.
Teens Step 01: Draw a Small Star at the Top First
Start with a five-point star near the top. Keep the lines smooth and even so your tree drawing starts cleanly.
Teens Step 02: Add the First Tree Layer Below
Add the first tree layer under the star. Curve both sides down softly to shape a holiday tree drawing for teens.
Teens Step 03: Draw the Middle Tree Layer Next
Draw the middle branch layer next. Make it wider than the top layer so the Christmas tree looks full and neat.
Teens Step 04: Add the Lowest Tree Layer Below
Add the lowest branch layer now. Let it spread wider so your Christmas tree drawing looks neat and full today.
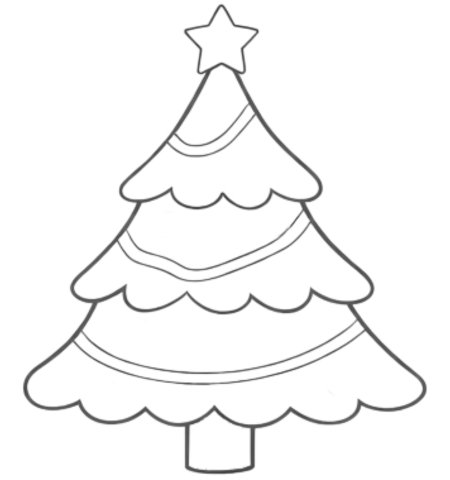
Teens Step 05: Draw the Garland and Trunk Next
Draw two curved garlands across the tree, then add a short trunk below. These details give the tree more style.
Teens Step 06: Add Ornaments and Details
Finish with round ornaments on each layer. Clean the lines and enjoy your festive Christmas tree drawing today.
Wonderful work, teen artist. Your Christmas tree is complete, and the Easy Steps Full Page With 6 Easy Steps is here to download, print, and practice whenever you want more holiday drawing fun.
Teen Artists Christmas Tree Printable Page With 6 Easy Steps Print and Learn
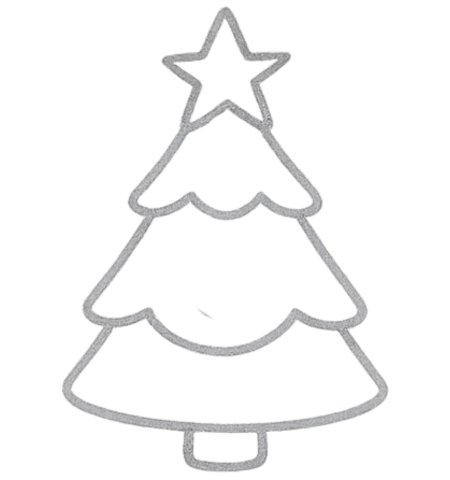
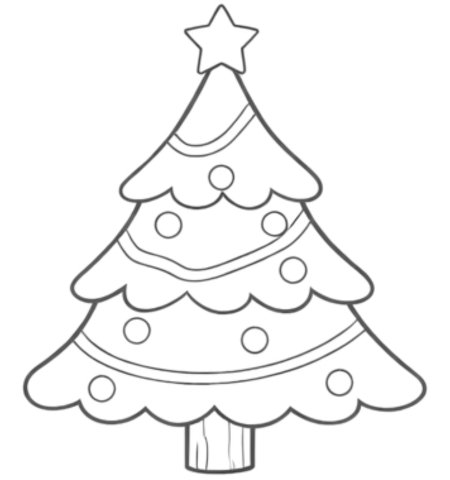
Christmas Tree Drawing Tutorial for Adult Learners 18 Years and Up in 6 Steps
This Christmas tree drawing helps adults build a festive pencil sketch in 6 easy, relaxing steps.
Adults Step 01: Draw the Star and Top Branch First
Begin with a small star, then draw the top tree section with smooth sides and soft curved tips for a clean look.
Adults Step 02: Add the Middle Tree Layer Next
Add a larger middle layer under the top one. Keep the edges rounded and balanced so the tree grows full and neat.
Adults Step 03: Draw the Wide Bottom Tree Layer Now
Draw the wide bottom layer next. Make it broader than the middle section so your tree looks stable and full now.
Adults Step 04: Add Garland Lines and Trunk Below
Add two sweeping garland lines across the tree, then draw a short trunk below to support the finished form well.
Adults Step 05: Draw Hanging Baubles on the Tree
Draw hanging ornaments on each layer. Spread them out evenly so the Christmas tree looks festive, neat, and bright.
Adults Step 06: inish the Tree with Final Small Details
Finish with tiny stars, dots, and extra details. Review the whole tree and enjoy your polished holiday sketch now.
Well done, artist. Your Christmas tree is ready, and the Easy Steps Full Page With 6 Easy Steps is here to download, print, and practice whenever you want another creative drawing session.
Adults Learn to Draw Christmas Tree Printable With Beginner 6 Steps for Home Use
Now you have four Christmas tree drawing guides made for different ages and skill levels. Start with the easiest version, then try the tween, teen, or adult tutorial for more detail. You can also download and print the full step page to practice again at home, in class, or during holiday art time.
What is the easiest way to draw a Christmas tree?
The easiest way is to start with a star, add the tree layers one by one, draw the trunk, and finish with simple ornaments.
Can beginners follow this Christmas tree drawing tutorial?
Yes, this tutorial is beginner-friendly. Each age group has a clear 6-step drawing guide with simple pencil lines.
What should I use for this Christmas tree drawing?
A pencil, eraser, and plain paper are enough. You can add color later if you want a brighter holiday look.
Is this tutorial good for kids and adults?
Yes, the post includes separate Christmas tree drawing steps for kids, tweens, teens, and adults.
Christmas Tree Drawing FAQ