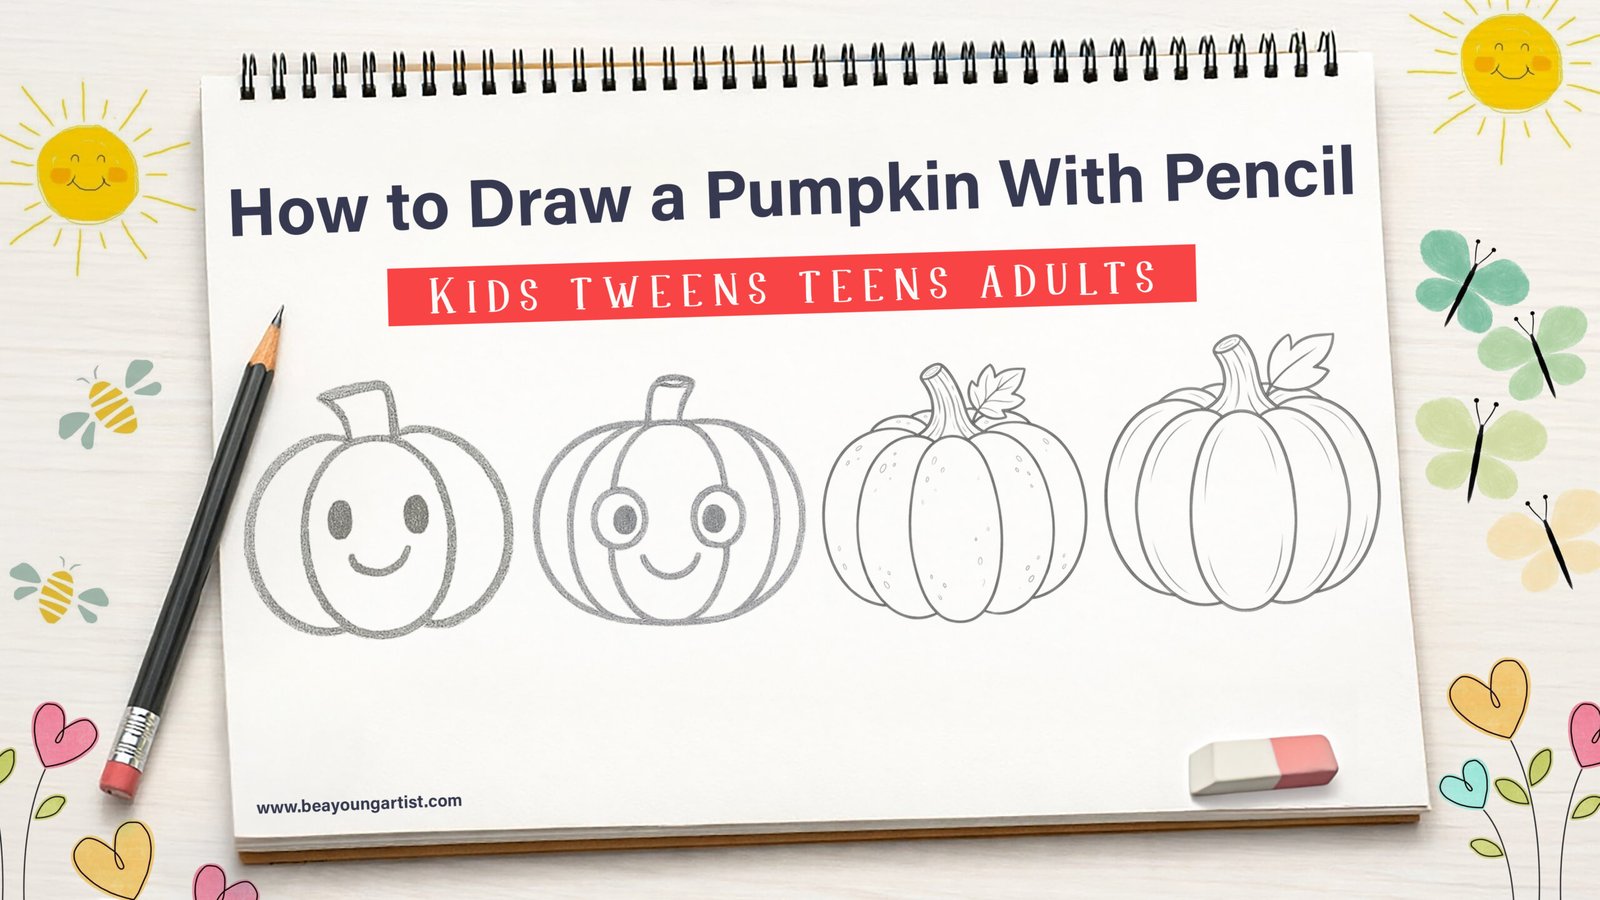
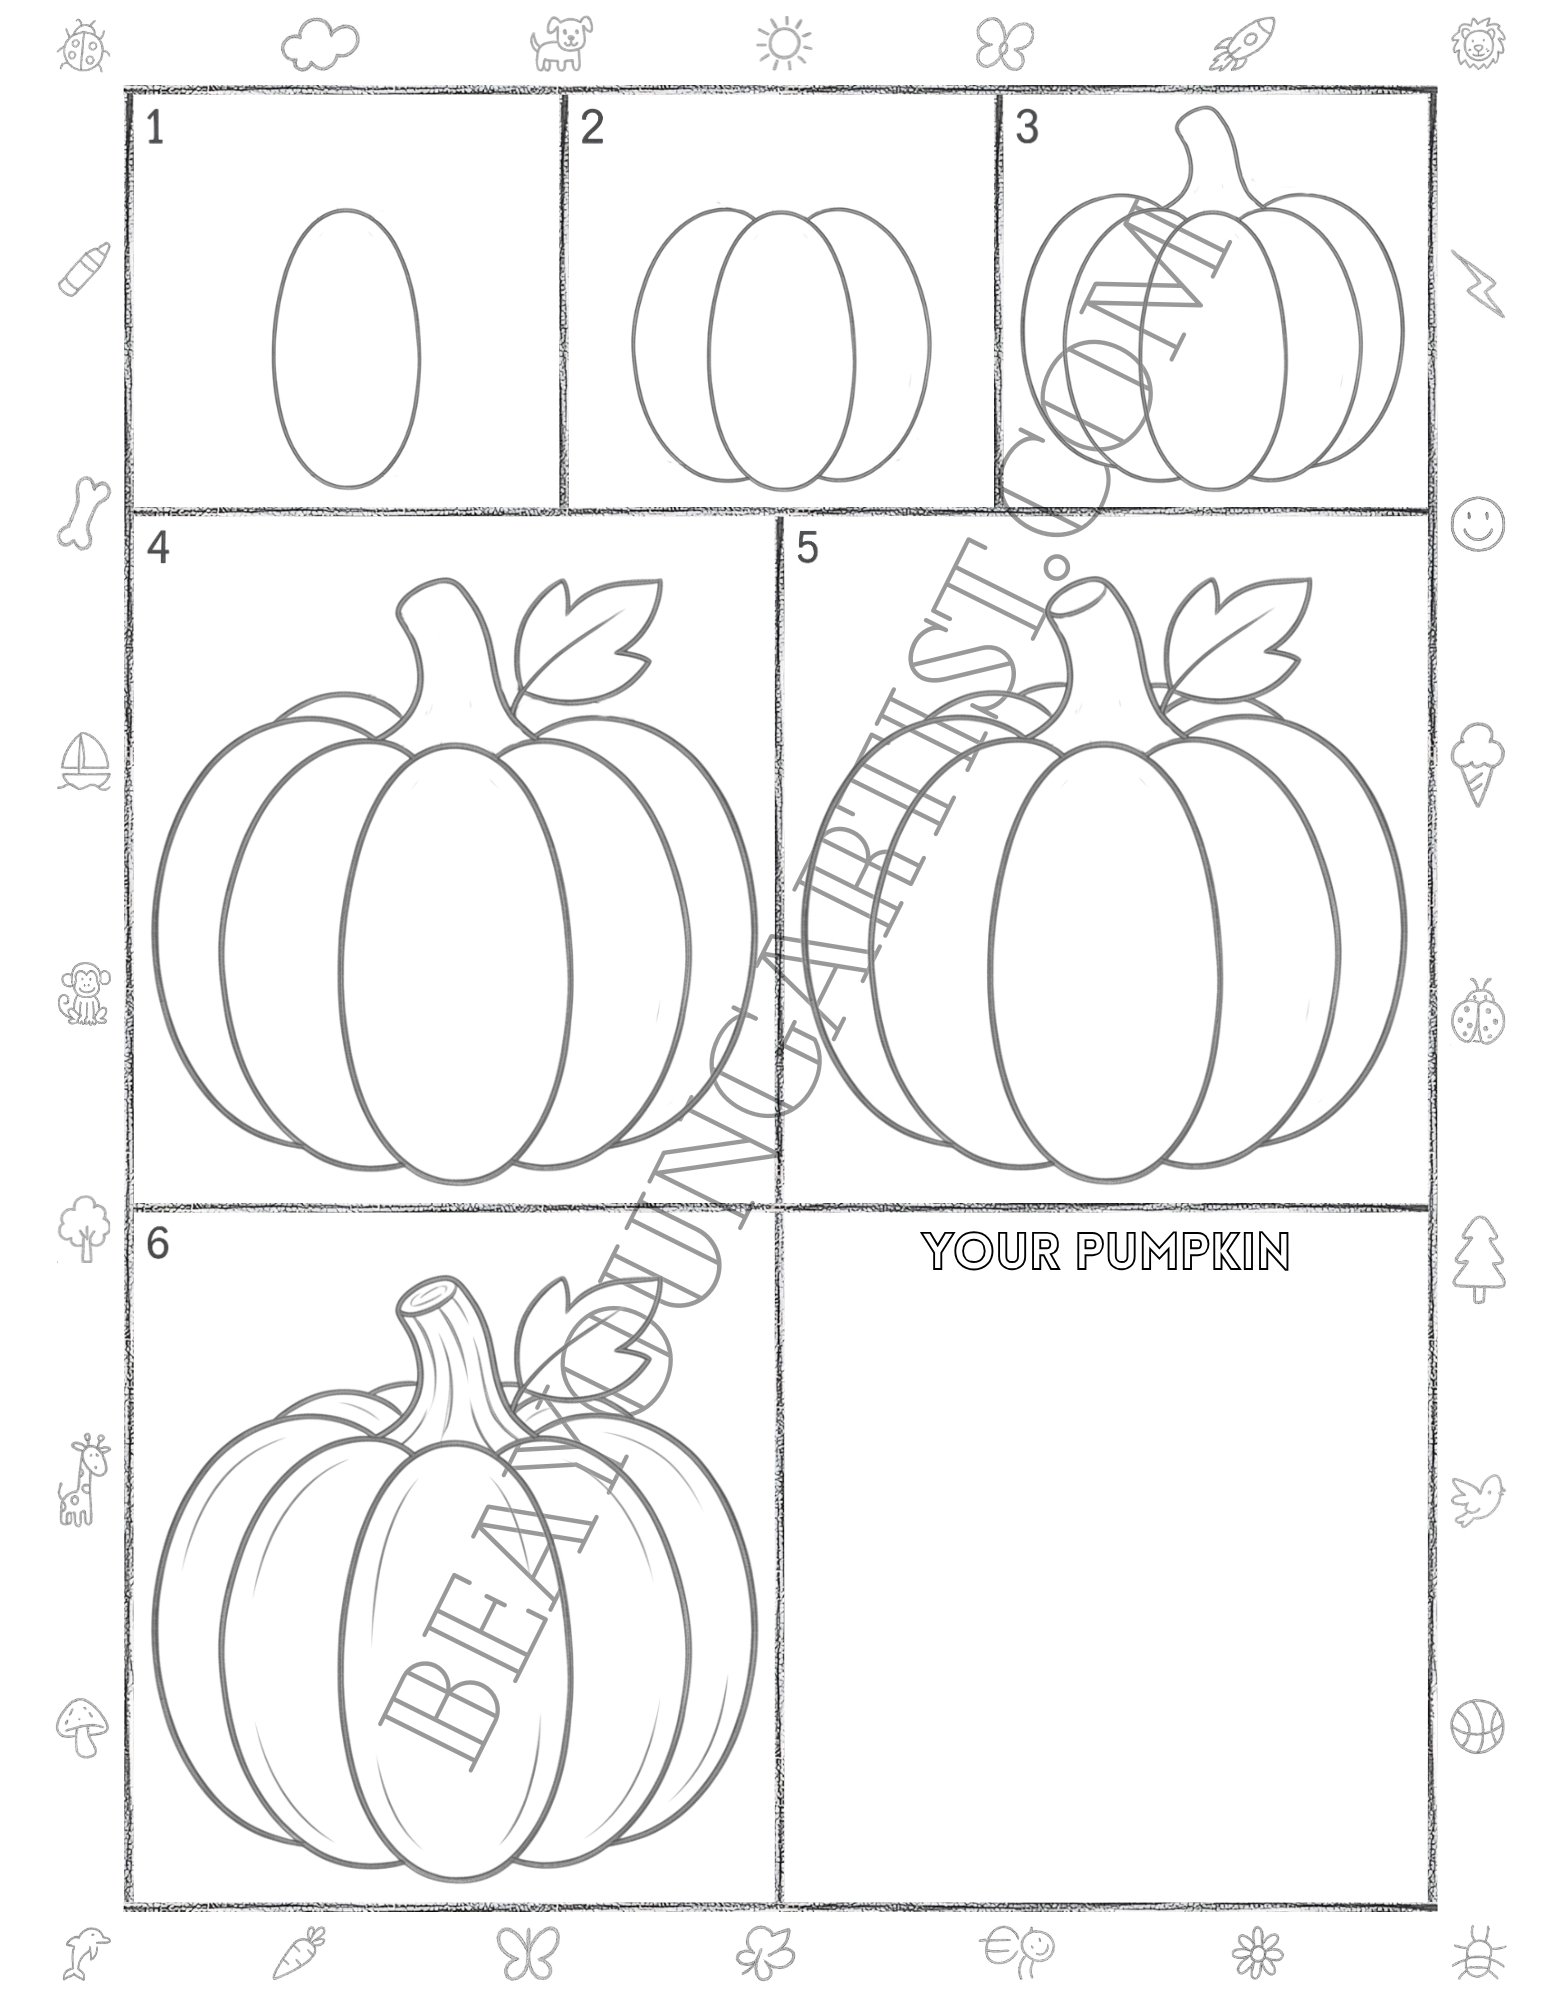
Learning how to draw a pumpkin becomes simple, fun, and creative when you follow each shape step by step. In this pumpkin pencil drawing guide, kids, tweens, teens, and adults can choose a level that feels right for them. Start with simple ovals, add curved pumpkin sections, then finish with a stem, a leaf, a face, or fine details. Every tutorial uses 6 clear steps for simple practice and easy printable drawing time.
Fun Pumpkin Drawing Tutorial in Pencil for Creative Kids Ages 3 to 8 in 6 Steps
Have fun learning how to draw a pumpkin with easy pencil steps made for kids and little artists.
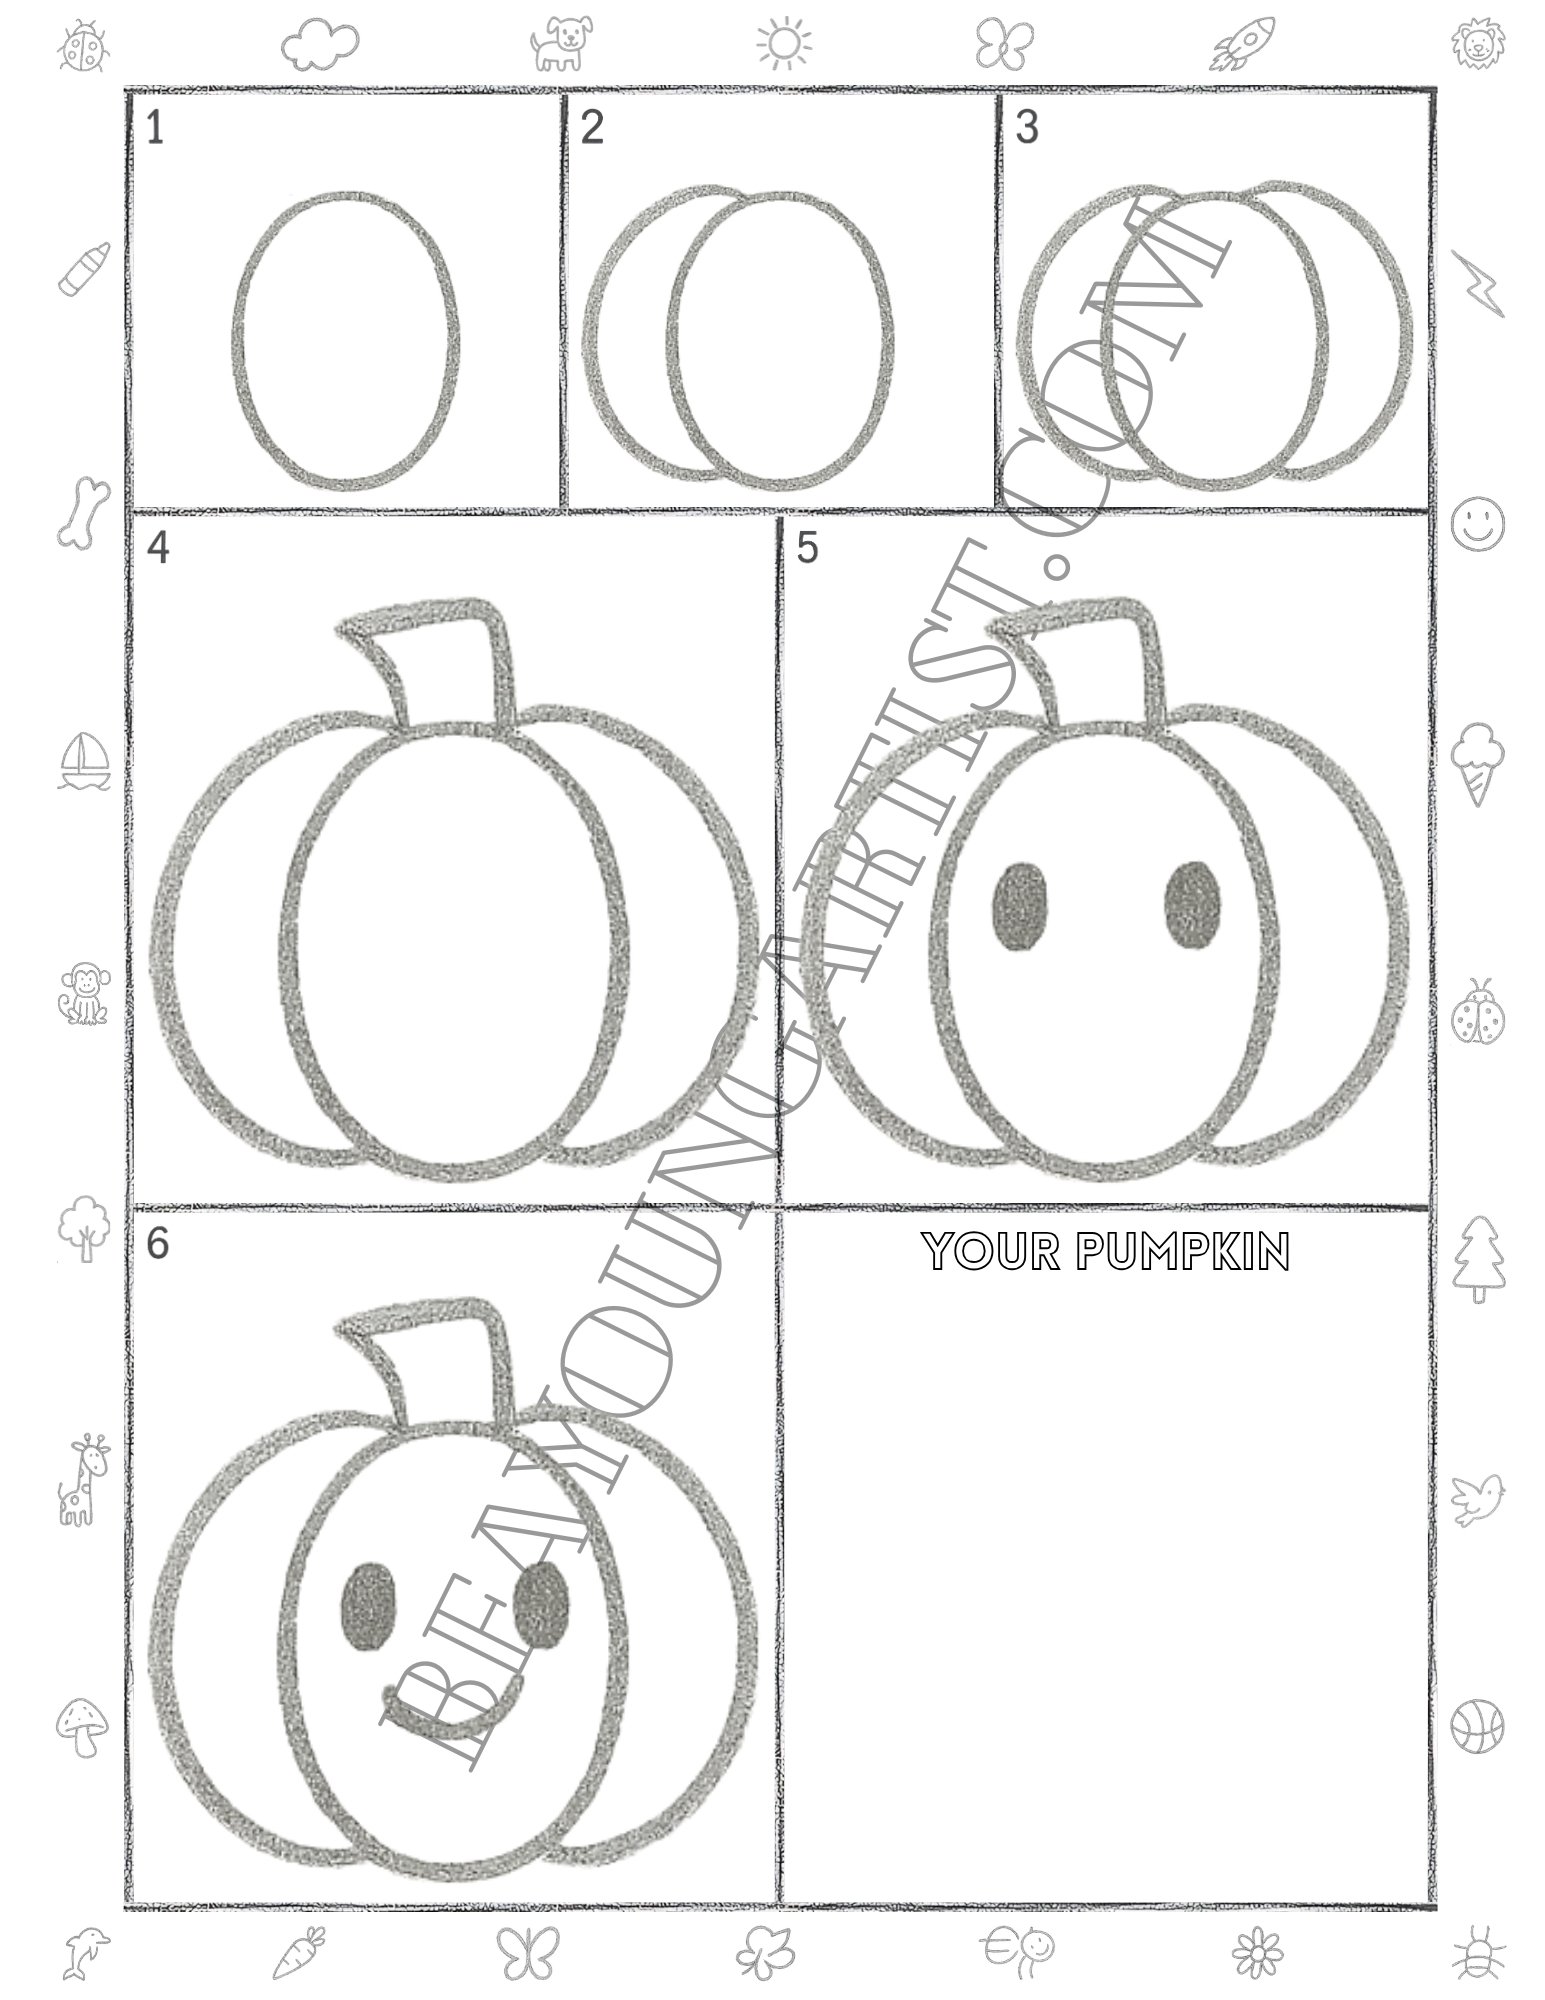
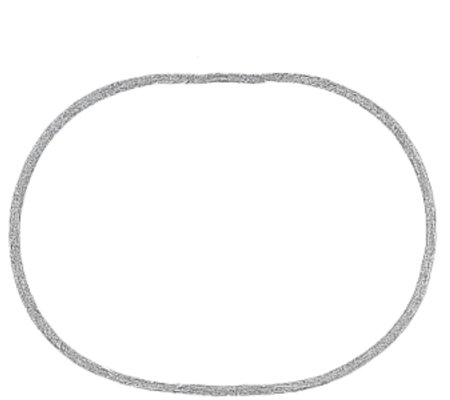
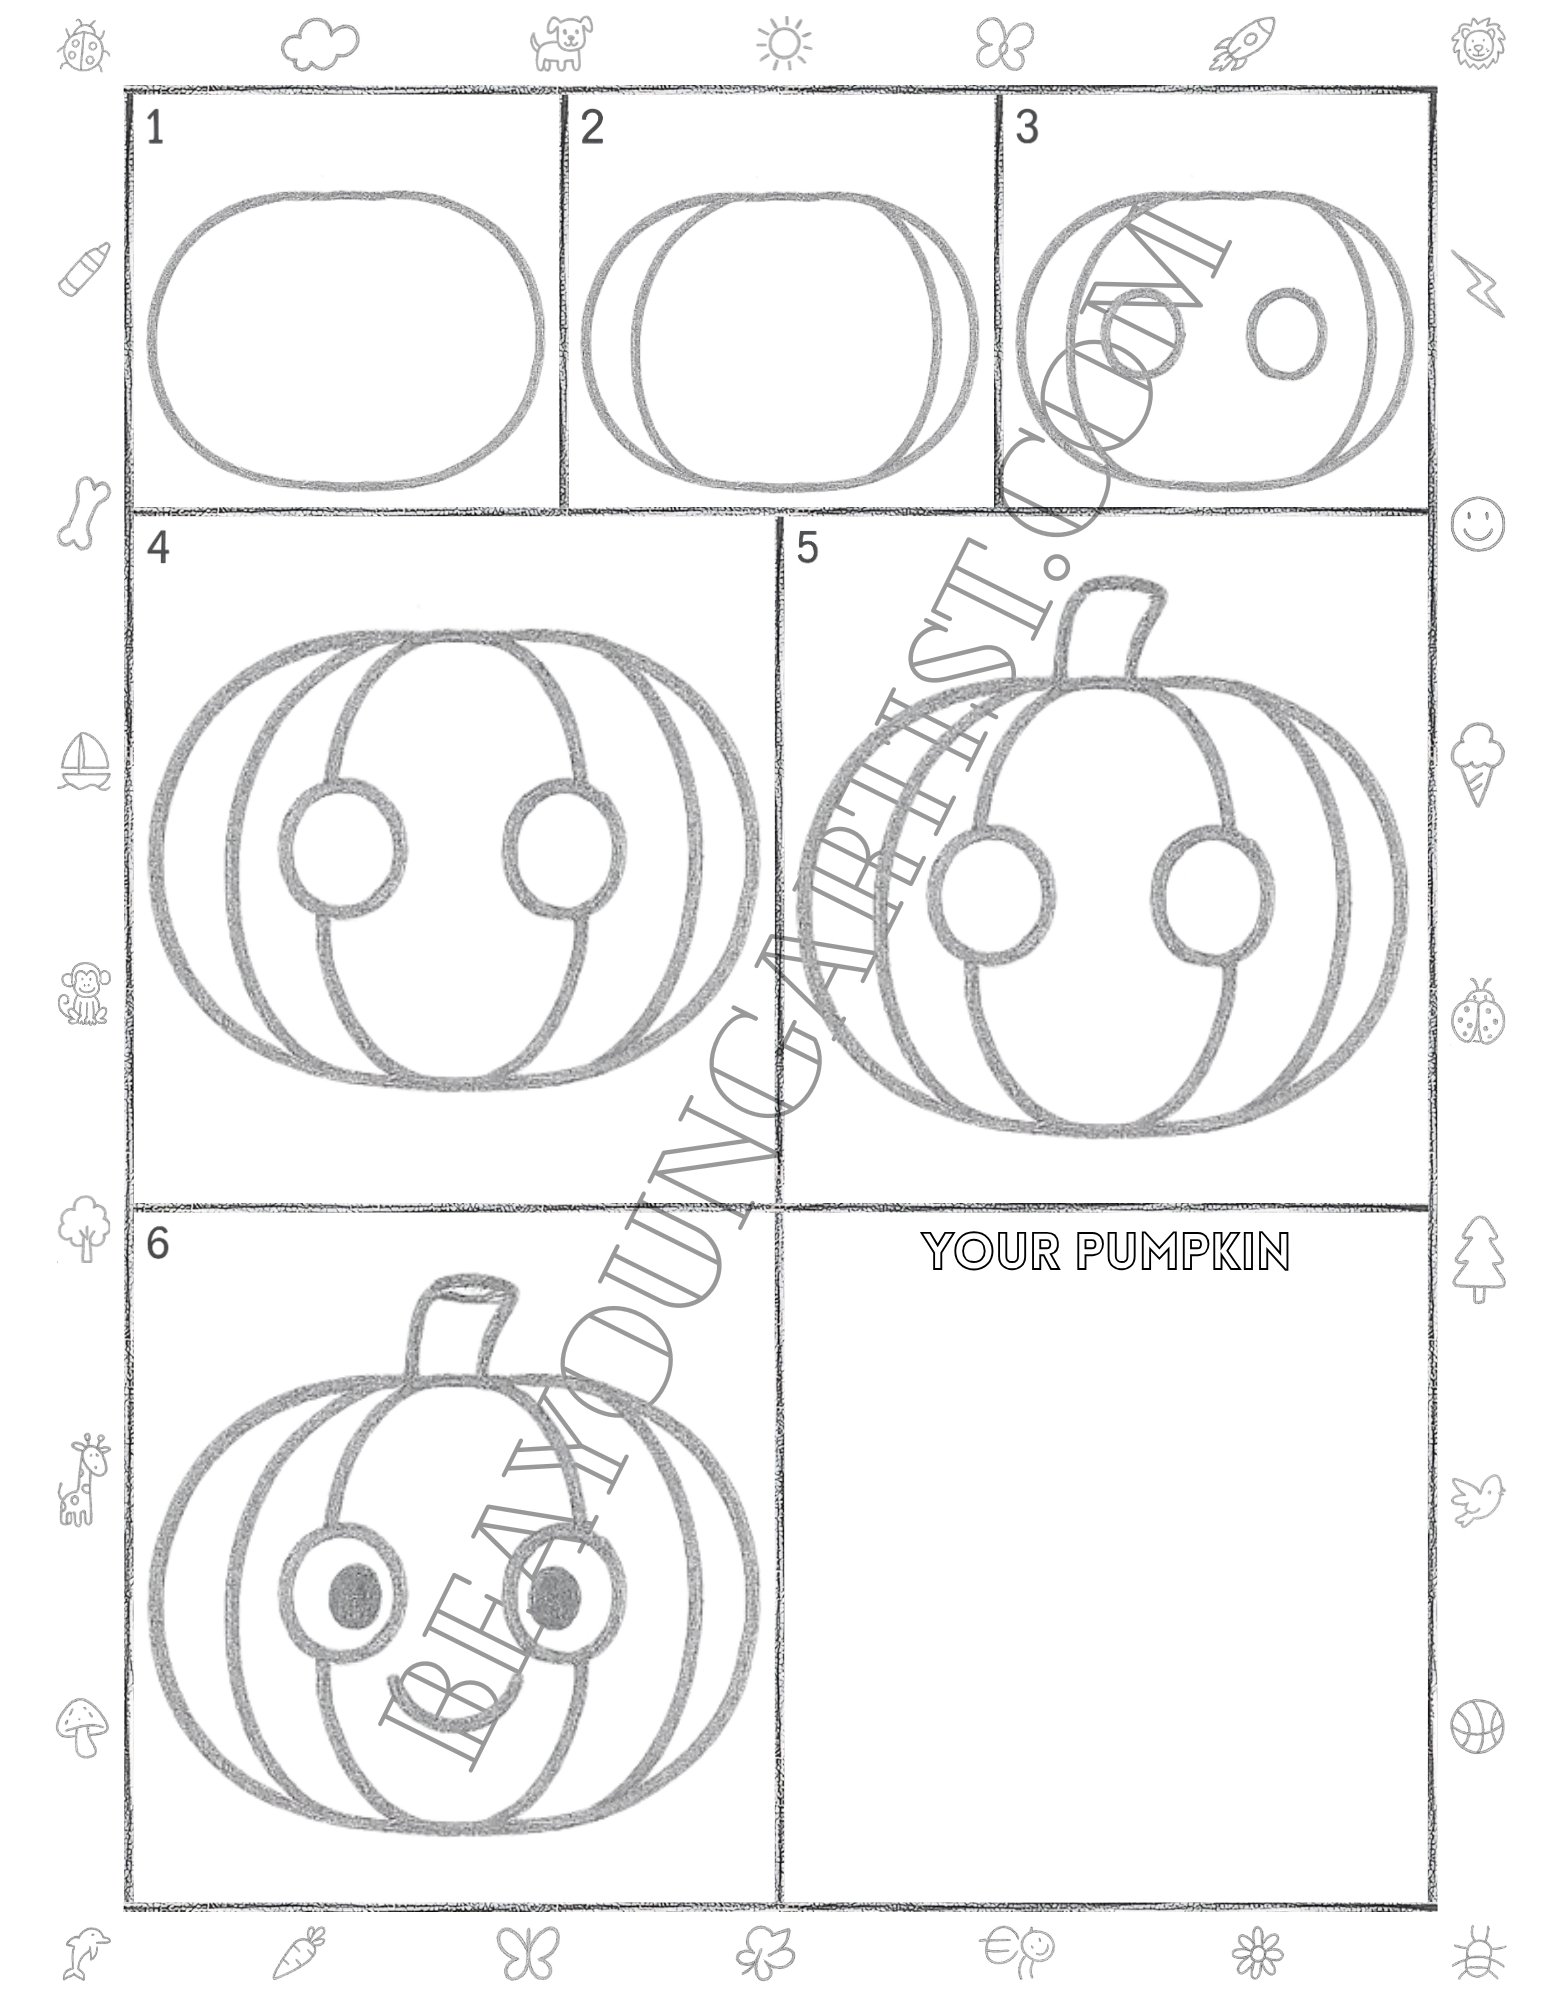
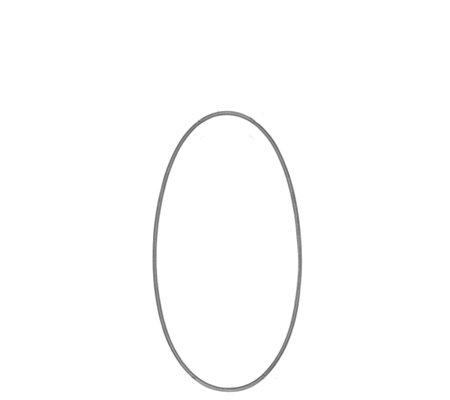
Kids Step 01: Draw the First Tall Pumpkin Oval Shape
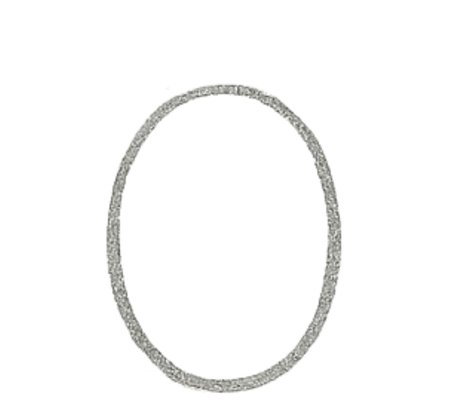
Start your pumpkin drawing with one tall oval. Keep the pencil line soft, round, and easy for little hands today.
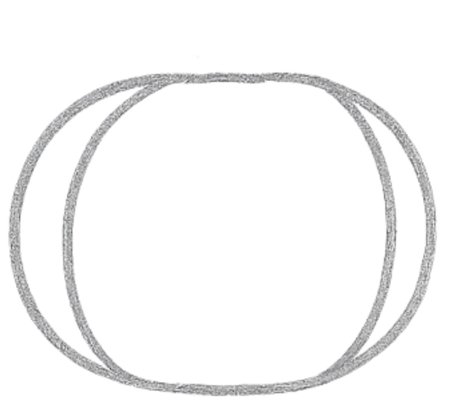
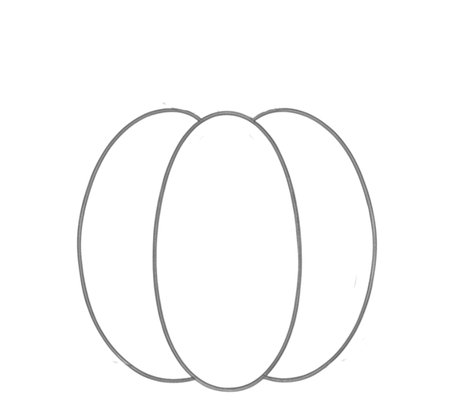
Kids Step 02: Add a Second Pumpkin Side Curve
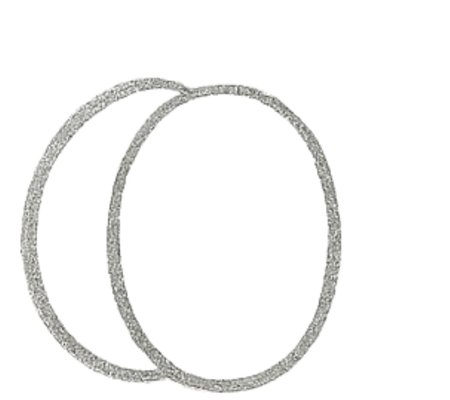
Draw a curved oval beside the first shape. Let it overlap a little so the pumpkin starts to look full and round.
Kids Step 03: Add the Other Side Pumpkin Curve
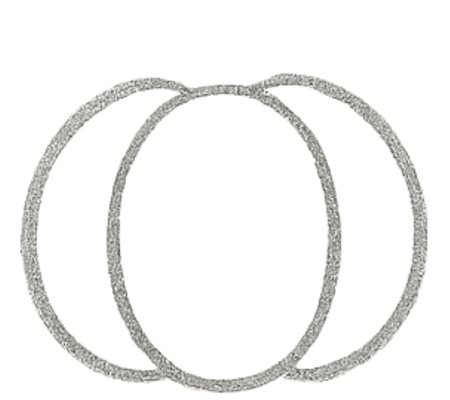
Add another curved side on the left and right. These simple lines make the pumpkin wider and cuter for kids now.
Kids Step 04: Add a Short Stem on the Pumpkin
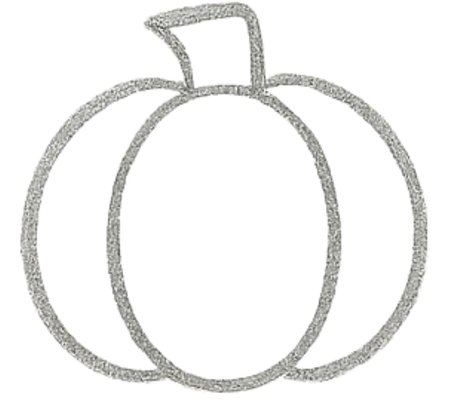
Draw a small stem on top of the pumpkin. Keep it short and chunky to make your drawing fun and clear for kids.
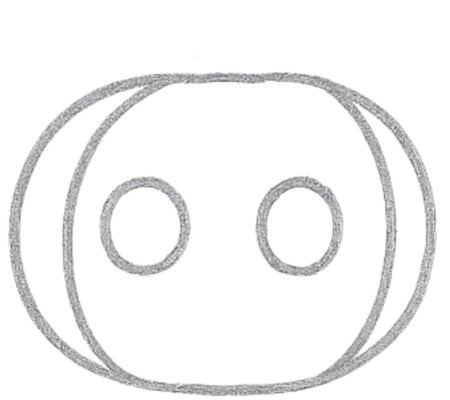
Kids Step 05: Add Two Sweet Pumpkin Eyes
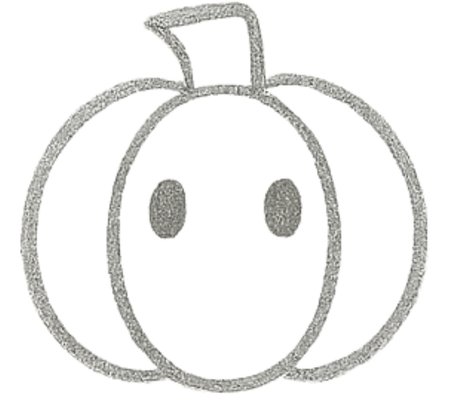
Add two small oval eyes inside the pumpkin. Fill them in gently with a pencil for a cute face for little kids.
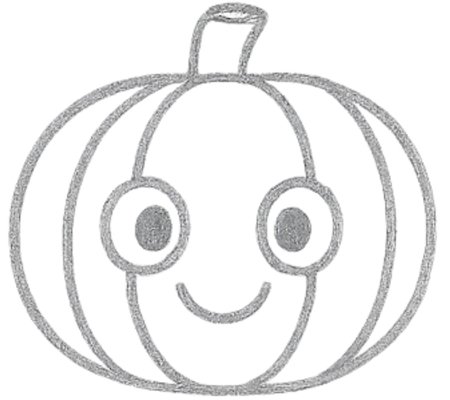
Kids Step 06: Finish With a Happy Pumpkin Face
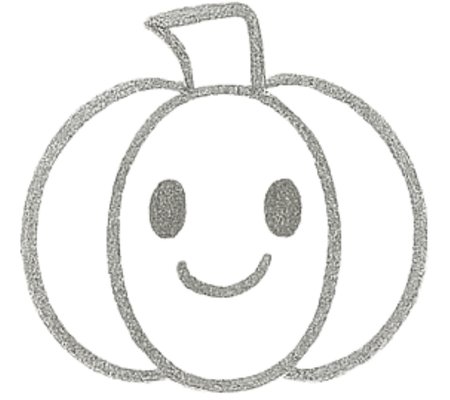
Draw a happy smile under the eyes. Now your easy pumpkin drawing looks friendly, fun, and ready to color soon.
Great work, little artist! Your pumpkin drawing is ready. The Easy Steps Full Page With 6 Easy Steps lets you download, print, and practice this cute pumpkin again with more fun and confidence.
Kids Pumpkin Printable Practice Page With Fun 6 Steps Download Print and Practice
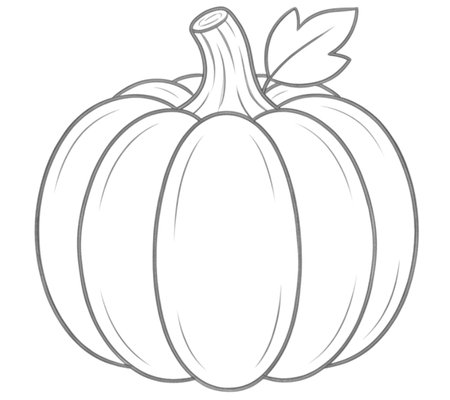
Easy Pumpkin Pencil Drawing Tutorial for Tweens 9 to 12 Years with 6 Steps
Follow these fun pumpkin drawing steps and turn simple pencil shapes into a cute pumpkin face.
Tweens Step 01: Sketch the Main Pumpkin Shape Now
Sketch a wide, rounded shape for the pumpkin. Keep the lines smooth and soft, so your easy drawing starts clean.
Tweens Step 02: Add Curved Sides Around Pumpkin
Add one curved side to each edge of the shape. These sidelines make your pumpkin look fuller, wider, and more rounded.
Tweens Step 03: Draw Two Big Pumpkin Eyes Inside
Draw two large oval eyes inside the pumpkin. Place them evenly to start a cute and friendly pumpkin face for now.
Tweens Step 04: Add Inner Pumpkin Panel Lines
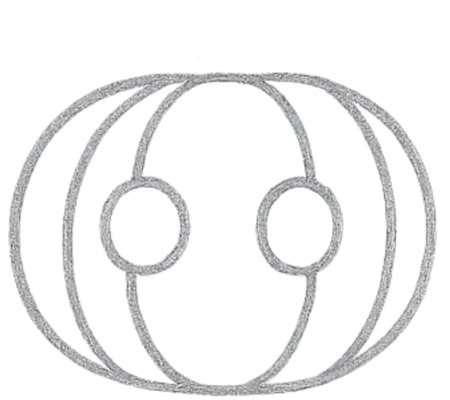
Add two inner curved lines below the top shape. These lines give your pumpkin more form and a neat finished look.
Tweens Step 05: Draw the Stem on Top of the Pumpkin
Draw a short stem on top of the pumpkin shape. It makes the pumpkin look complete and adds a fun autumn touch.
Tweens Step 06: Finish the Cute Pumpkin Face Now
Darken the eye centers and add a curved smile. Your cute pumpkin drawing now looks bright, happy, and cheerful.
Well done, young artist! Your pumpkin looks bright and complete. The Easy Steps Full Page With 6 Easy Steps lets you download, print, and practice this cheerful drawing anytime with real joy.
Pumpkin Printable Full Page for Tweens With Simple 6 Steps Print and Draw
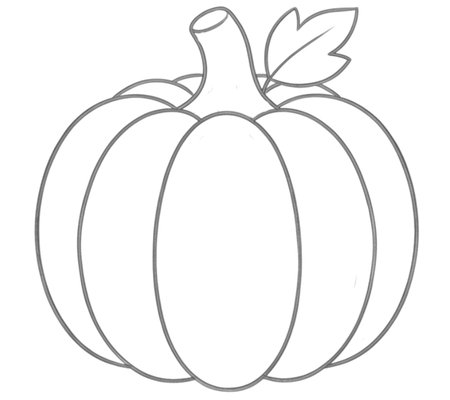
How to Draw a Pumpkin for Beginner Teens Ages 13 to 18 in 6 Steps
Learn how to draw a pumpkin with easy pencil steps that help beginner teens create neat fall art.
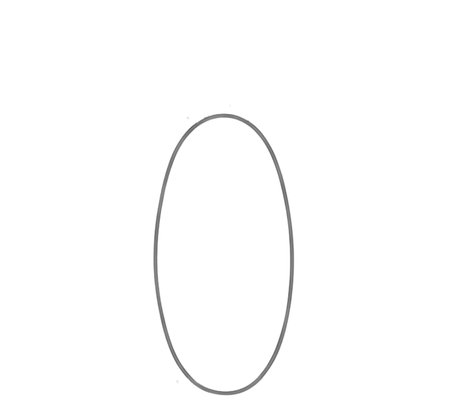
Teens Step 01: Draw the First Pumpkin Center Oval
Start with one tall oval in the center. Keep the line smooth and balanced to build the main pumpkin shape well.
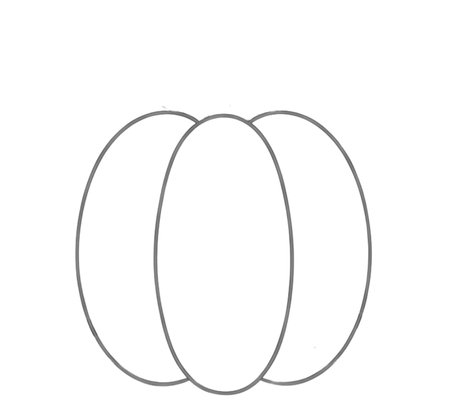
Teens Step 02: Add Two Curved Sides
Add one curved section on each side. Keep both sides even to give the pumpkin a fuller, more rounded look for teens.
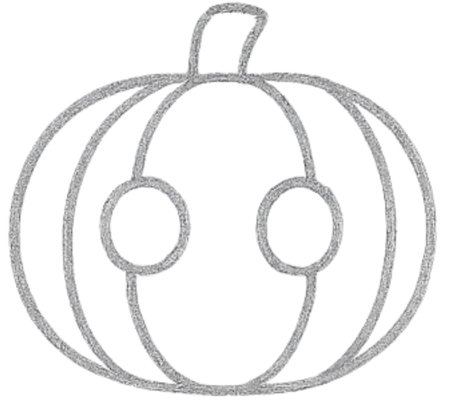
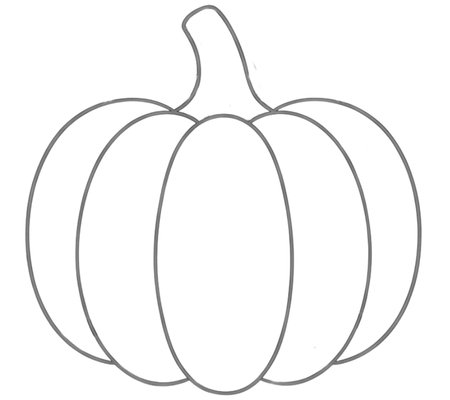
Teens Step 03: Shape the Top Stem and Pumpkin

Sketch a short stem at the top and refine the pumpkin curves so the whole outline looks neat and natural today.
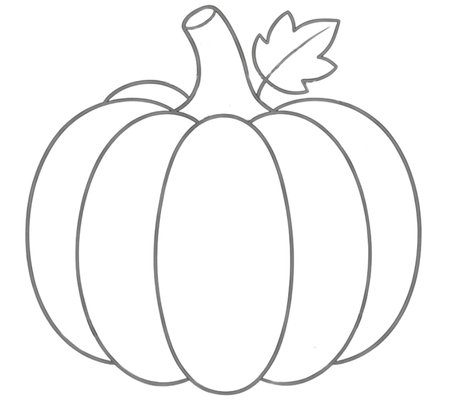
Teens Step 04: Add a Leaf Beside the Pumpkin Stem
Draw one simple leaf beside the stem. This small detail gives the pumpkin drawing a fresh autumn touch for teens.
Teens Step 05: Draw Inner Lines on the Pumpkin
Add thin curved lines inside each section. These details help the pumpkin look fuller and more textured overall.
Teens Step 06: Finish the Pumpkin With Fine Details
Finish your pumpkin by adding extra lines to the stem. Now the drawing looks polished, detailed, and complete today.
Great progress, artist! You finished a lovely pumpkin drawing. The Easy Steps Full Page With 6 Easy Steps lets you download, print, and practice again whenever you want more creative fun at home.
Creative Teens Pumpkin Printable Page With 6 Clear Steps Print and Draw
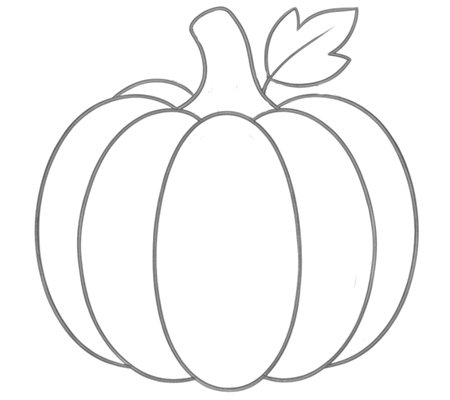
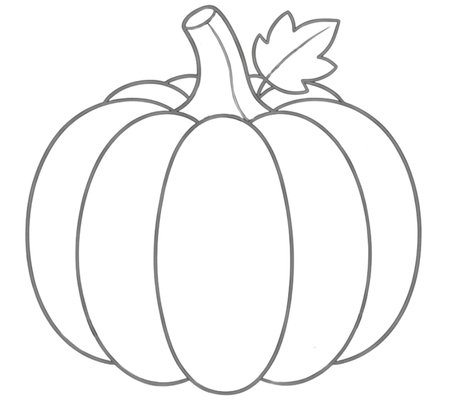
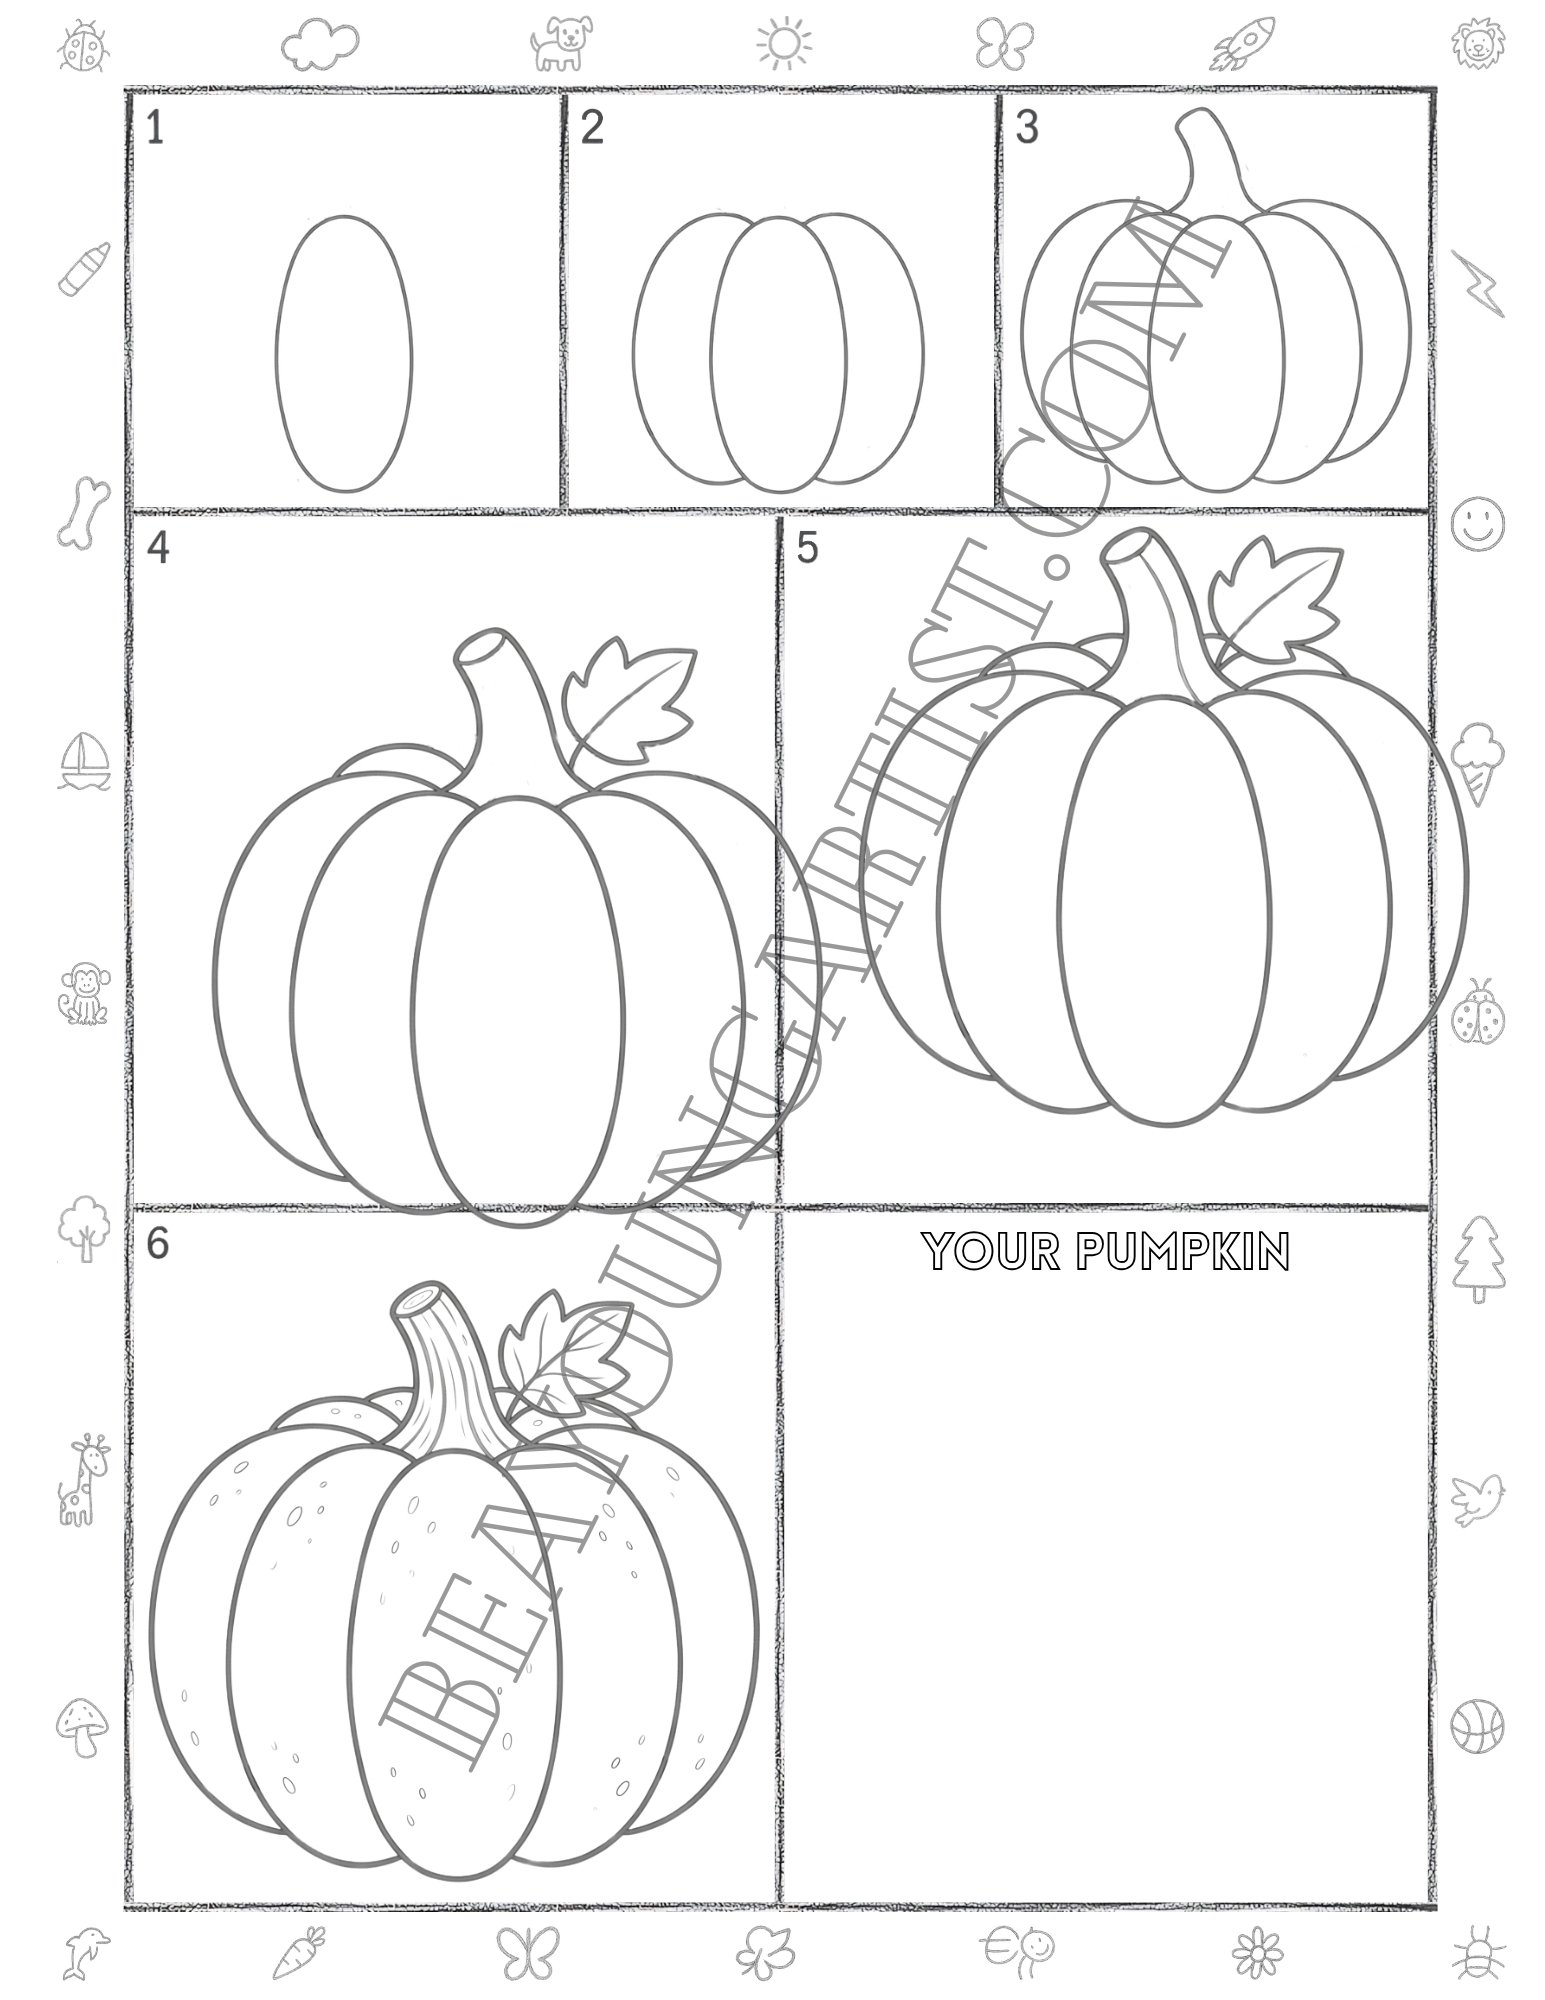
Learn to Draw a Pumpkin for Adults Ages 18 and Up with Easy 6 Steps
Learn how to draw a pumpkin with easy steps and turn smooth pencil lines into a lovely sketch.
Adults Step 01: Draw the Main Pumpkin Center Oval
Start with one tall oval in the center. Keep the outline smooth and even so that your pumpkin drawing begins clearly.
Adults Step 02: Add Two Curved Pumpkin Side Sections
Add one curved section on each side. Keep both shapes balanced and smooth so the pumpkin looks full and rounded.
Adults Step 03: Draw More Curves and the Stem
Add two more curved sections and sketch the stem. These lines give your pumpkin a fuller and more natural form.
Adults Step 04: Add a Leaf Beside the Pumpkin Stem
Draw a leaf beside the stem and refine the top. This detail adds charm and gives the pumpkin a fresh autumn look.
Adults Step 05: Add Inner Lines for More Detail Now
Add thin inner lines across each section. These soft details make the pumpkin look richer and more realistic now.
Adults Step 06: Finish With Stem Texture and Dots
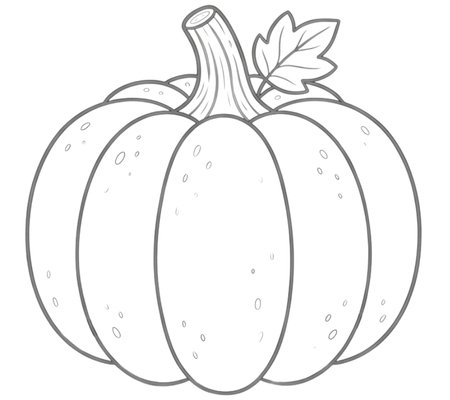
Refine the stem with texture and add tiny dots. Your finished pumpkin now looks detailed and beautifully complete.
Wonderful work, artist! Your pumpkin drawing looks polished and complete. The Easy Steps Full Page With 6 Easy Steps lets you download, print, and practice this autumn sketch anytime you like.
Adult Learners Pumpkin Printable Page With 6 Simple Steps Print and Practice
Keep practicing your pumpkin drawing with light pencil lines, smooth curves, and simple details. Younger artists can enjoy the cute pumpkin faces, while teens and adults can build cleaner shapes with a stem, leaf, and texture. Download the printable pages, print your favorite version, and practice again whenever you want a quick fall drawing activity.
What is the easiest way to start a pumpkin drawing?
Start with one oval in the center. Then add curved side lines to build the round pumpkin shape.
Can beginners follow this pumpkin drawing tutorial?
Yes, beginners can follow it easily because each section uses 6 clear pencil steps.
Which pumpkin drawing section works best for young children?
The kids’ section works best for ages 3 to 8 because it uses simple shapes and a cute pumpkin face.
Can older artists use this pumpkin drawing guide?
Yes, teens and adults can follow the more detailed versions with a stem, leaf, inner lines, and texture.